Ill give it a bit of a shot, but I didnt take progress photos(regret that now), so itll be a little hard to explain
Cutting out the pieces
OK, what youll need to do this:
- Drill with about a 2mm bit
- Jigsaw
- Rotary sanding bit on a drill (made of bits of sandpaper). Bunnings sell them. Alternatively, a dremmel witha similar attachment does the trick. This is what I used.
Front door:
Step 1 - remove the door lining. There are a few guides on Complete FTO that show how to do this from memory, so ill be lazy and not do it again
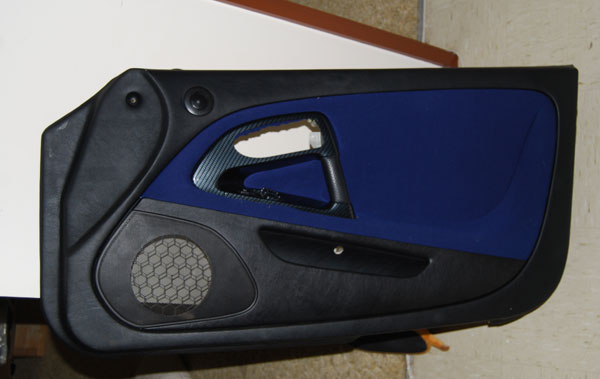
Step 2 - Remove the door handle and the pocket/speaker cover by removing all screws on the back of the lining. Once this is done, your lining should resemble the one below (without the red)

Step 2 - Drill a pilot hole where the red circle is marked and elongate it so there is enough room to fit the jigsaw
Step 3 - Jigsaw around the bit marked in red. Take your time and make sure you stay in the valley. As you are not recovering the outside bit is is of the utmost importance not to damage that bit.
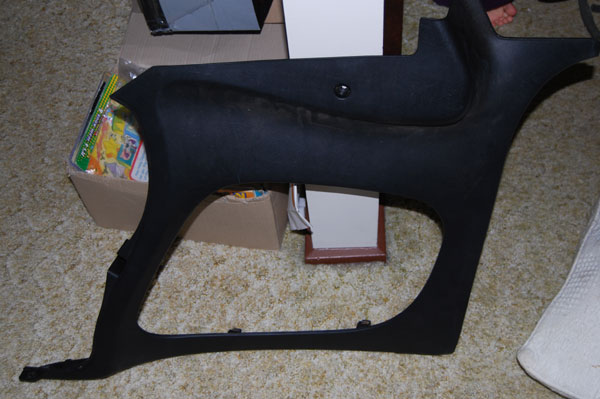
Back panel
Same process applies for the back panel. The picture below shows where to cut (Again, take your time). The pilot hole is a little tricker on this one as there is no spot that is going to be hidden by a cover, so it has to be neat:
OK, youve cur out the bits, now you have to tidy up the edges. Make it consistent and take your time. The more time you spend getting this right, the better the result.
 Cleaning up the ridges and keying the surfaces
OK, I used an angle grinder with a sanding disk and a wire disk drill attachment for this bit.
Using the angle grinder, remove all the ribs from within 3 cm of each side of the cut you made. You need to do this to make the fibreglassing a s$%t load easier. Once youve done this on all panels, use the wire bit on the dril to scuff the surface on both sides of the cut. This provides a better surface for the fibreglass to stick to.
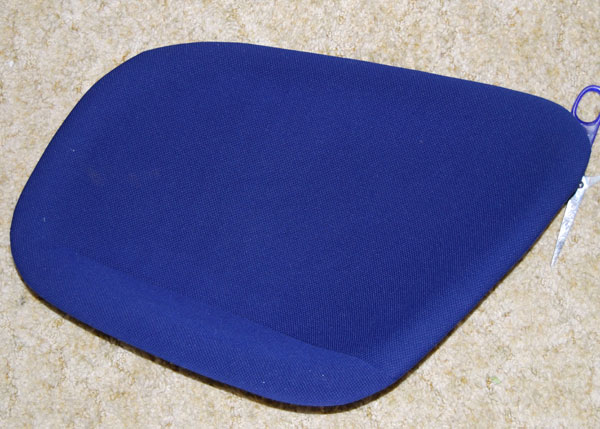
Upholstery
I cant tell you how to do this bit, but source your material and choose an upholster and drop the bits off to be done[/b]
Fibreglassing
OK, gotta say this bit worried me quite a bit as I had just spent a packet and didnt want to stuff it up, but in the end, it worked just fine. Youll need
- A roll of 2 inch masking tape (get reasonable quality - its protecting your material)
- A square metre of fibreglass matting. I got the thicker of the two choices.
- A litre of resin and the appropriate amount of catalyst.
- A pair of scissors
- A large screwdriver
OK, this bits a little tricky. You need to put the bits back together and mask the join (covering all material. The idea is to fibreglass over the masking tape (it works a treat). Make sure thatthe bits are aligned with one another properly as once its set, there is no going back.
Step 1 - Cut strips of fibreglass about 8cm wide and long enough to fit. Do NOT fibreglass over any of the screw holes. Mix the fibreglass and apply a bit at a time. I found that as the join is not flat, my fibreglass kept lifting and I had to keep pushing it down again. On the back panel this isnt so important but on the front panel, there isnt a lot of clerance. I actually have to shave a bit of the fibreglass off on the top of the front panels as protrudes a little too much. I dont anticipate that this will be an issue though.
I think that pretty much covers it. If anyone has any further questions, happy to answer them.
GOOD LUCK!