http://cgi.ebay.com.au/FTO-custom-rear- ... dZViewItem
I rekon maybe this will look nice in a black fto. But what do you guys think?
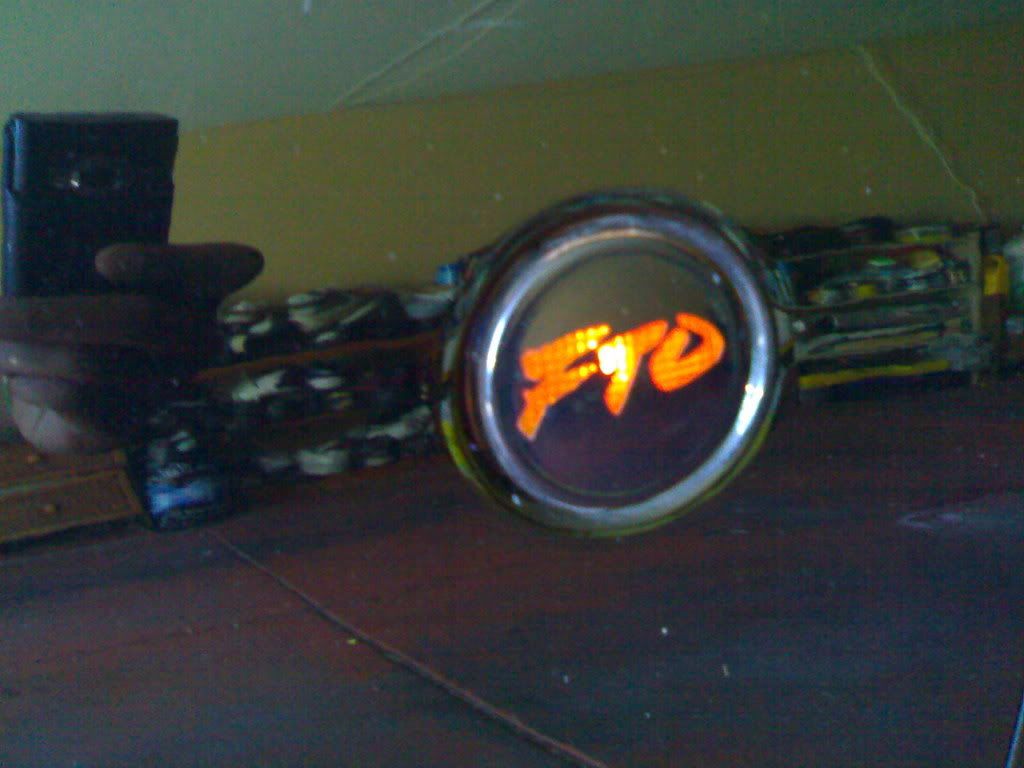
Custom rear light decals on ebay
Moderators: IMC, Club Staff
-
bonker

- Newbie

- Posts: 17
- jedwabna poszewka promocja
- Joined: Sun Jul 15, 2007 5:00 pm
-
rock_it

- Oldtimer
- Posts: 6599
- Joined: Sun Jun 10, 2007 5:00 pm
- Location: The Shire .. NSW
- Contact:
-
MissxFTO

- Veteran Mechanic
- Posts: 886
- Joined: Sat Oct 28, 2006 5:00 pm
- Location: Brisbane
- Contact:
rock_it wrote:IMO ... They look good when there is no lights on ... But, when they light up, it just looks tacky ...

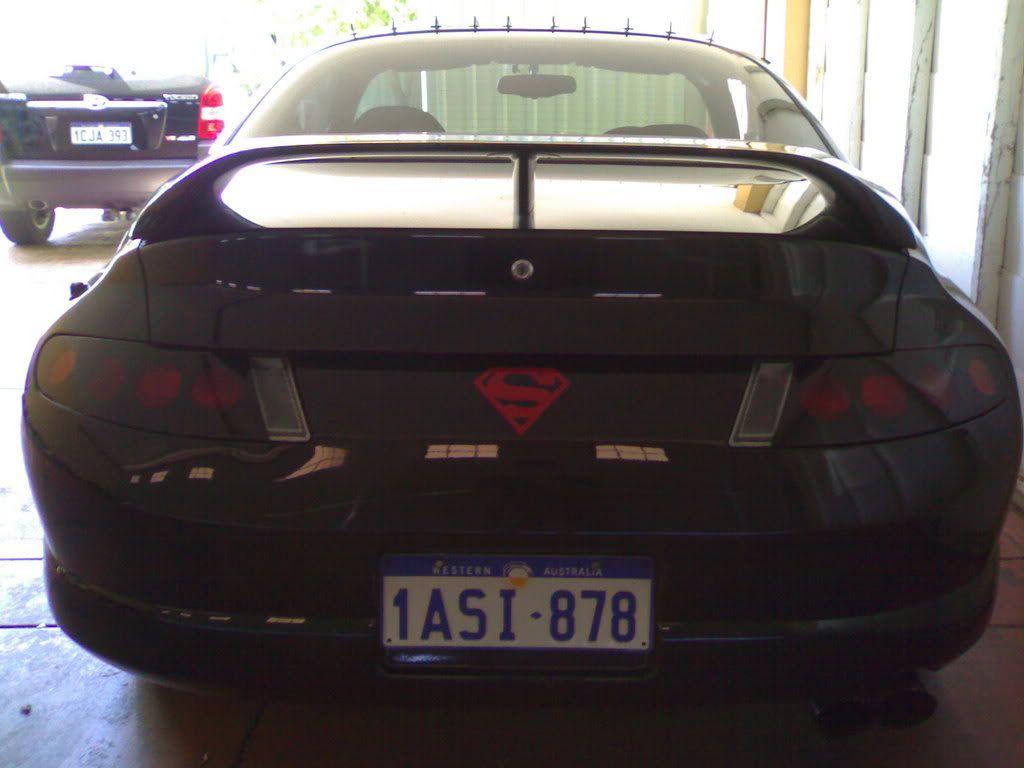
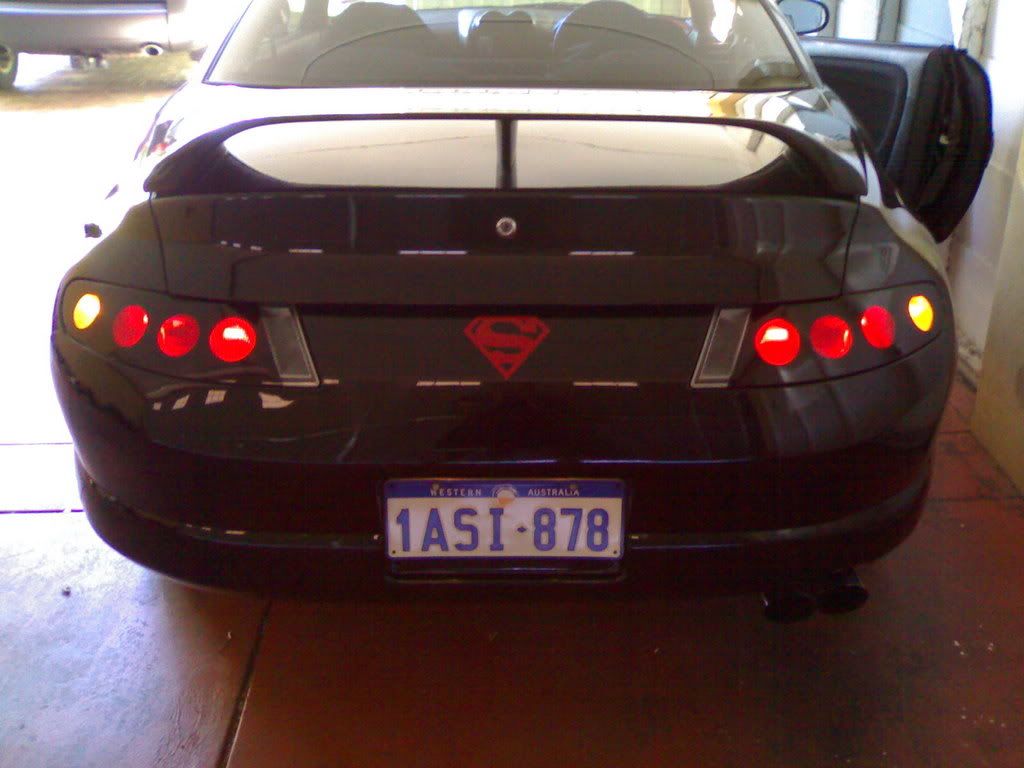
They look fine. There legal and when the lights are on they dont look tacky
ive had them on my car for 6 months!
Sammi
P.S this thread had been covered before
(Moved to styling)
http://www.ftoaustralia.com/modules.php ... ic&t=11067
[img]http://img291.imageshack.us/img291/923/msf70lz5.jpg[/img]
-
rock_it
- Oldtimer
- Posts: 6599
- Joined: Sun Jun 10, 2007 5:00 pm
- Location: The Shire .. NSW
- Contact:
-
MissxFTO
- Veteran Mechanic
- Posts: 886
- Joined: Sat Oct 28, 2006 5:00 pm
- Location: Brisbane
- Contact:
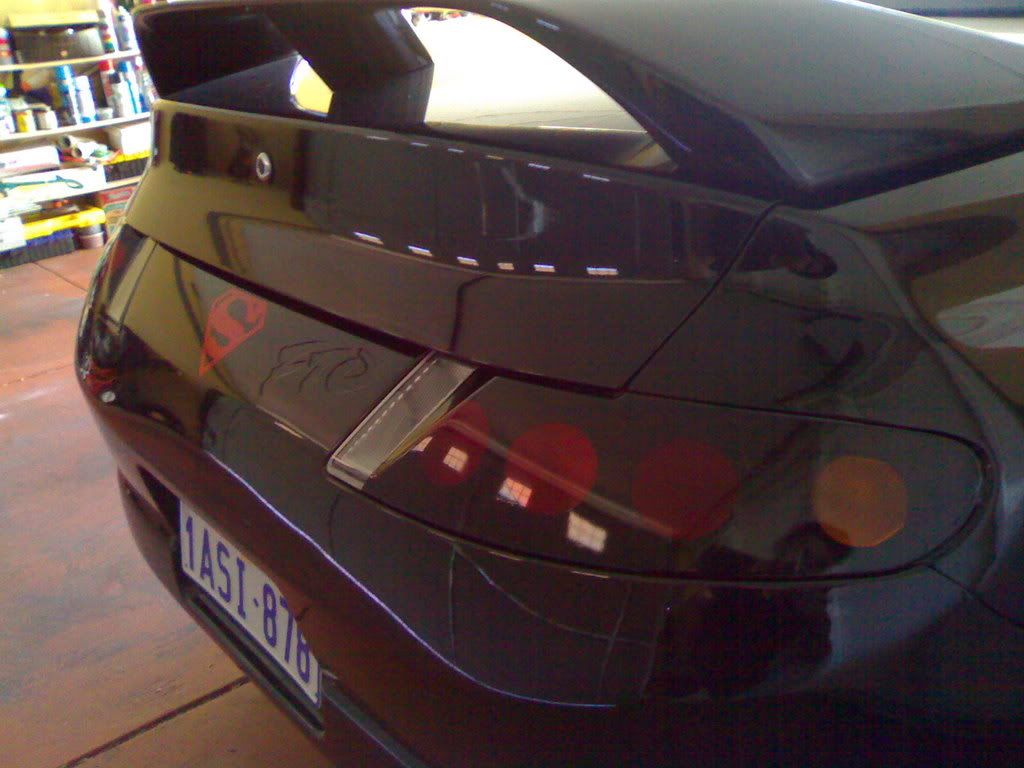
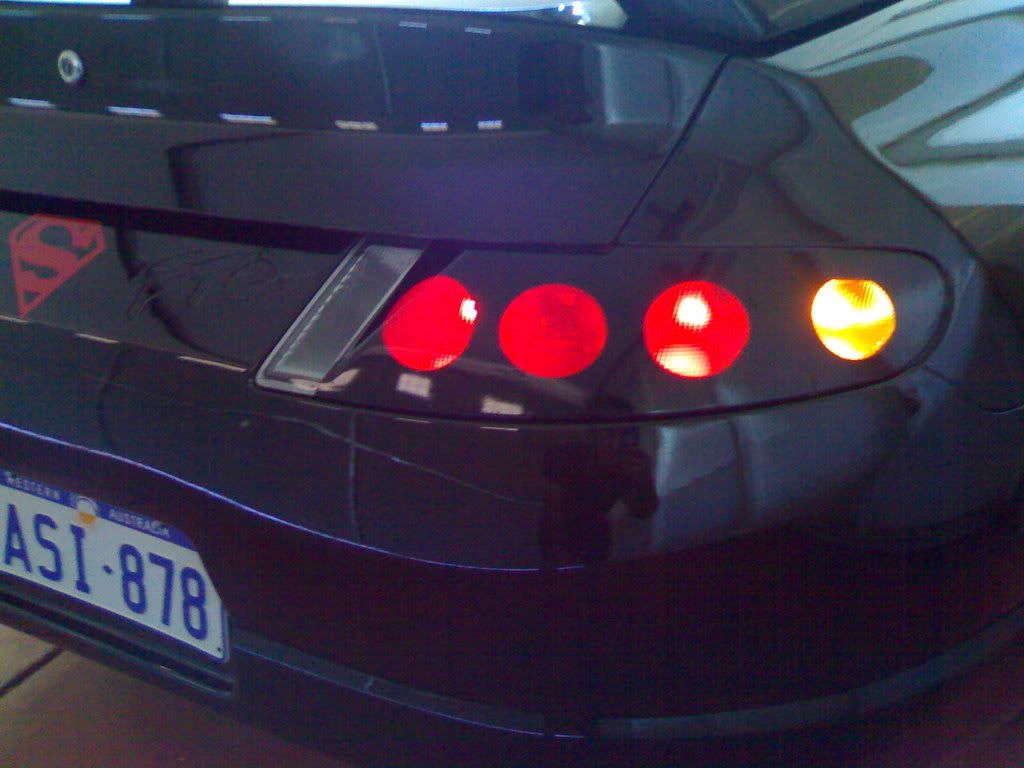
LOL i sure can ill do a couple tonight.rock_it wrote:Hehehehe .. Sorry, just didn't look that good in the sellers pic...
Can you take an extra couple of pics for me ... Since mine is black it would look the same ... day/night with ligts + brakes on
Also, have you sprayed clear over them, or do they have that shine normally ... ???
and no there is no clear over them. Its a Shiny vinyl!
[img]http://img291.imageshack.us/img291/923/msf70lz5.jpg[/img]
-
Shahrez

- Mechanic
- Posts: 433
- Joined: Sat Jun 16, 2007 5:00 pm
- Location: Perth, WA
- Contact:
-
rock_it
- Oldtimer
- Posts: 6599
- Joined: Sun Jun 10, 2007 5:00 pm
- Location: The Shire .. NSW
- Contact:
-
Shahrez
- Mechanic
- Posts: 433
- Joined: Sat Jun 16, 2007 5:00 pm
- Location: Perth, WA
- Contact:
Lol yeah they do look pretty nice, and no problems from the cops at all as they dont block the reflectors!
hmm they come with a short instruction guide as i remember.
I used , soap solution, a hairdryer, dont need a heat gun, and thats pretty much it. First you get rid of all grease and fingerprints on the light, using rubbing alcohol or similar liquid, and then u spray on the soap solution, and gently place the decal onto the lights, u can move it around to get the perfect alignment. Dont' take too long though, coz the longer you take, the soap solution would have dried up and hence limited movement. You will end up with a few rough, crimpled edges and airbubbles.
Use a credit card to shift the bubbles around, dont worry too much about the tiny bubbles. as for the crimpled and messy edges, use the hairdryer to smooth them out. What i did with the tiny bubbles is that i left the decal on the car overnight, ( that removes most of the bubbles through natural diffusion). With the left over bubbles, use a needle to burst them gently. And soon enough they would look perfect, or almost perfect! lol