Many things have been done since that last post!
I'll bombard this place with more photos and less words.. [Not sure why some of the photos have rotated in a different direction]
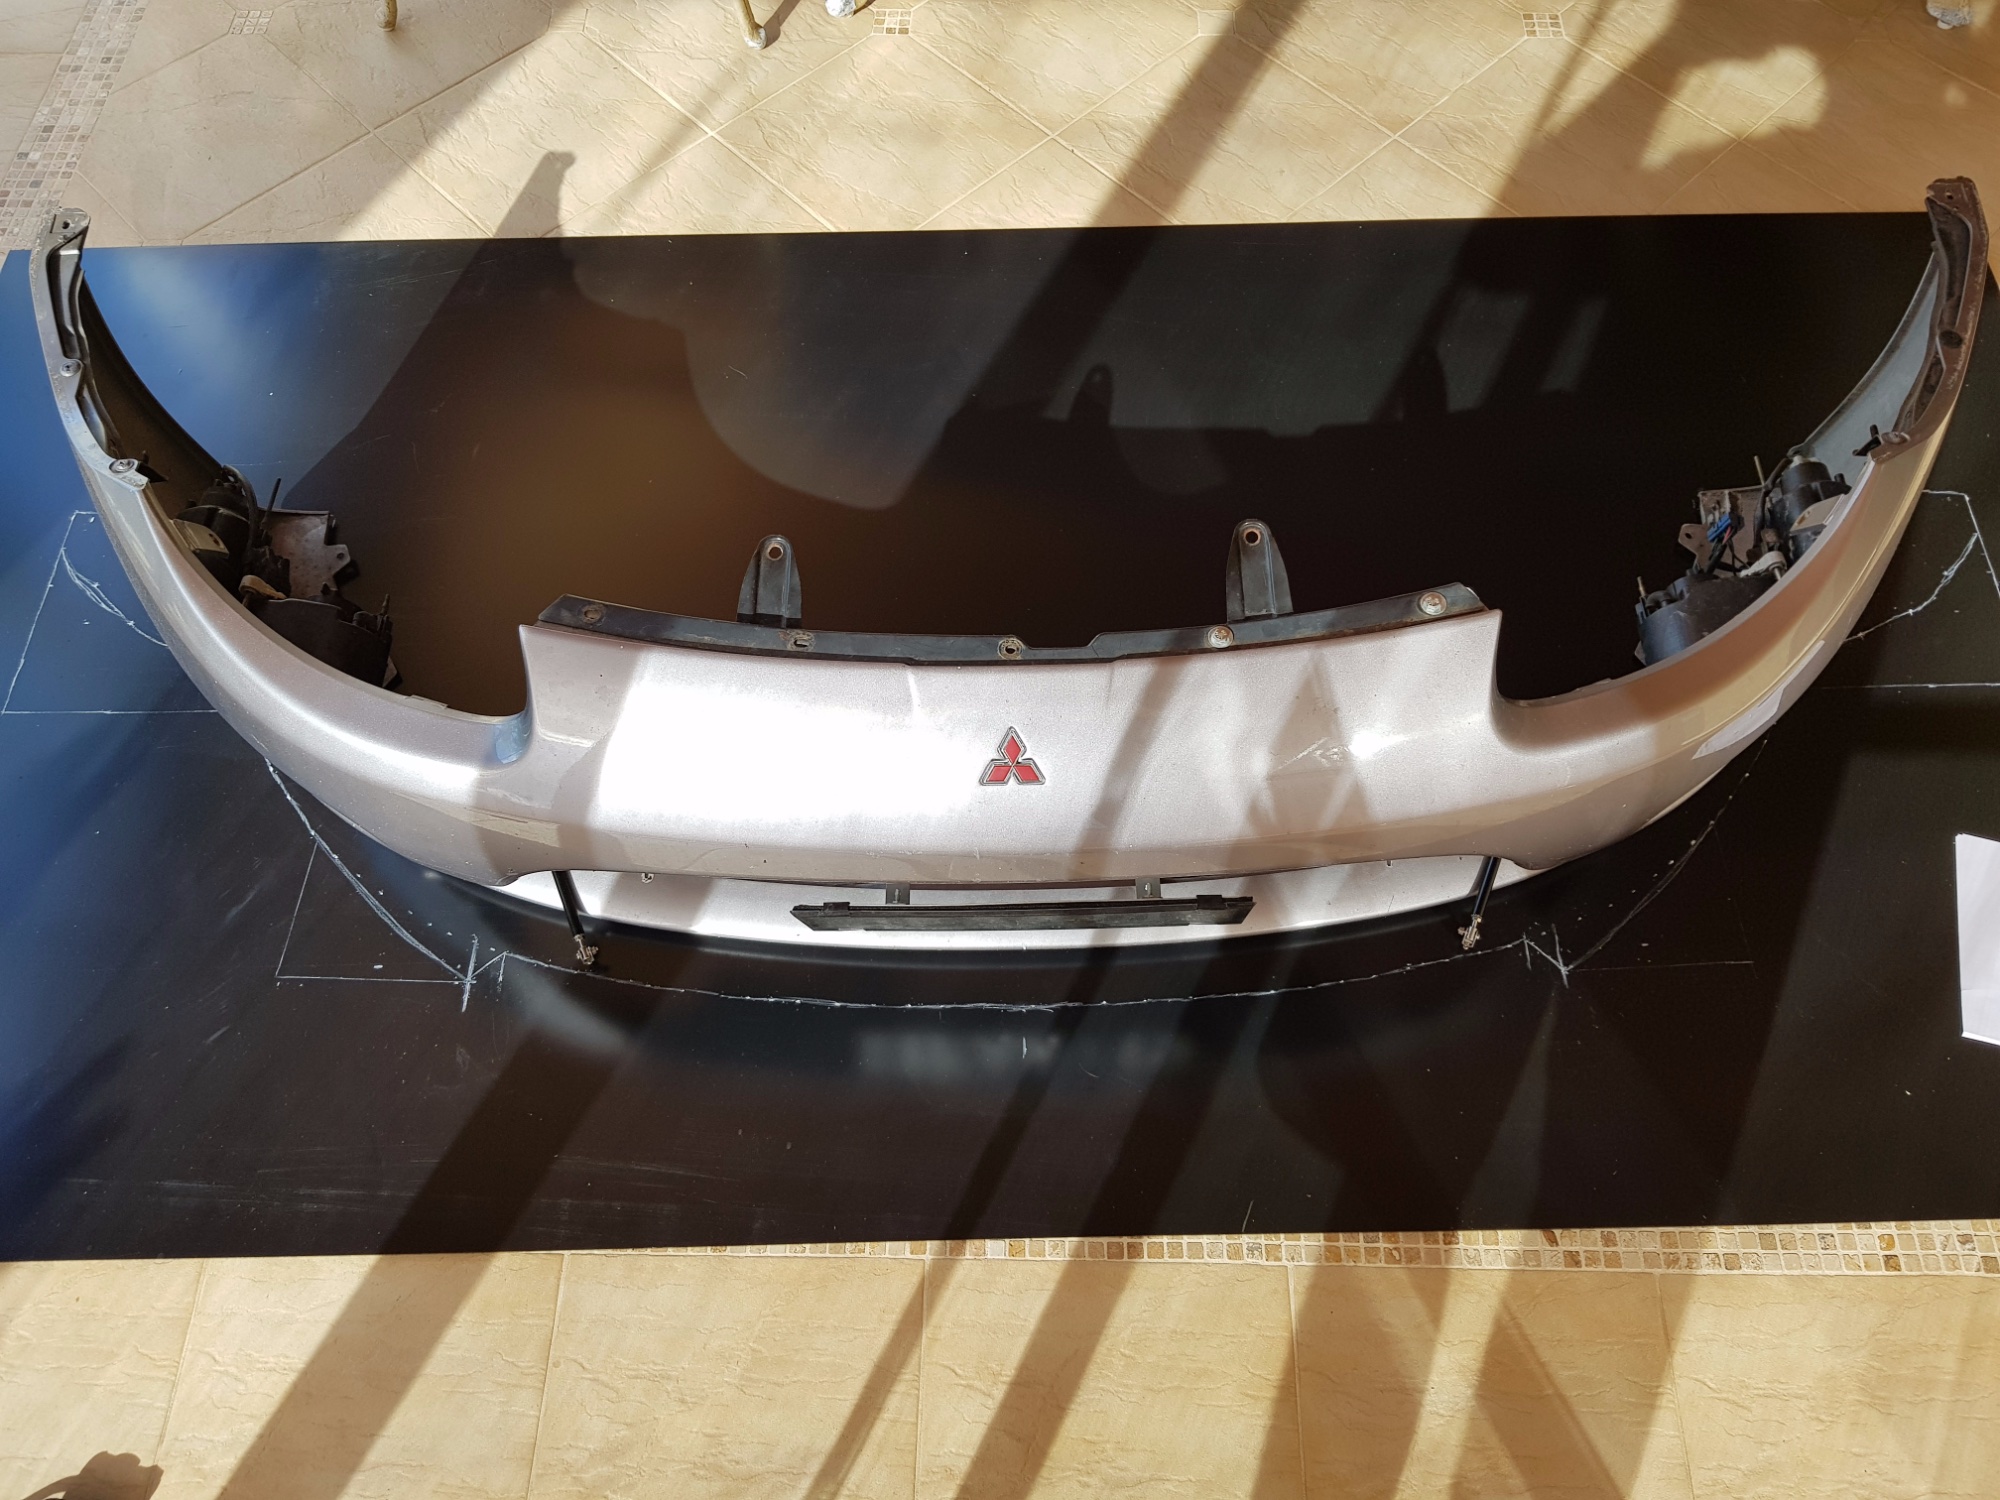
After cutting that bumper, I made a splitter for it:

- 1.jpg (612.16 KiB) Viewed 20094 times
- 2.jpg (745.01 KiB) Viewed 20094 times

- 3.jpg (1.06 MiB) Viewed 20094 times
Then acquired a set of DC side-skirts, which I repainted along with mi whale shark bumper:
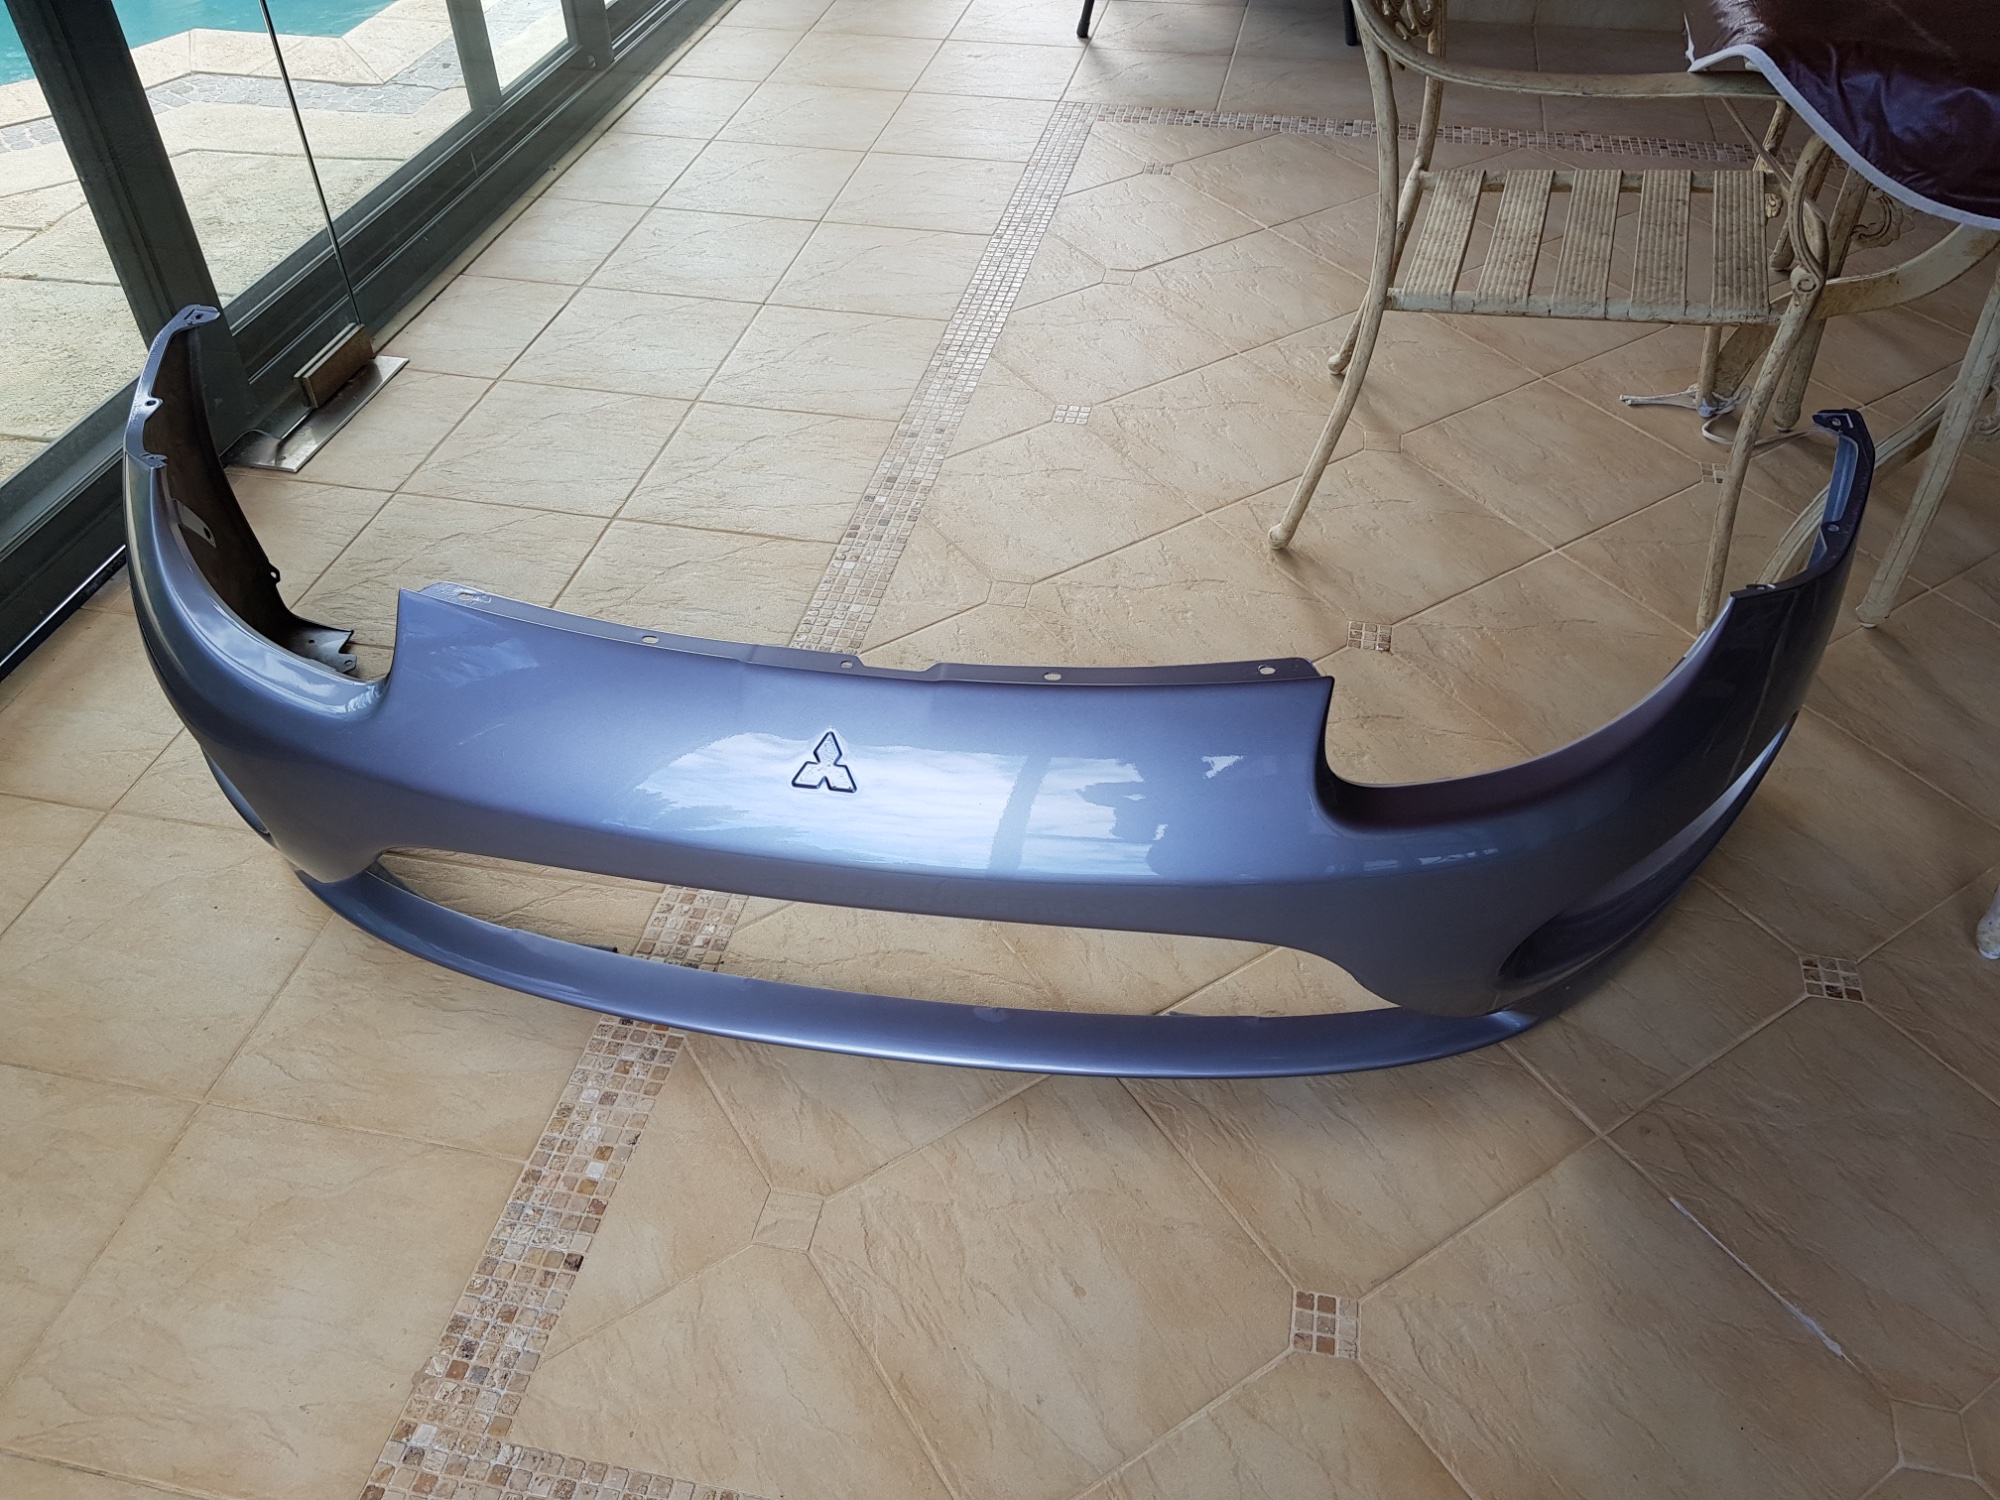
- 4.jpg (921.19 KiB) Viewed 20094 times
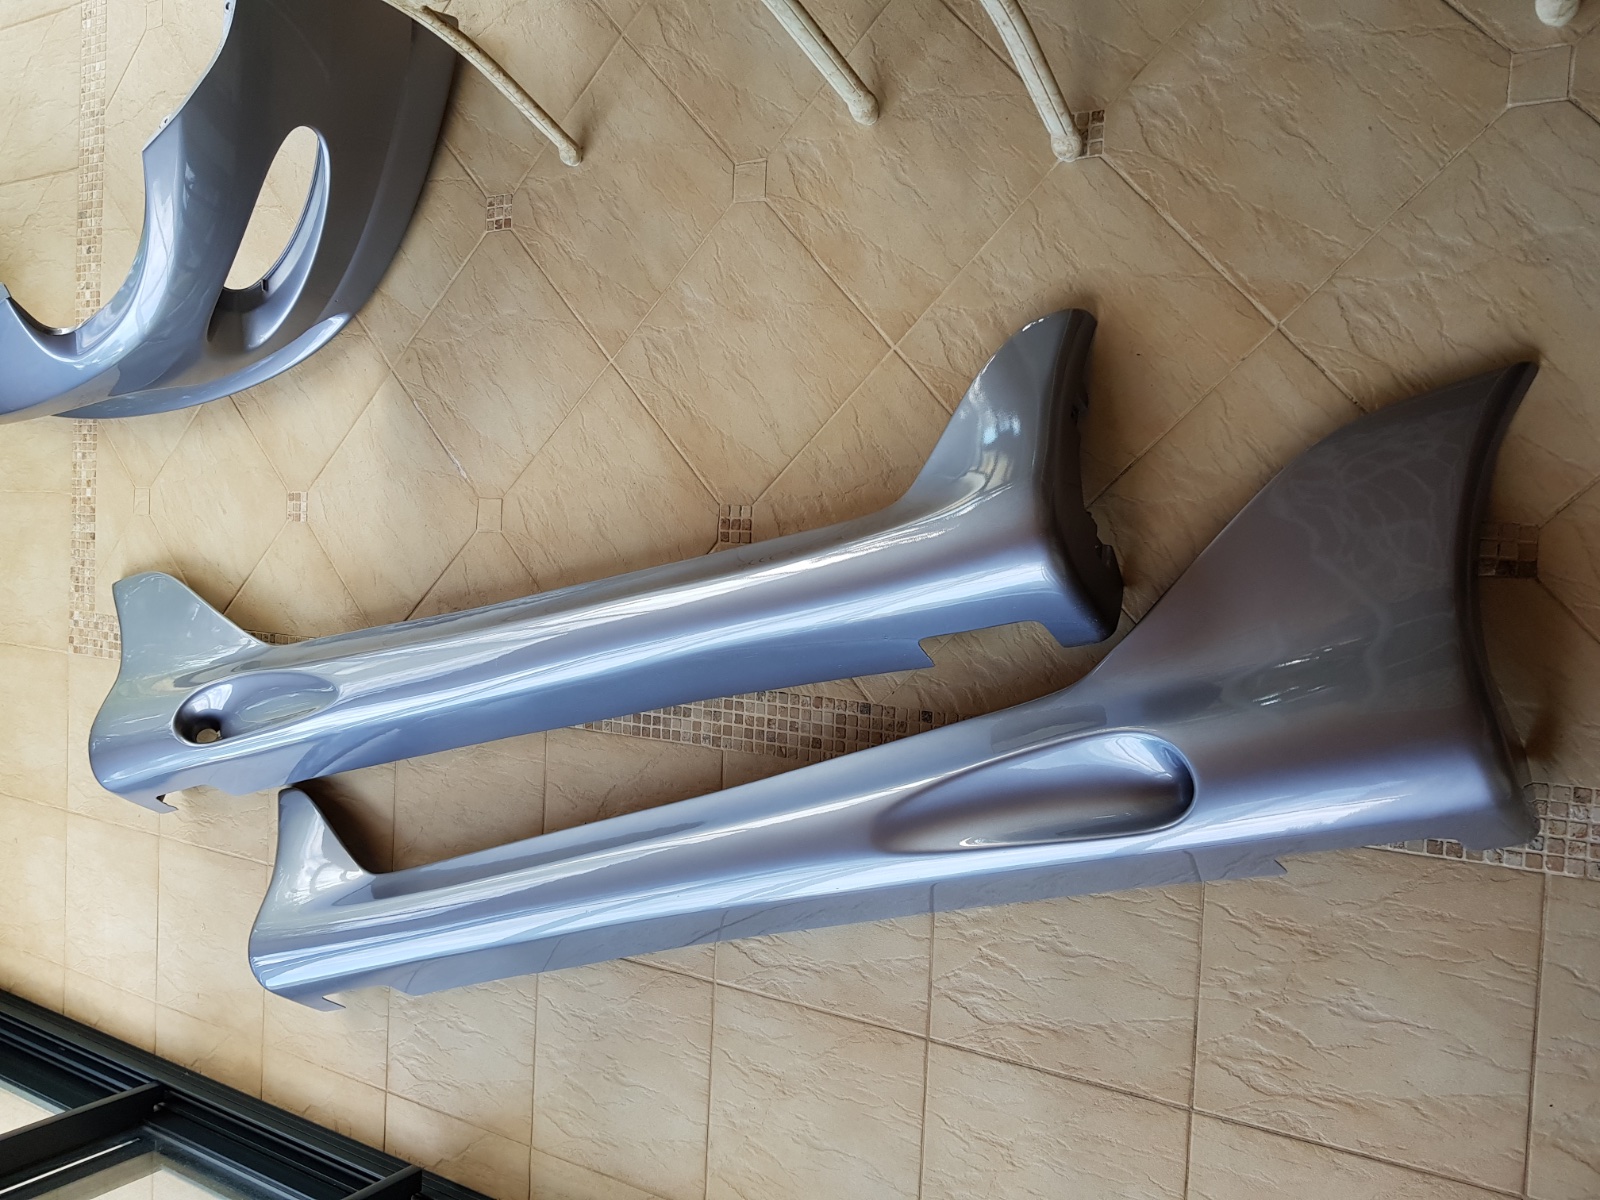
- 5.jpg (606.71 KiB) Viewed 20094 times
Replaced my trailing arm bushes:

- 6.jpg (628.01 KiB) Viewed 20094 times
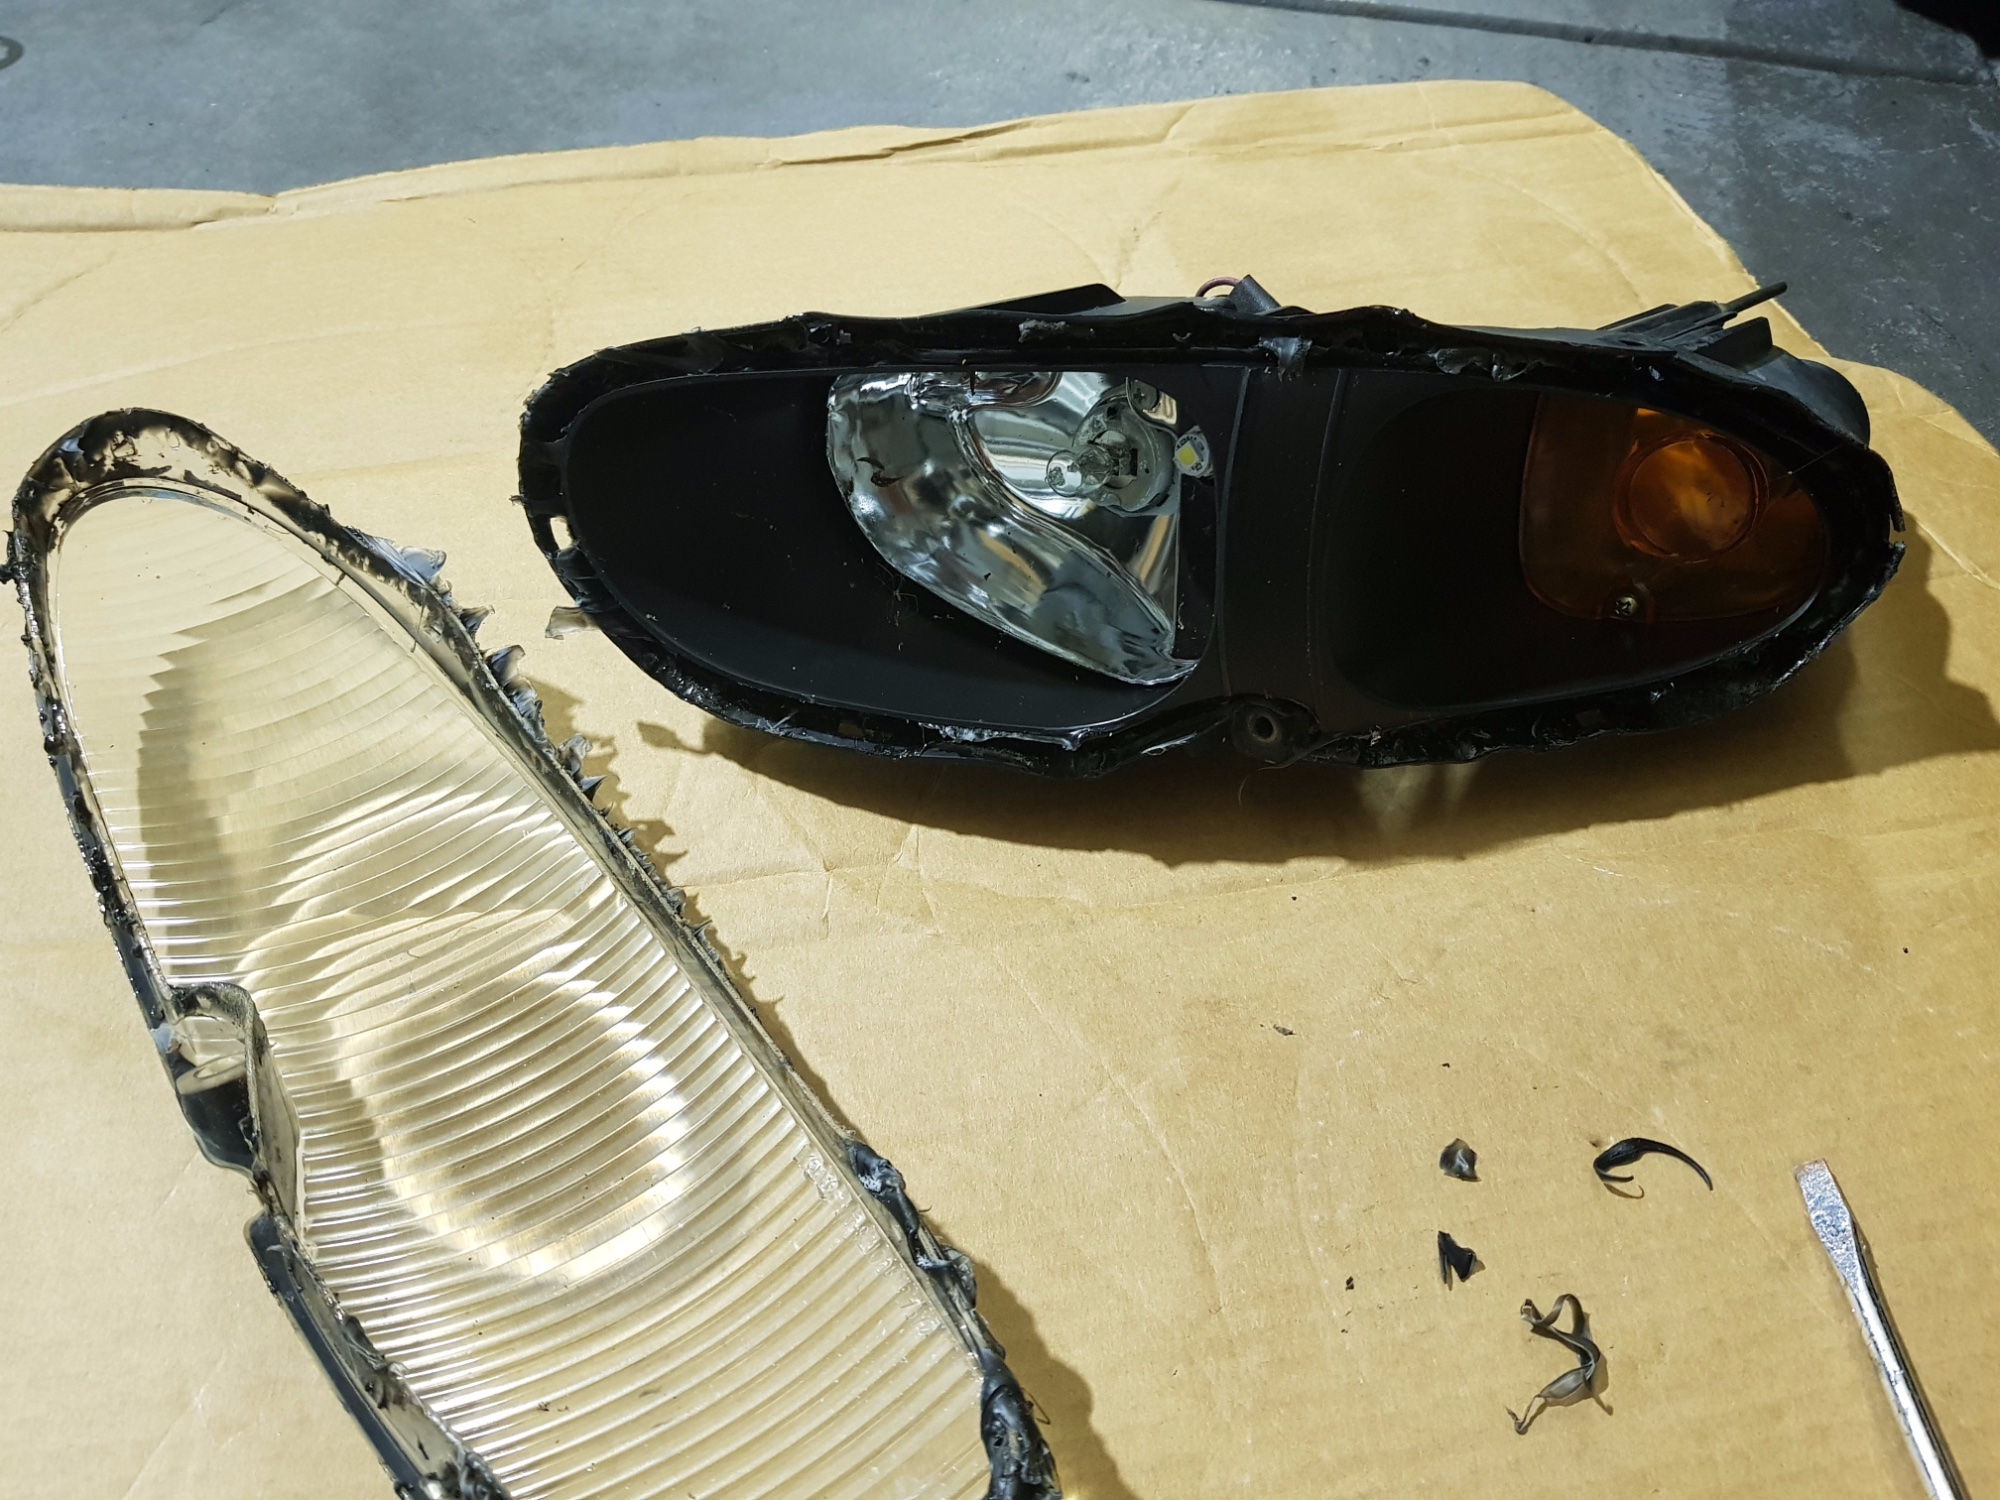
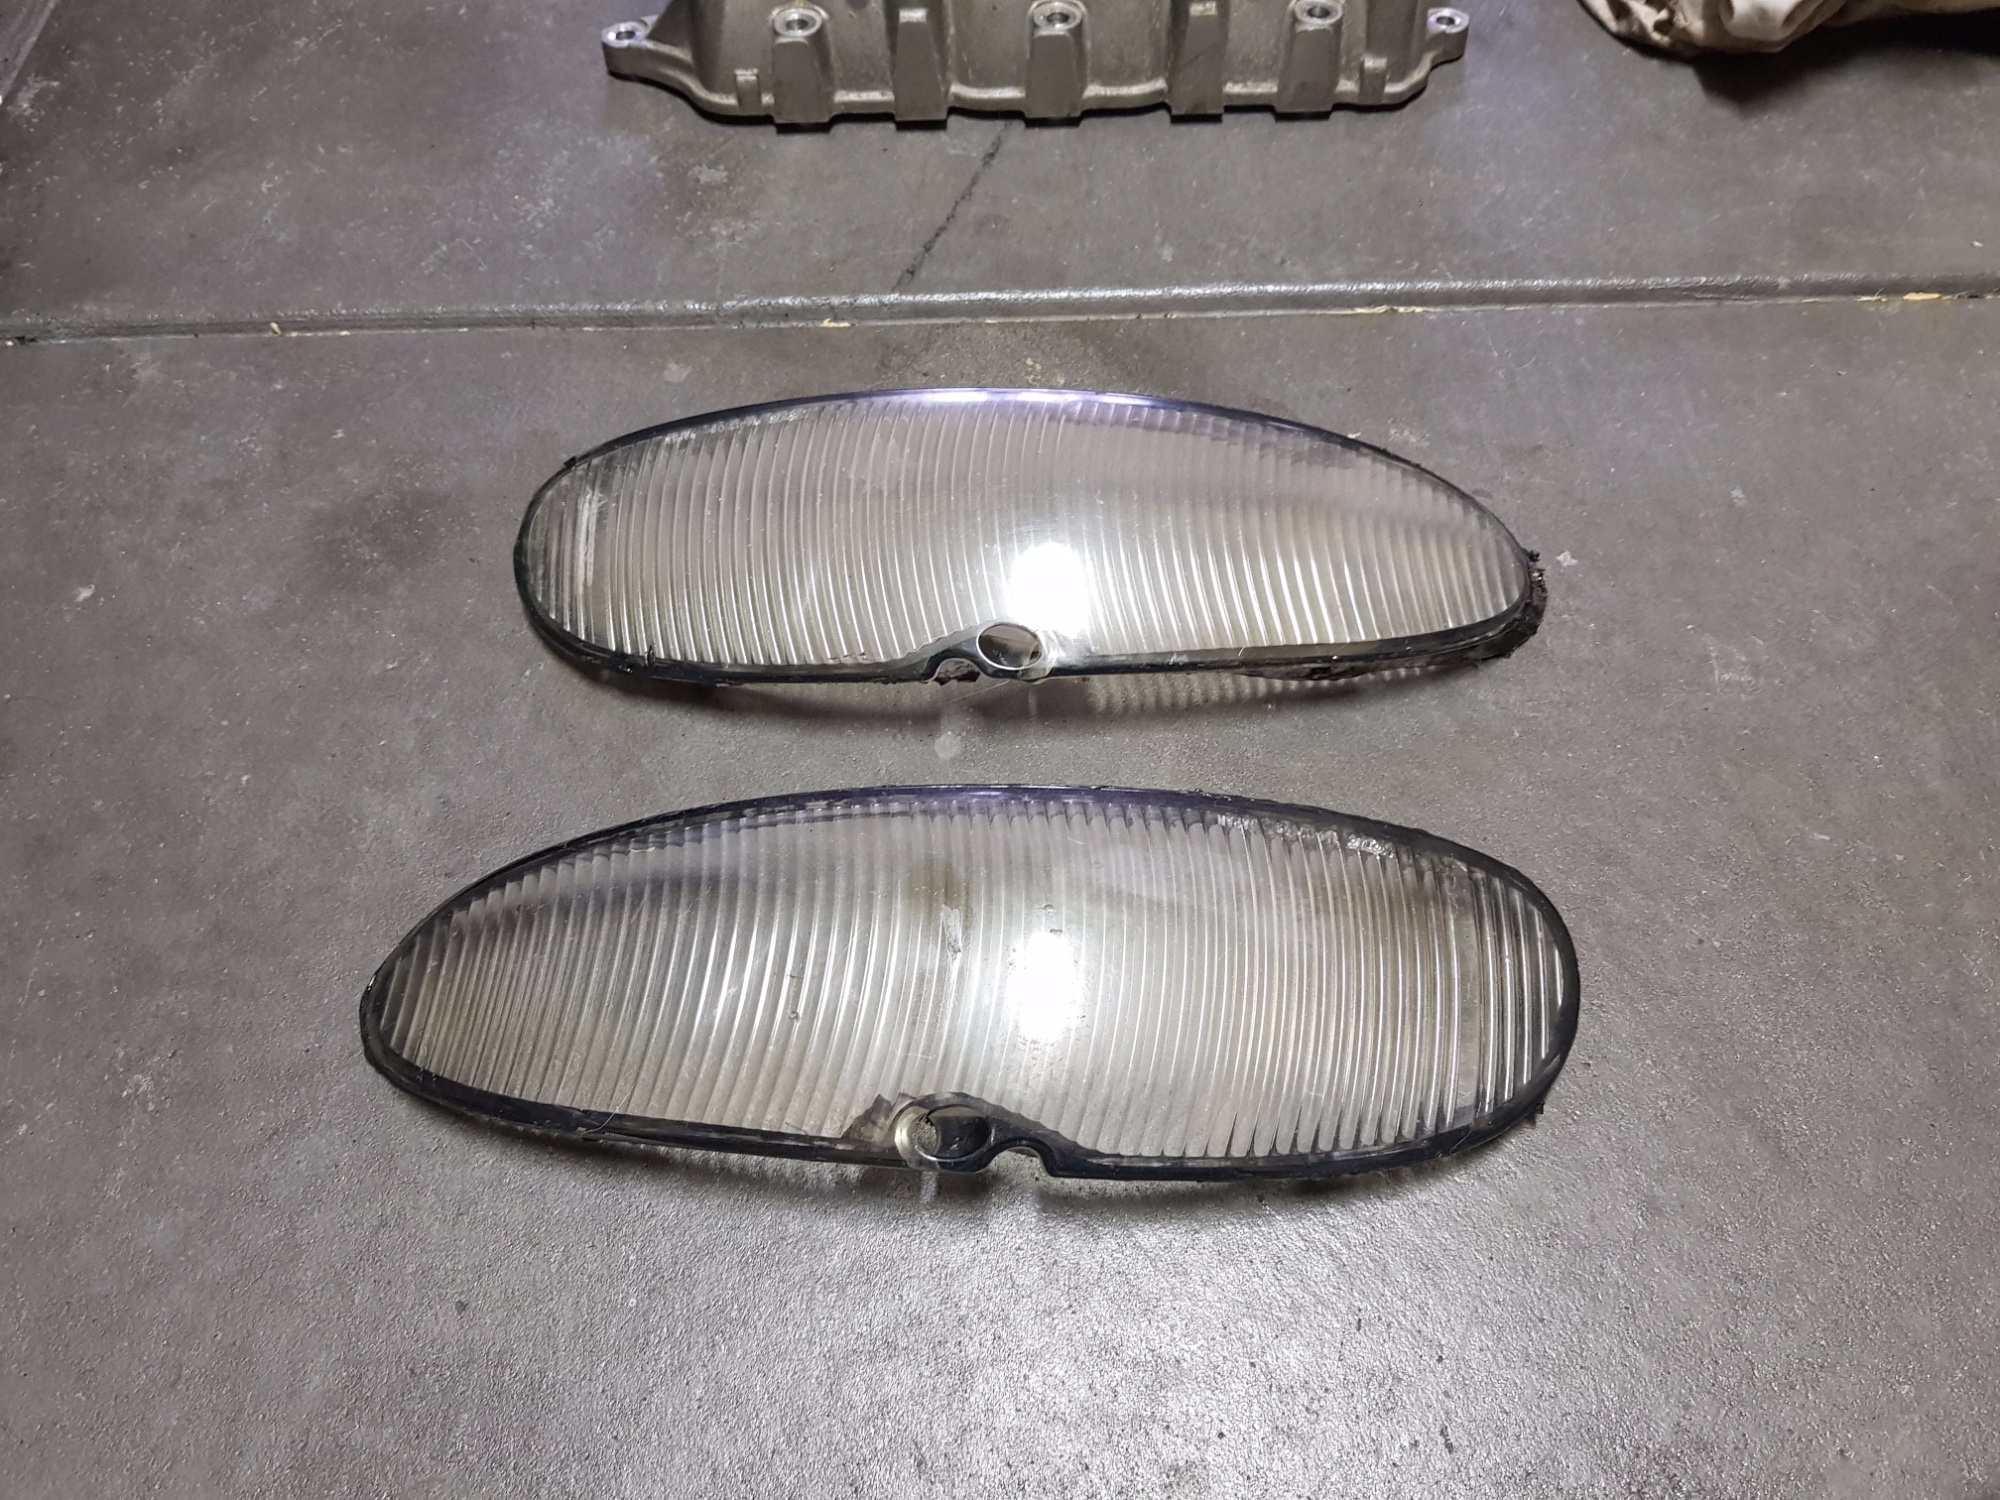
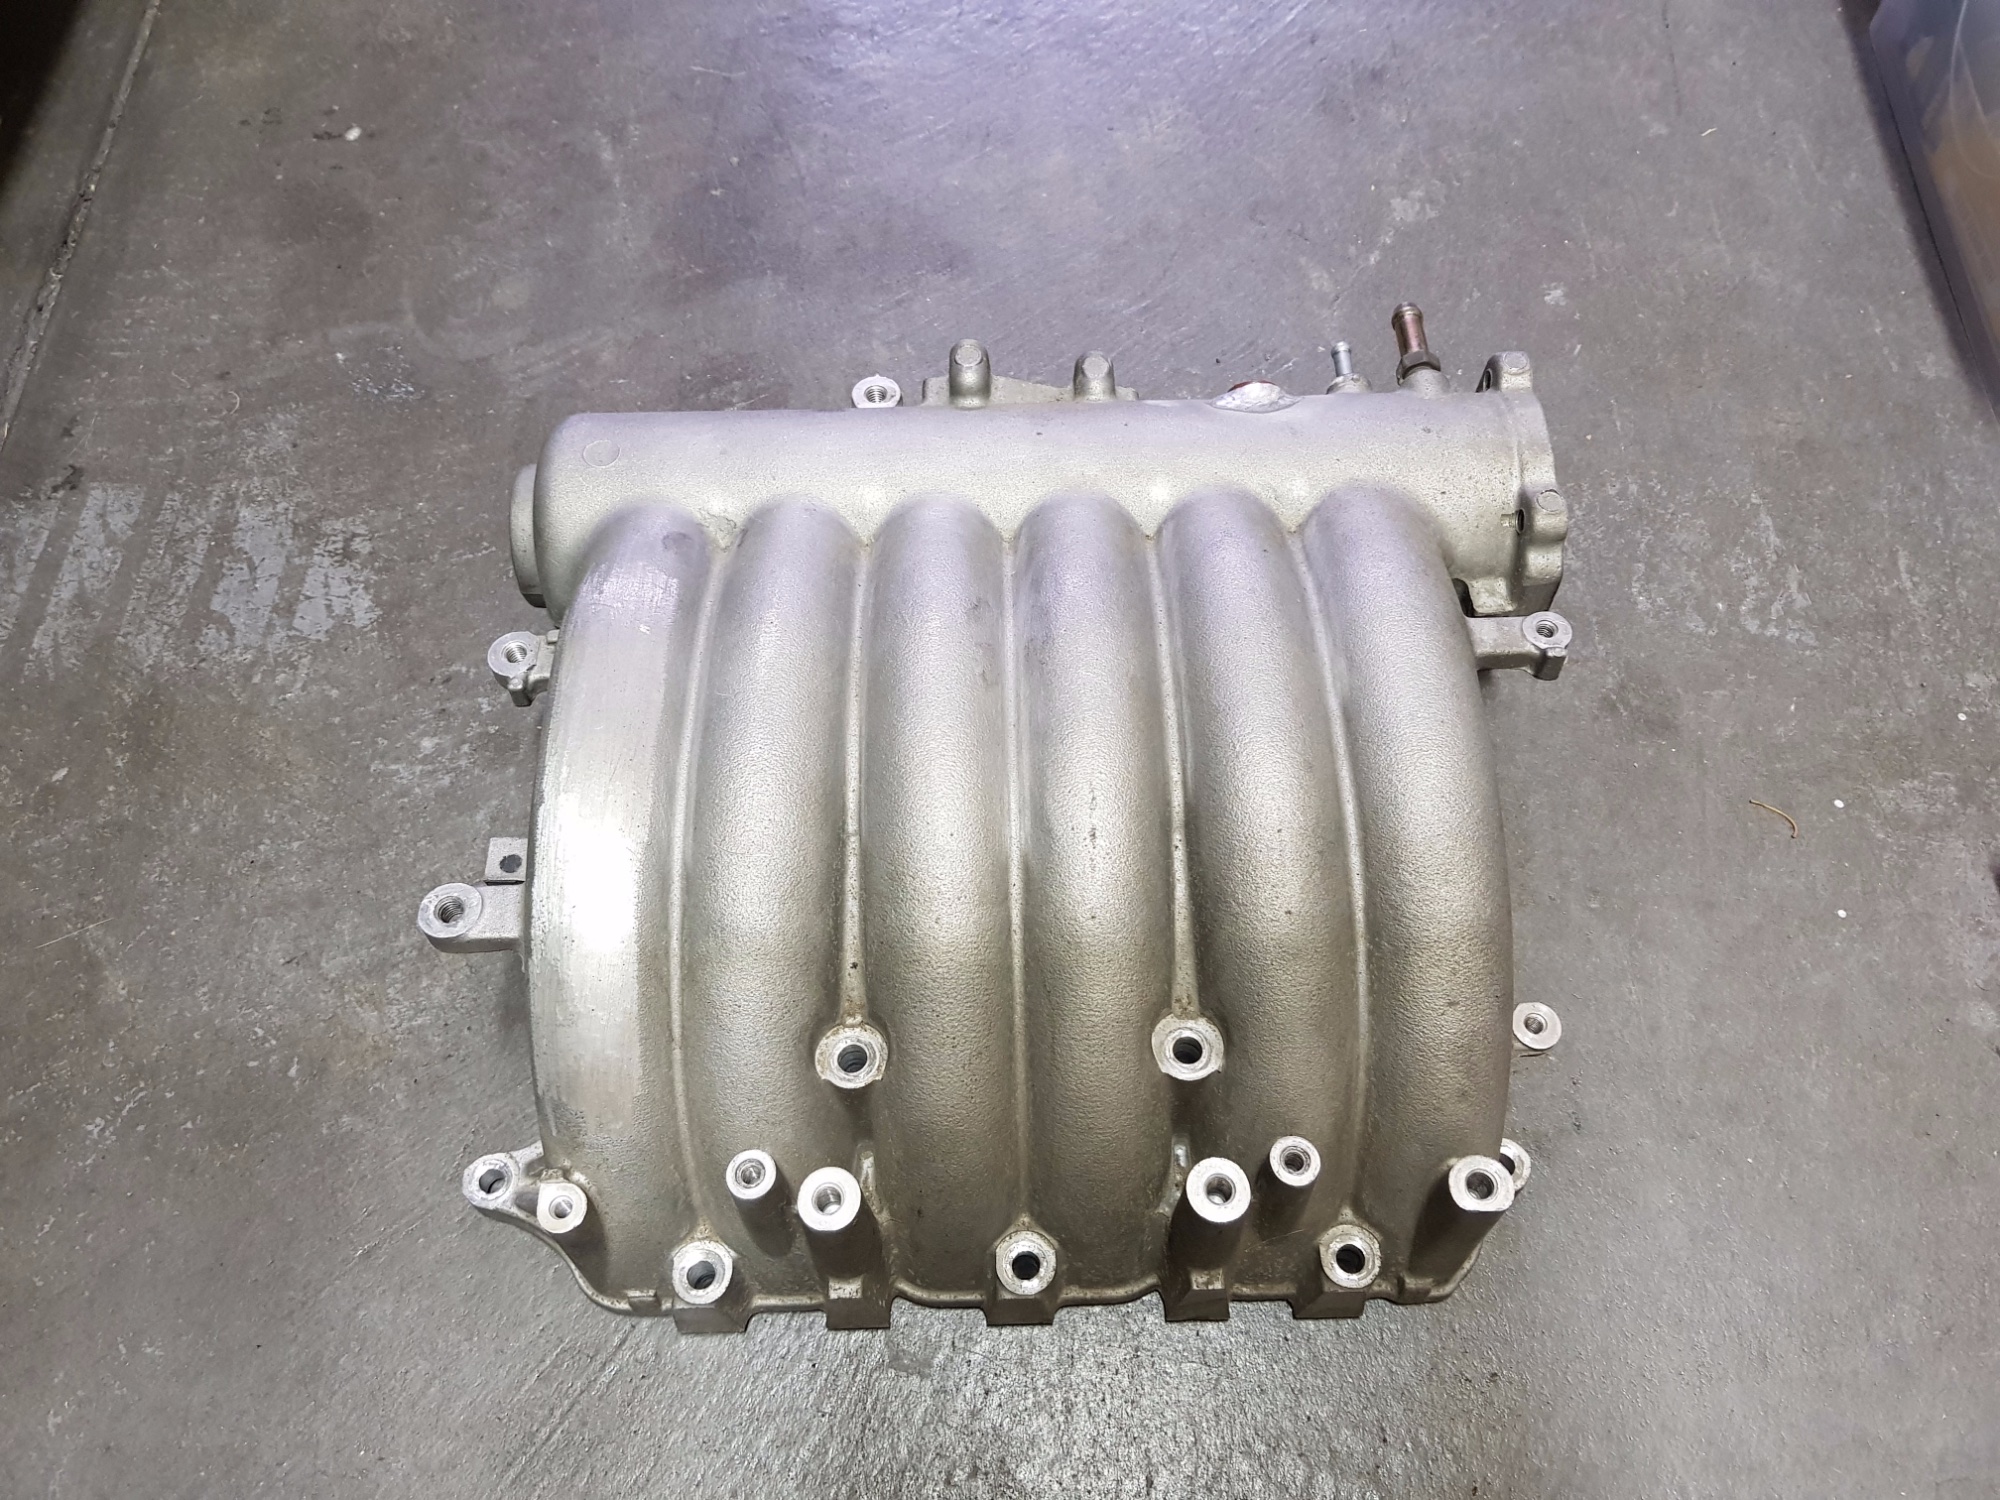
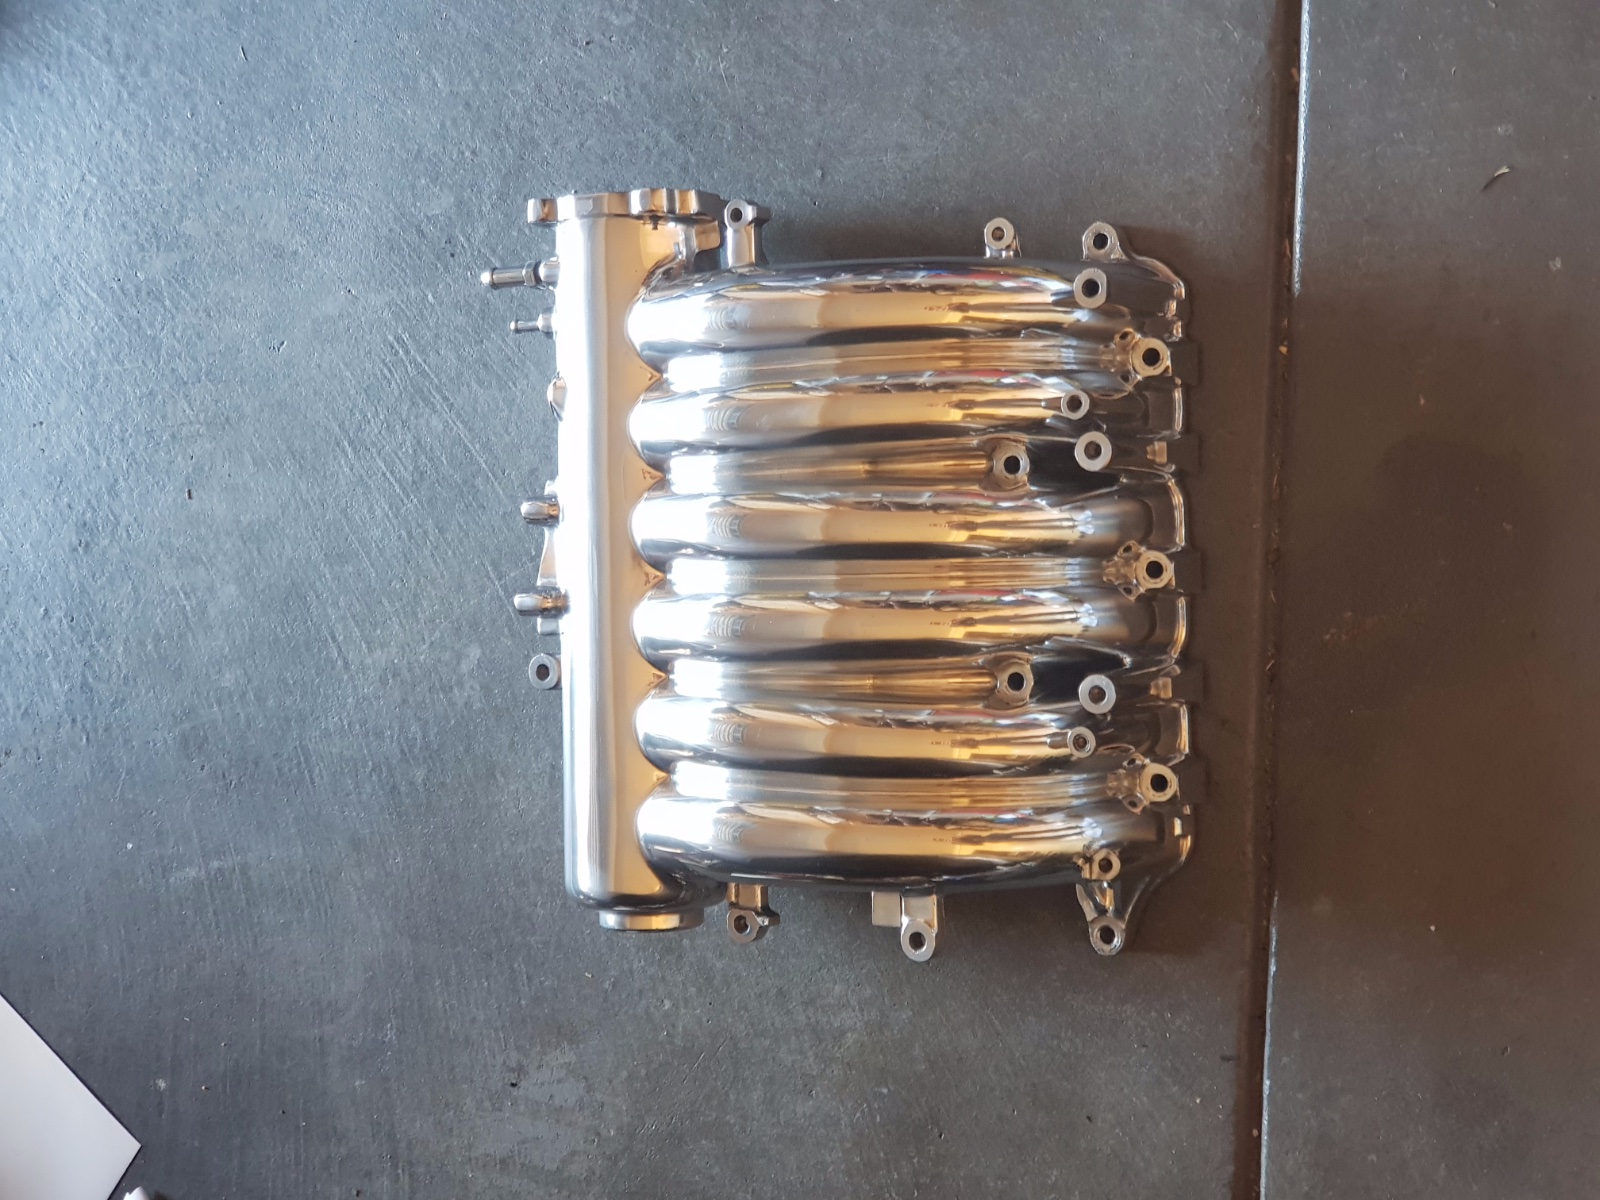
Took apart the foglight housing, to get rid of the disgusting plastic ridges inside. Sent them to a machining shop, who sanded them out, and also polished my intake. Here's a before and after:
- 7.jpg (856.55 KiB) Viewed 20094 times
- 8.jpg (1.02 MiB) Viewed 20094 times

- 9.jpg (876.18 KiB) Viewed 20094 times
- 10.jpg (1014.11 KiB) Viewed 20094 times
- 11.jpg (584.48 KiB) Viewed 20094 times
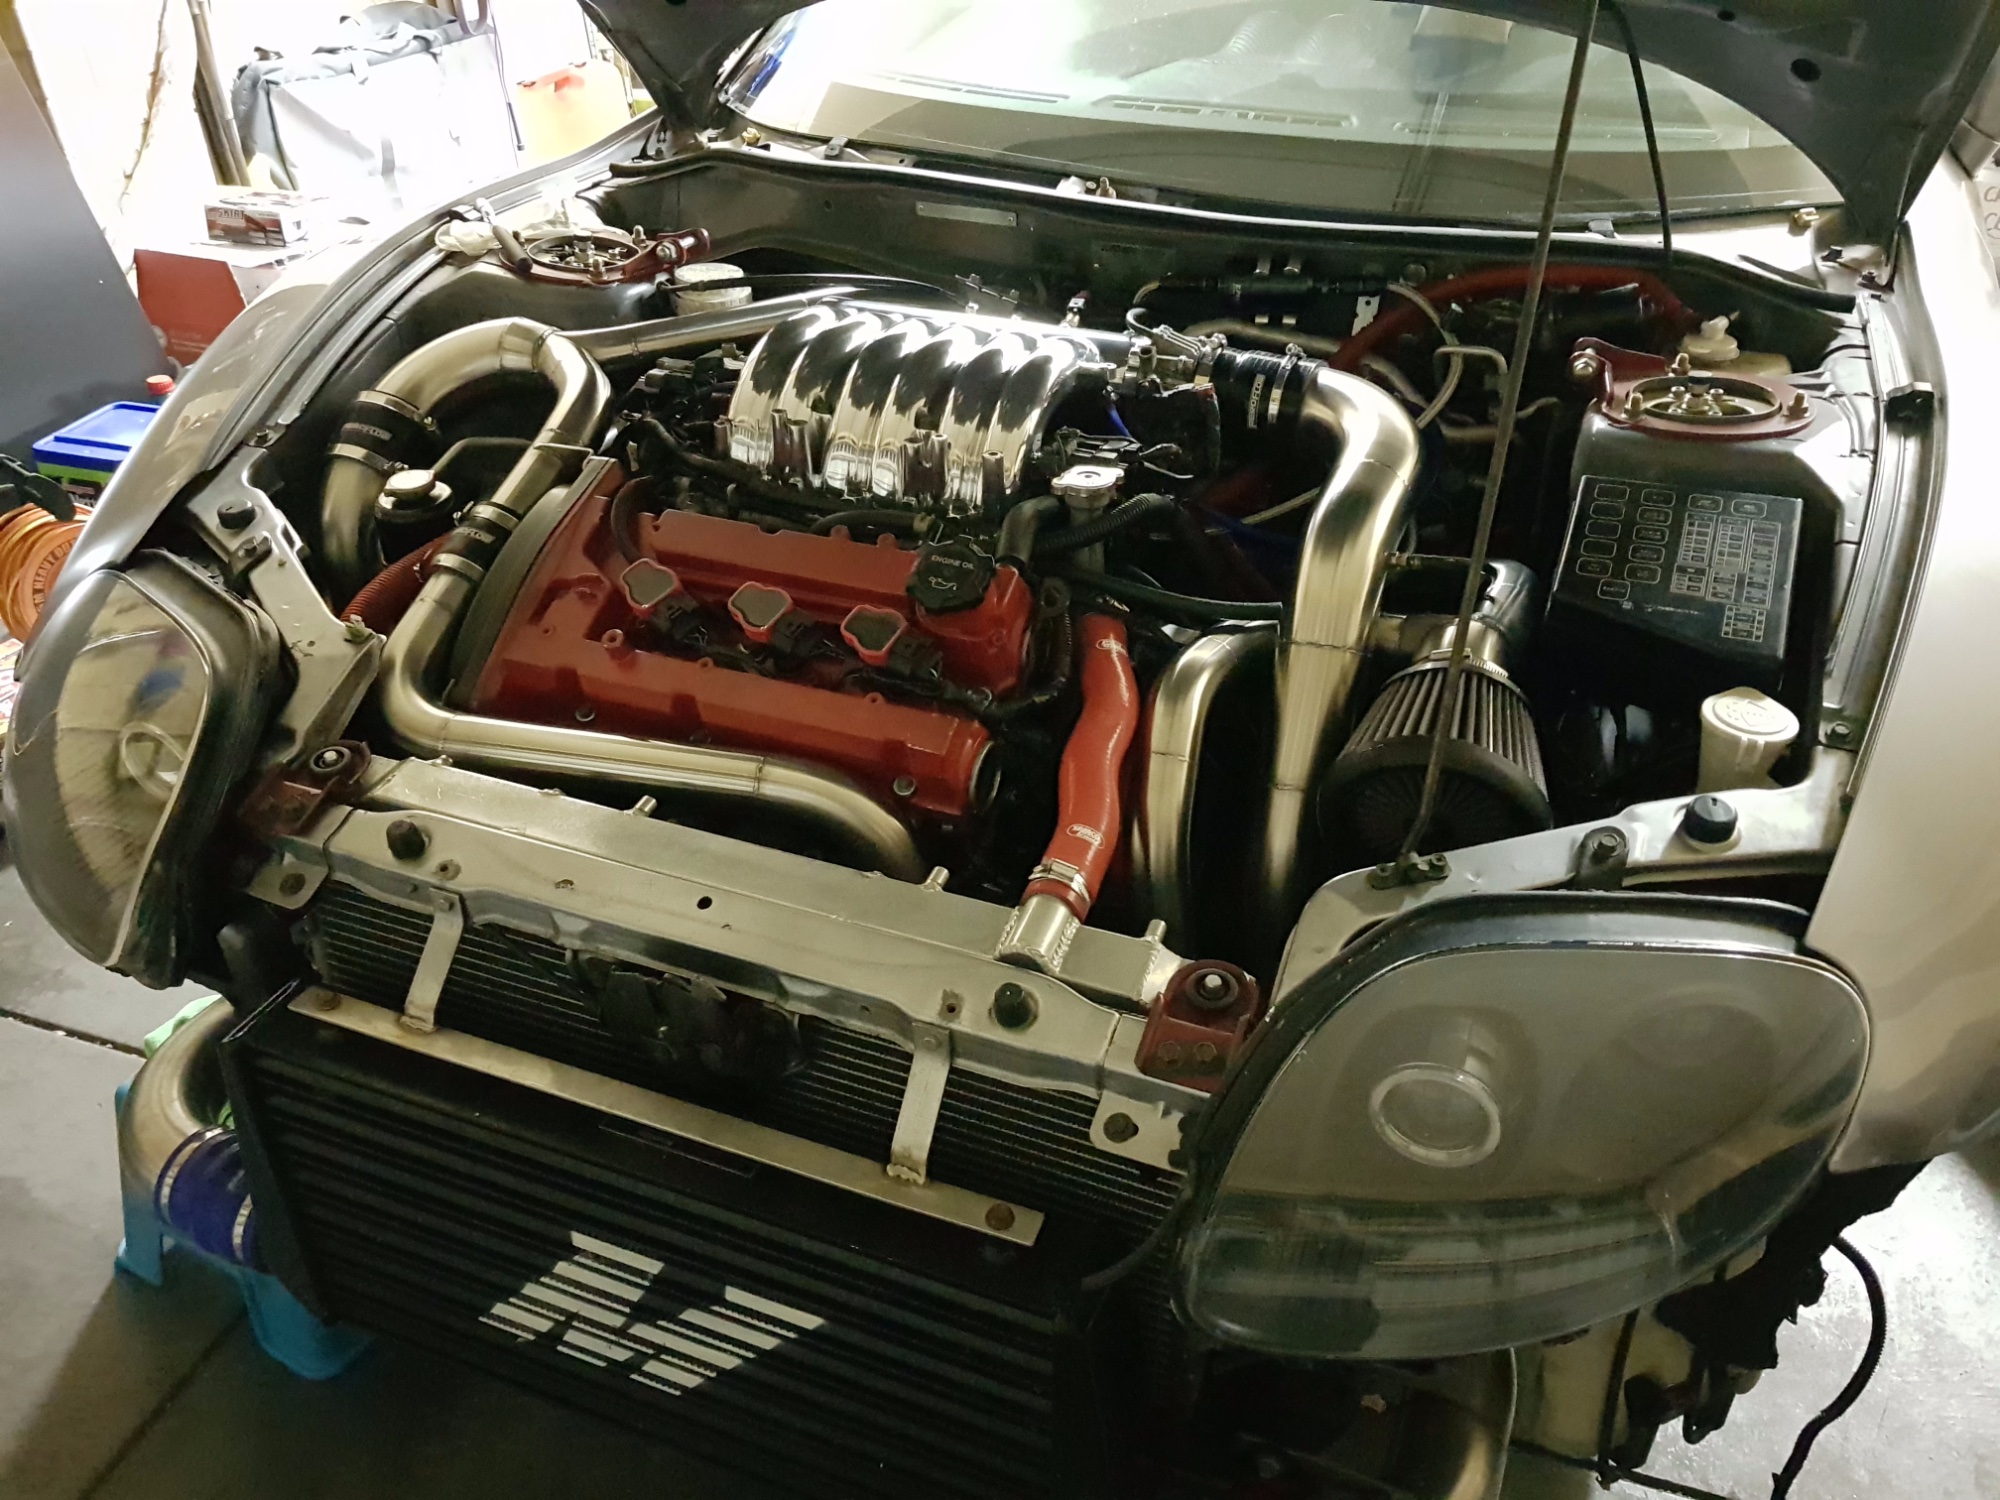
- 12.jpg (866.44 KiB) Viewed 20094 times
Noice and shoiiinyyy.
Then got myself a set of Evo X BBS rims. Which had a really bad paint job on them. So decided to clean it up a little and get them powder coated. Then whacked a set of Michellin PS4's on them:
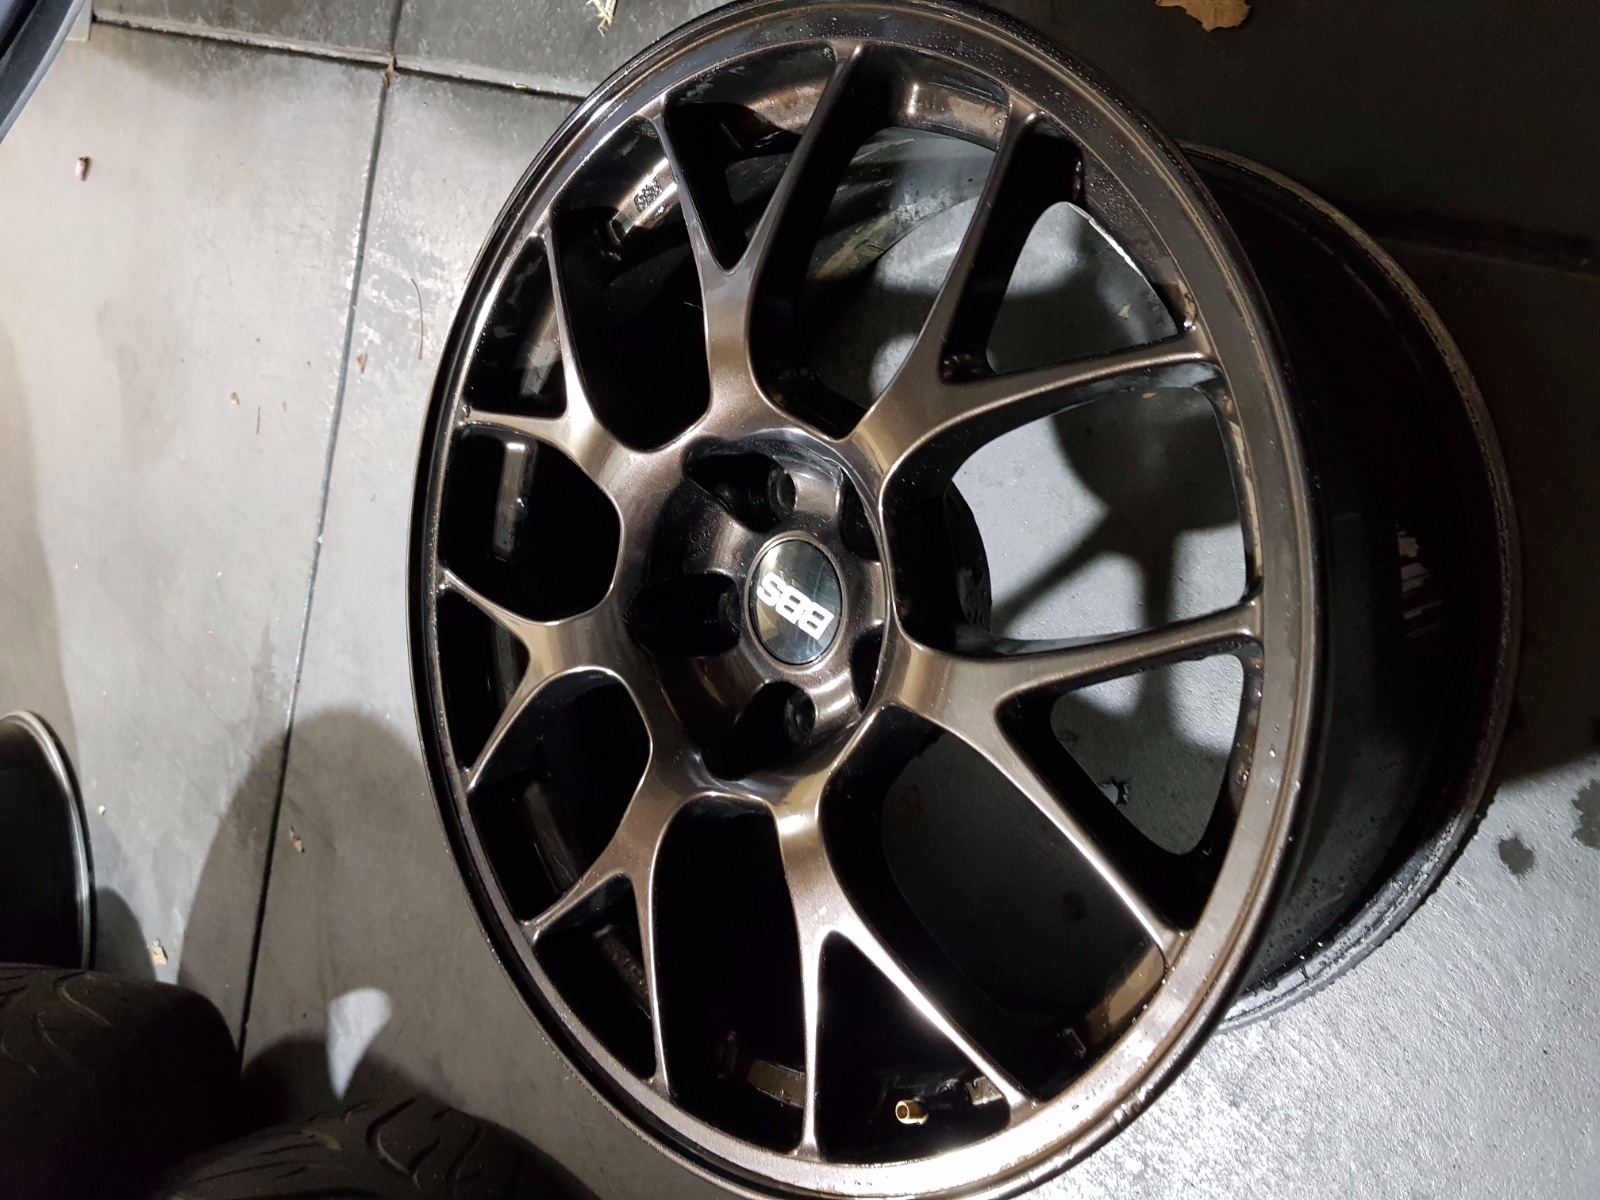
- 13.jpg (568.35 KiB) Viewed 20094 times
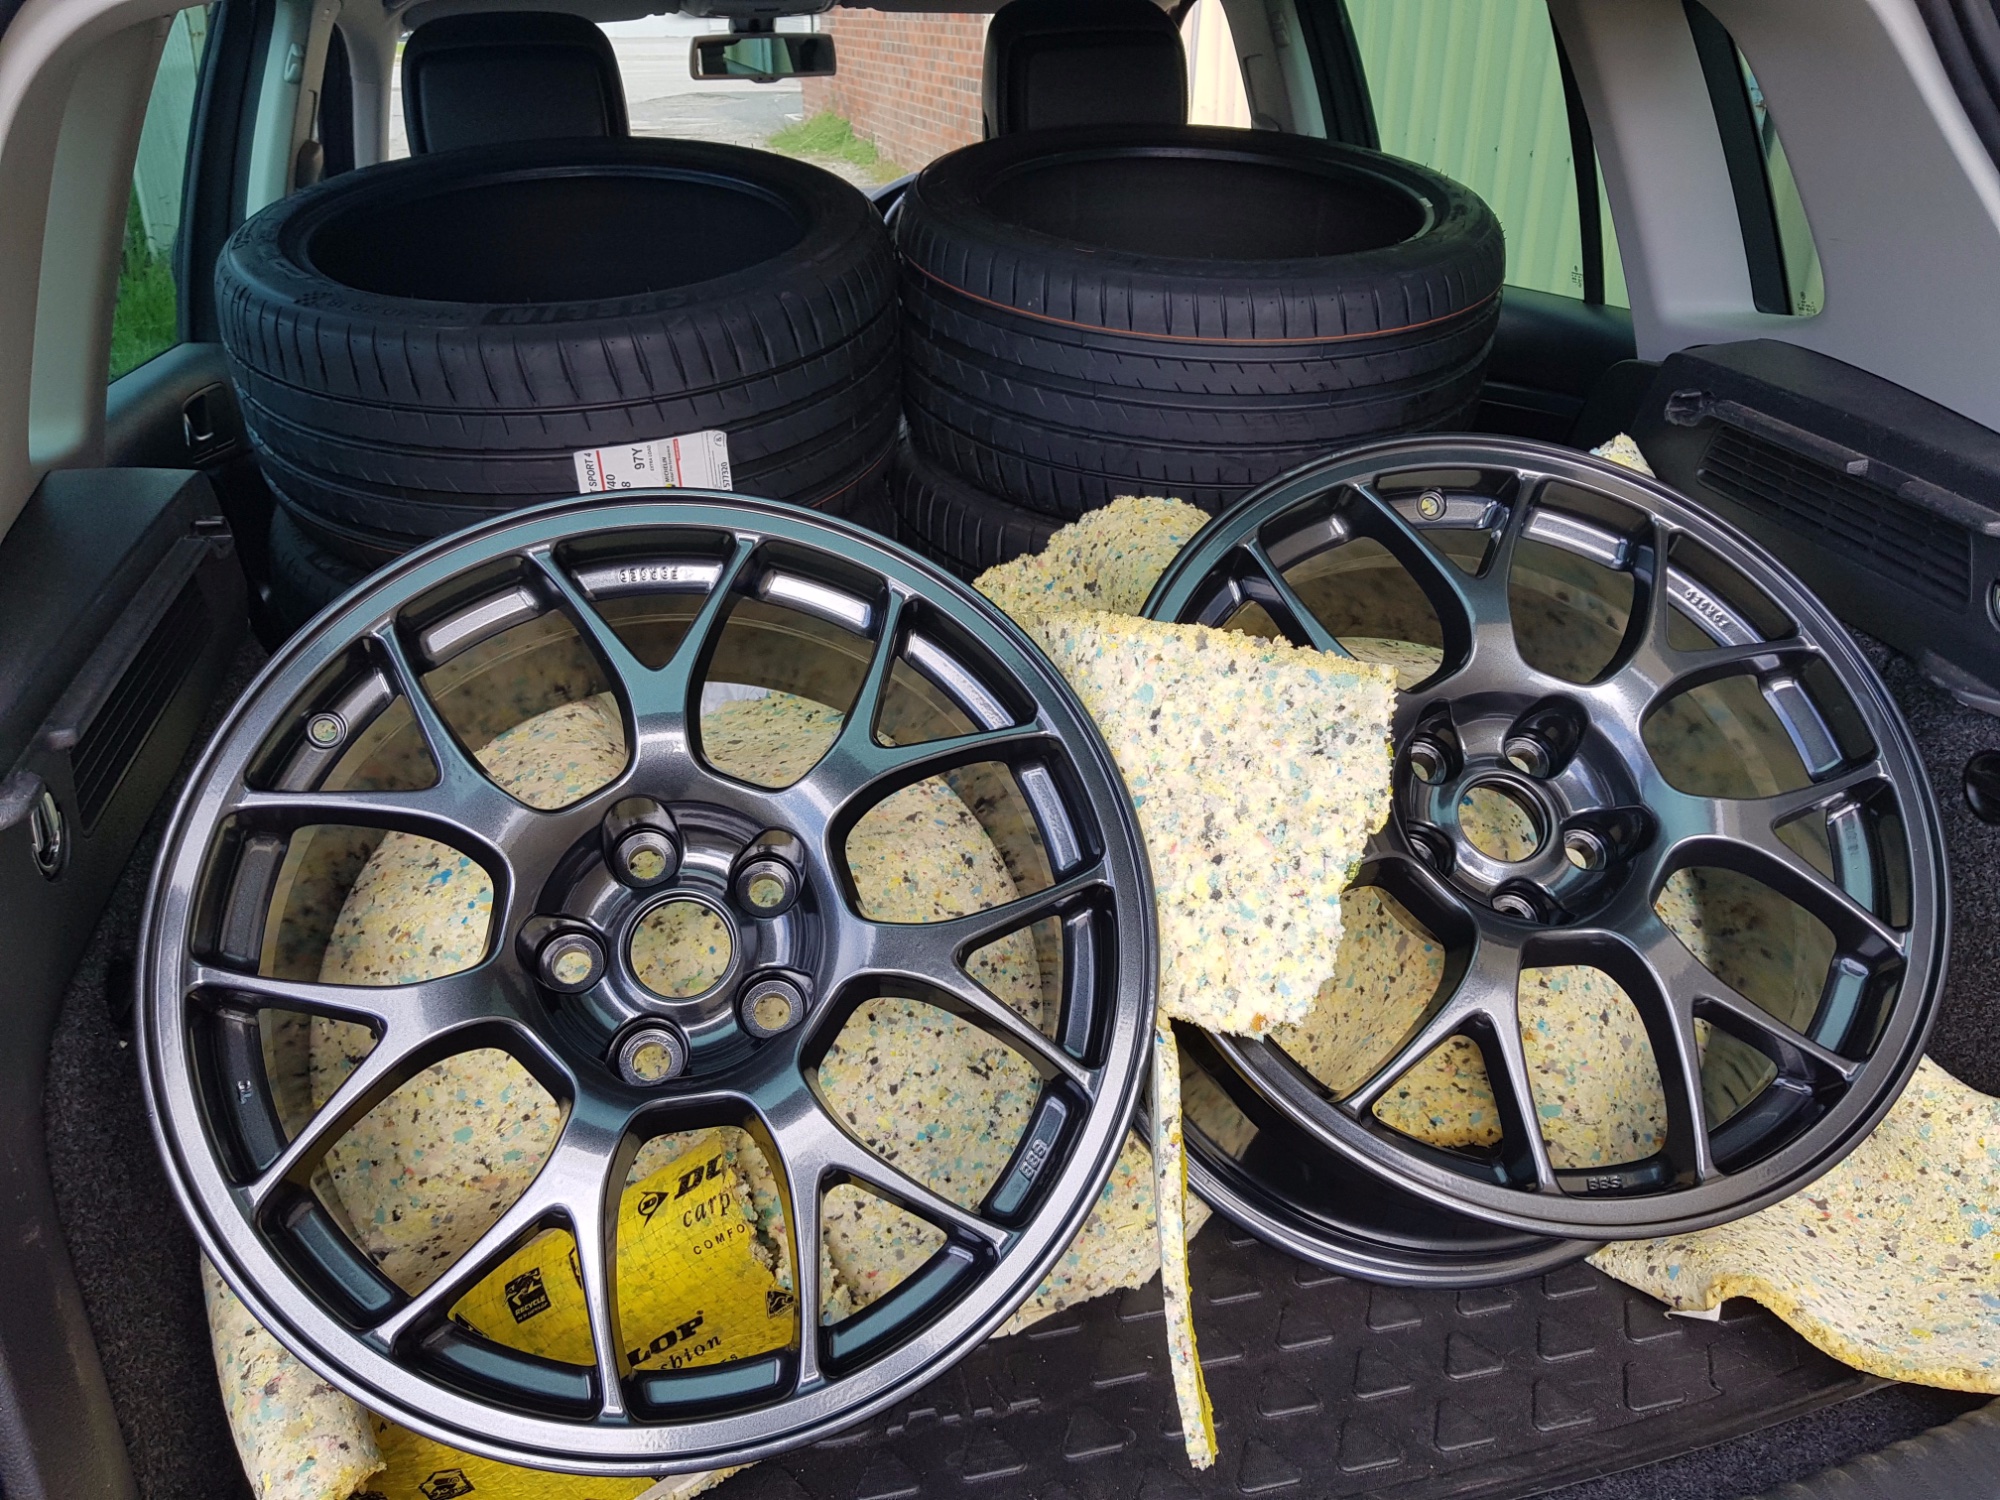
- 14a.jpg (1.05 MiB) Viewed 20094 times
After that, I replaced all the brembo hardware; sliding pins and retaining springs:
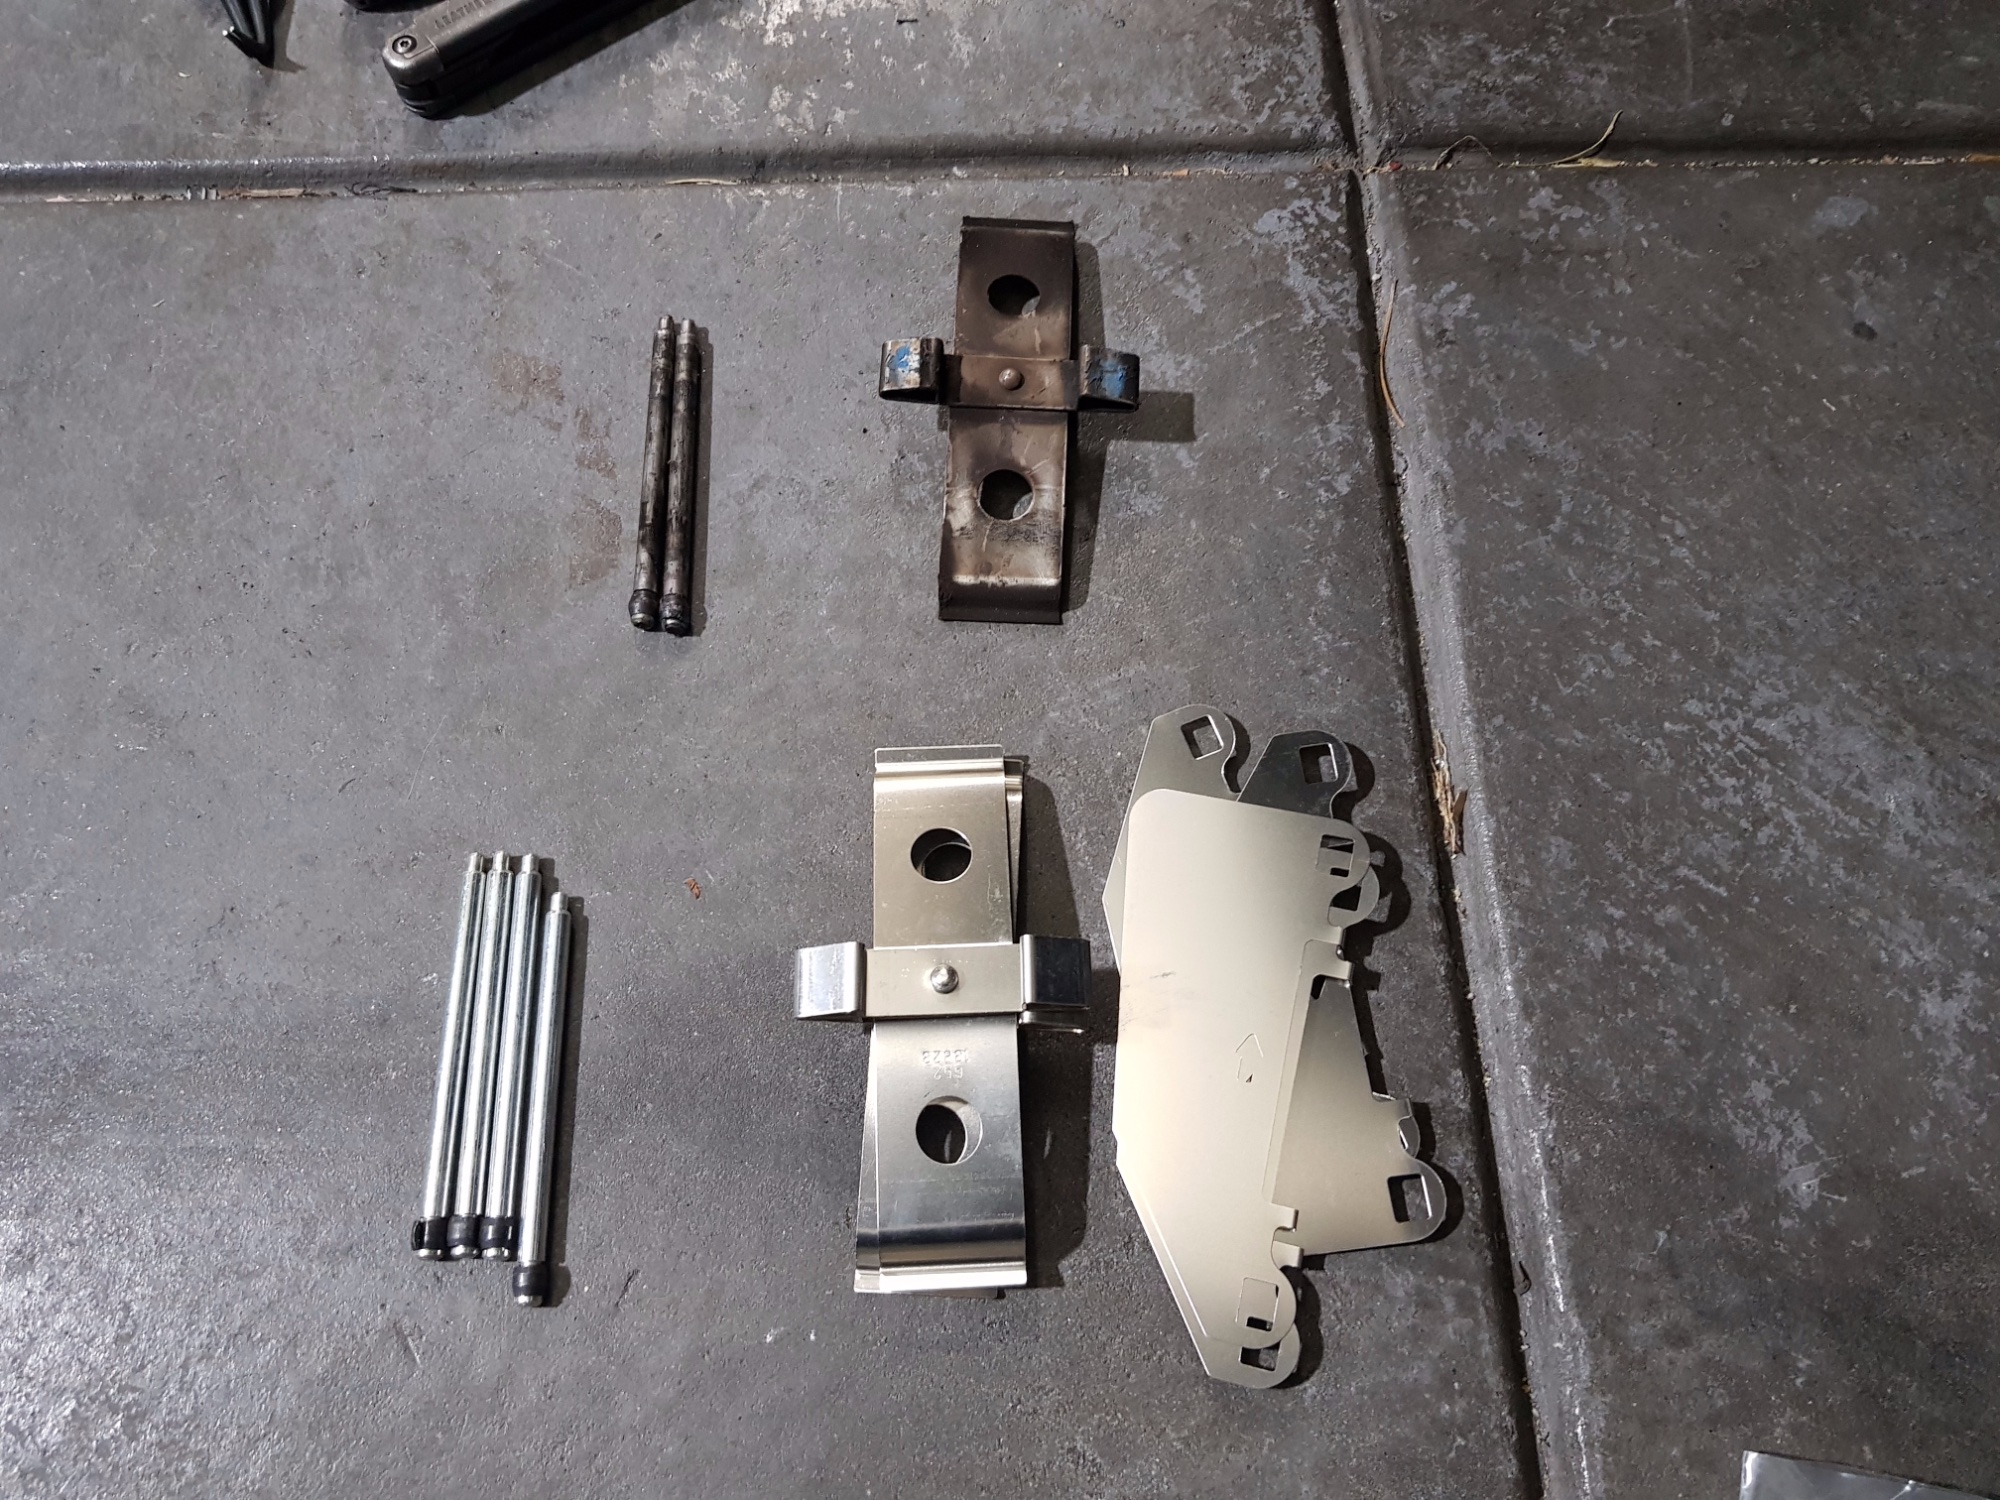
- 15.jpg (1.03 MiB) Viewed 20094 times
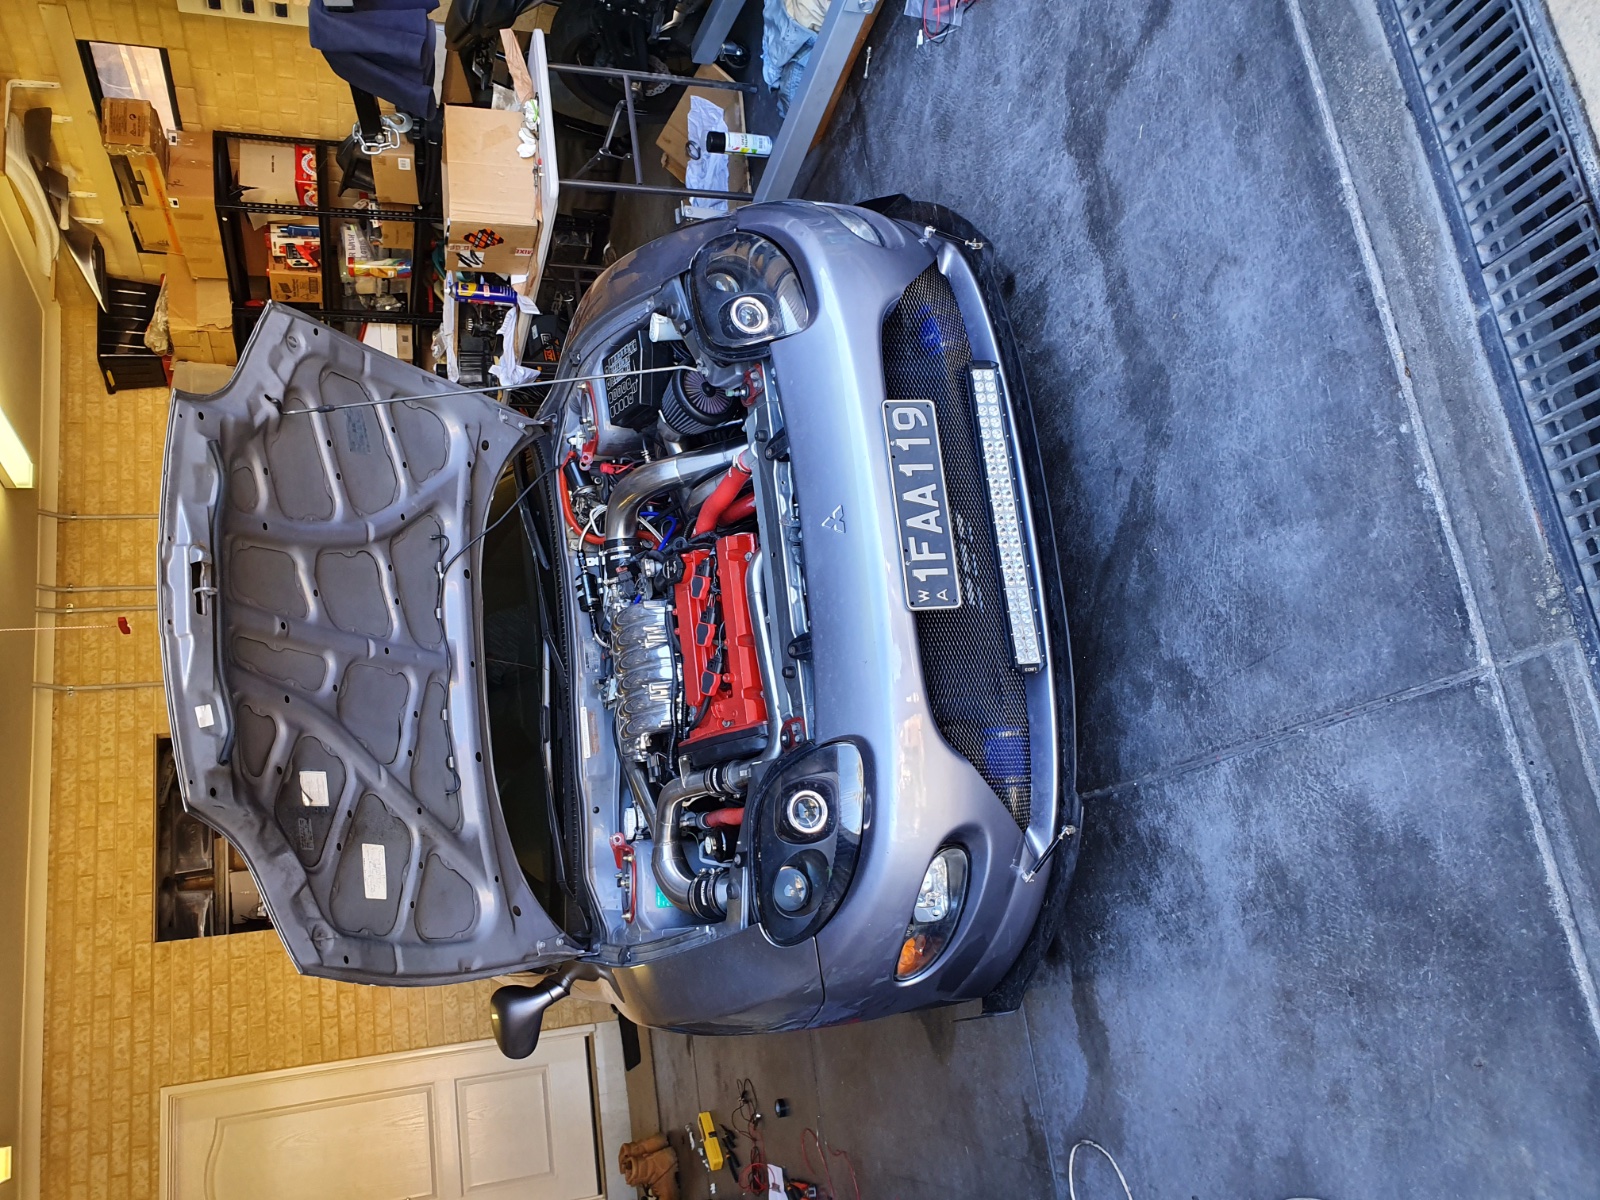
Got her fully tuned, and installed a CF missile switch because I'm a ricer, which toggles my haltech map into low and high boost; low boost at 8psi for daily driving, and high boost at 16psi with some fueling, pops and flames for spirited driving.. because why not.
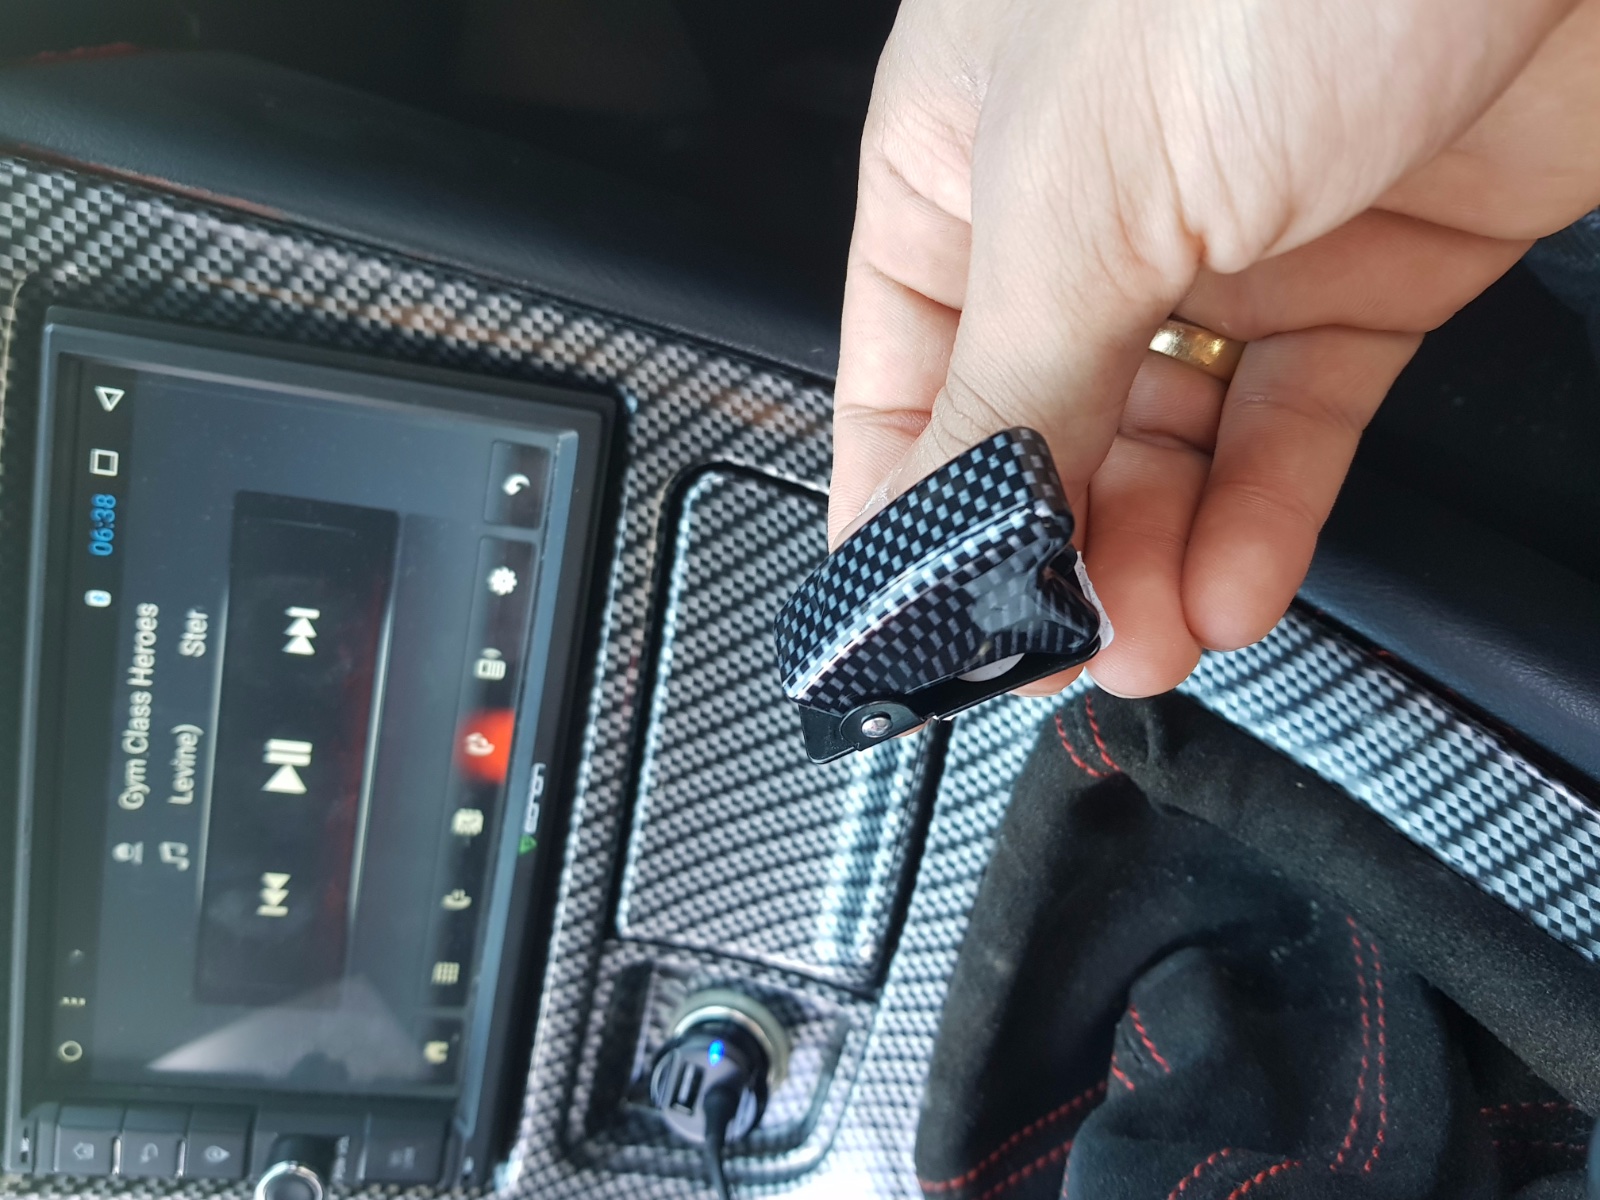
- 16.jpg (518.22 KiB) Viewed 20094 times
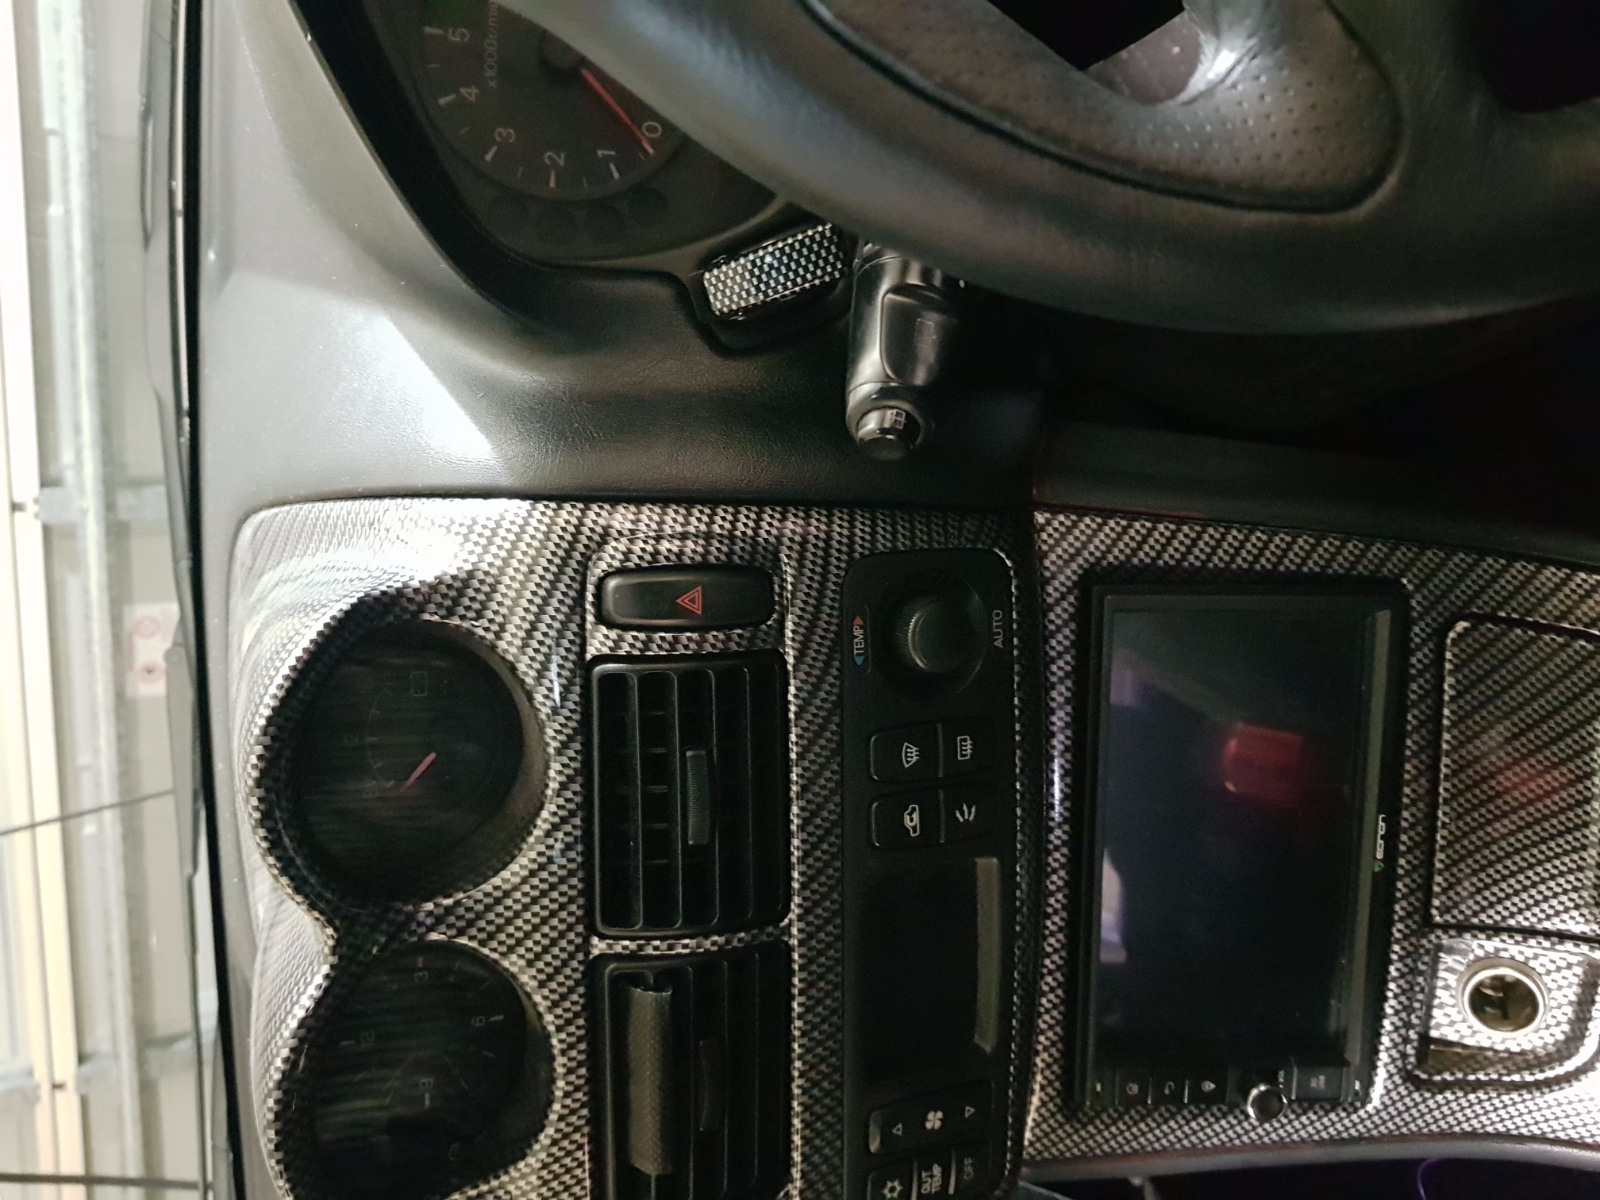
- 17.jpg (562.15 KiB) Viewed 20094 times
Having some fun with the car...
- 18.jpg (1002.32 KiB) Viewed 20094 times
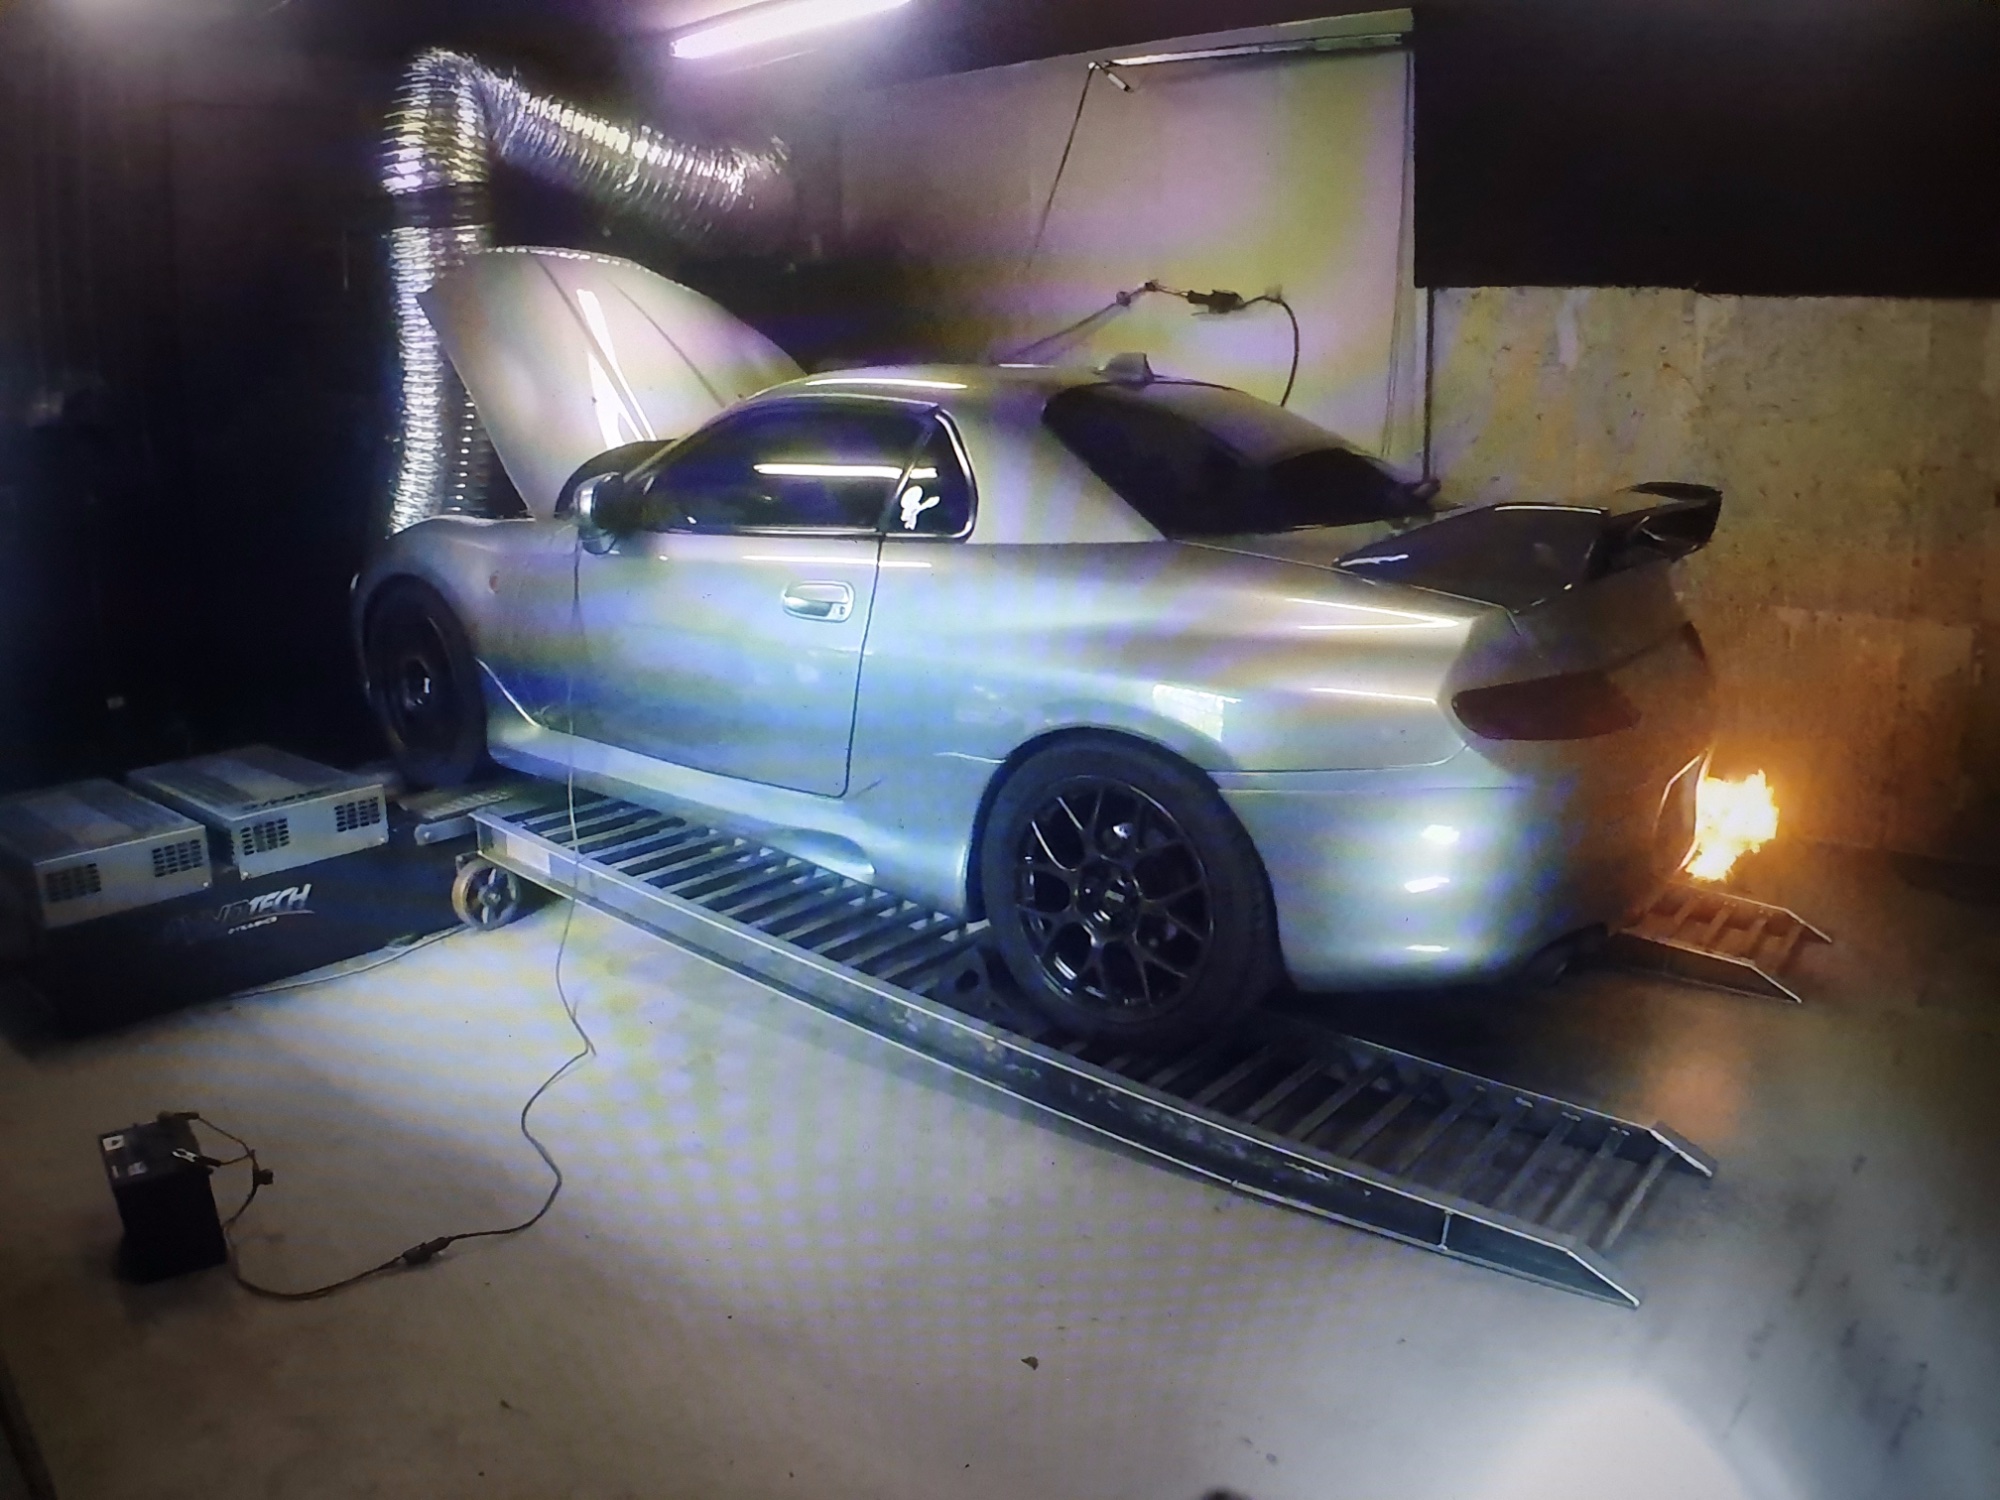
- 20.jpg (667.96 KiB) Viewed 20094 times
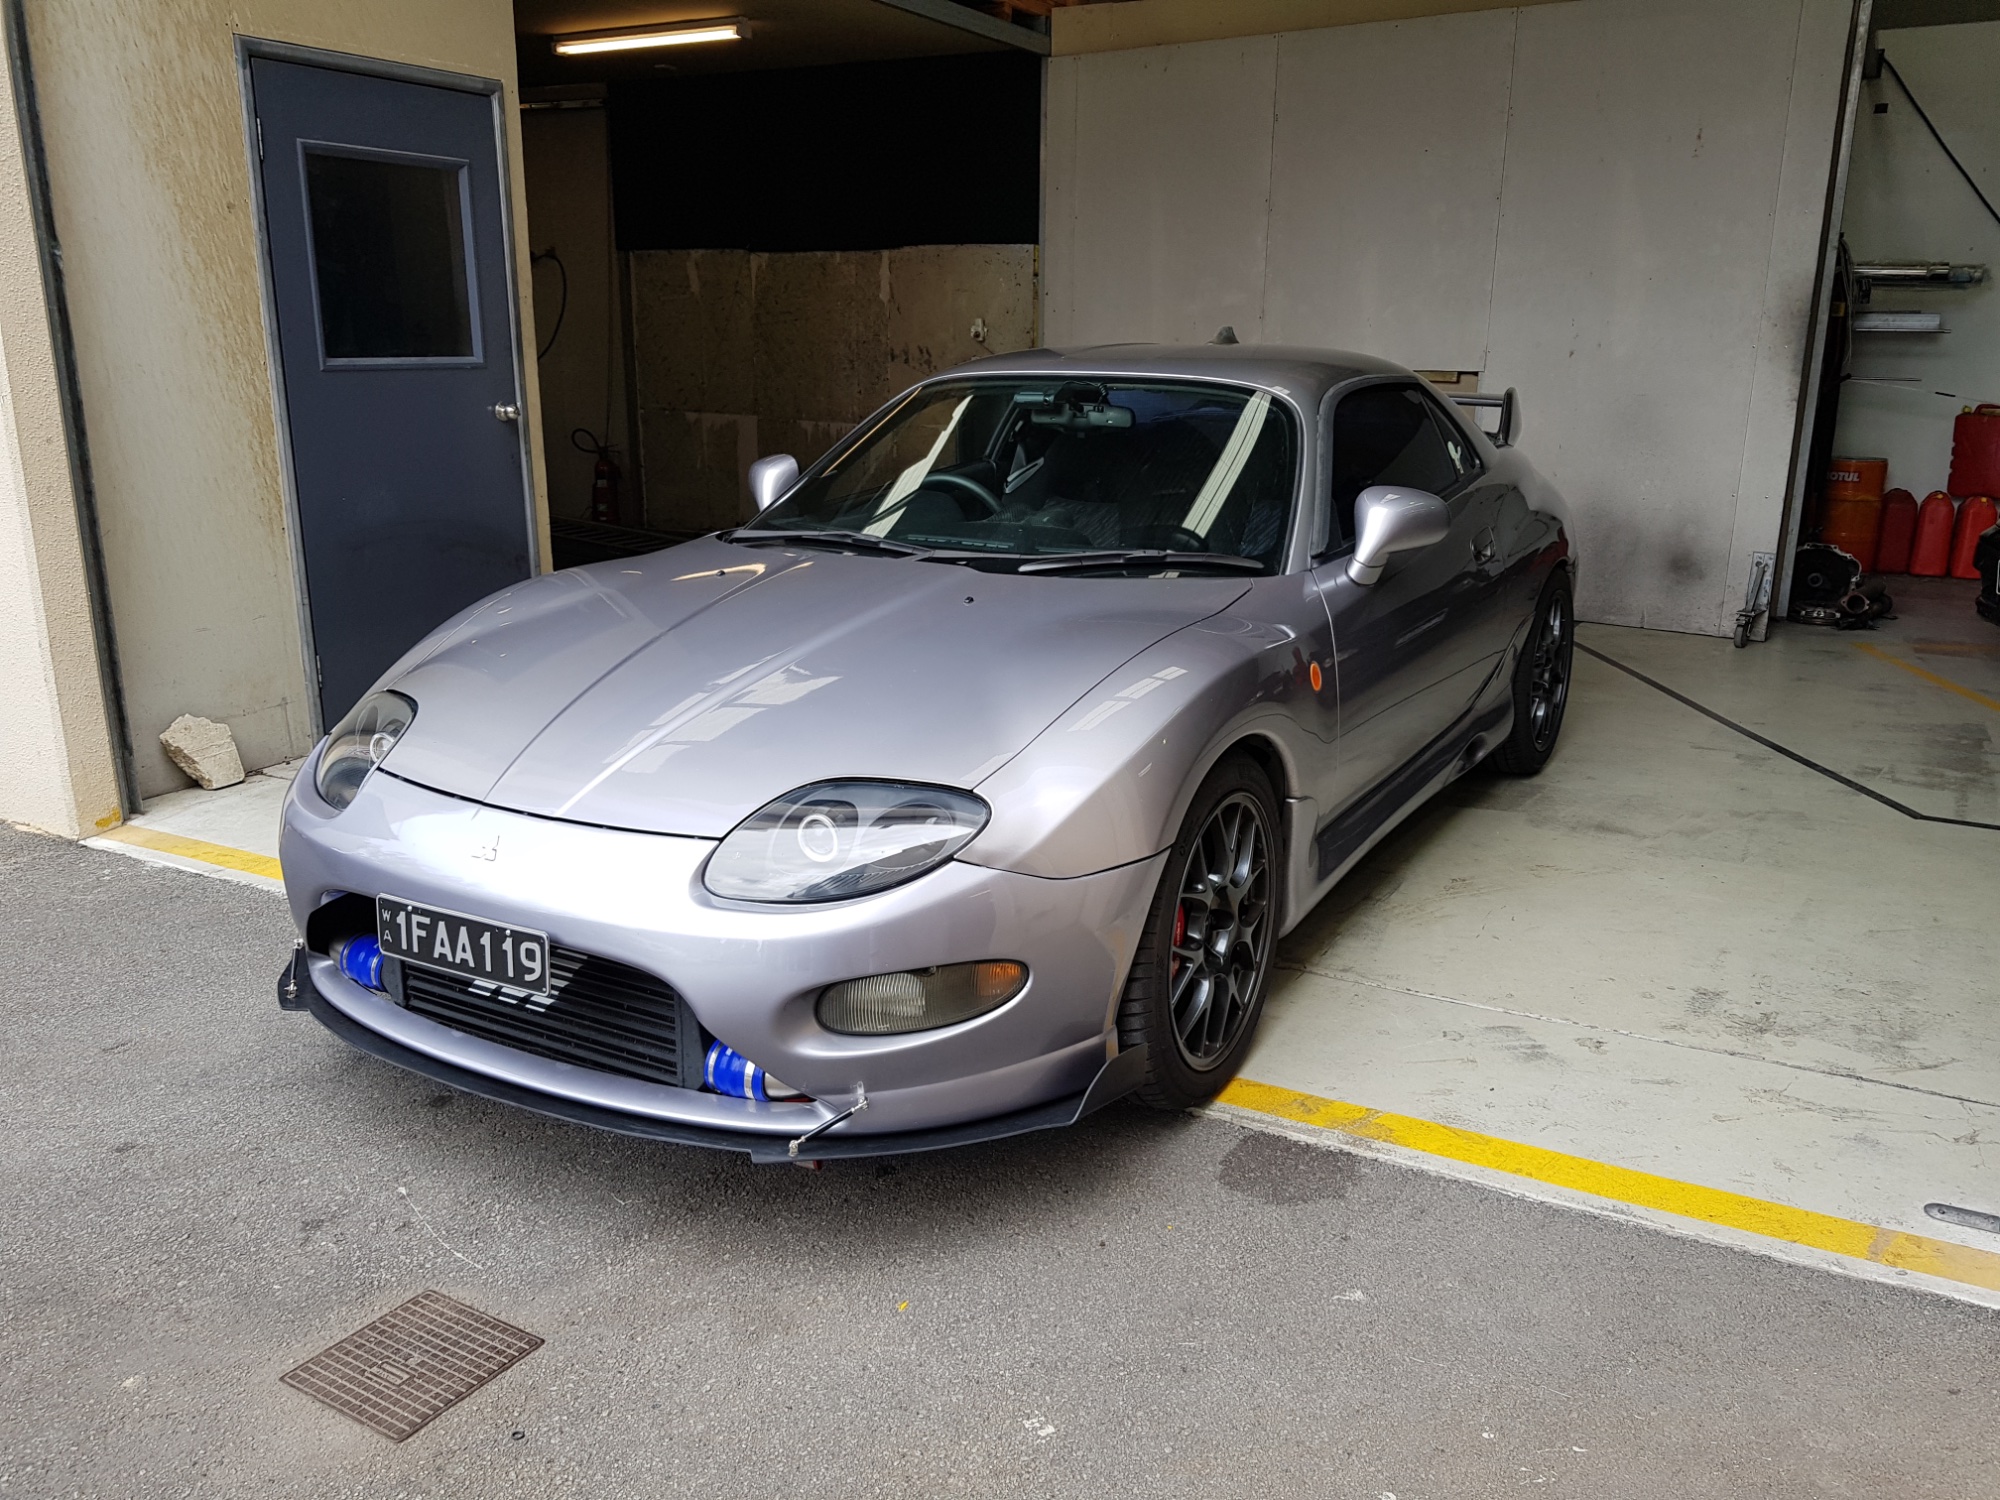
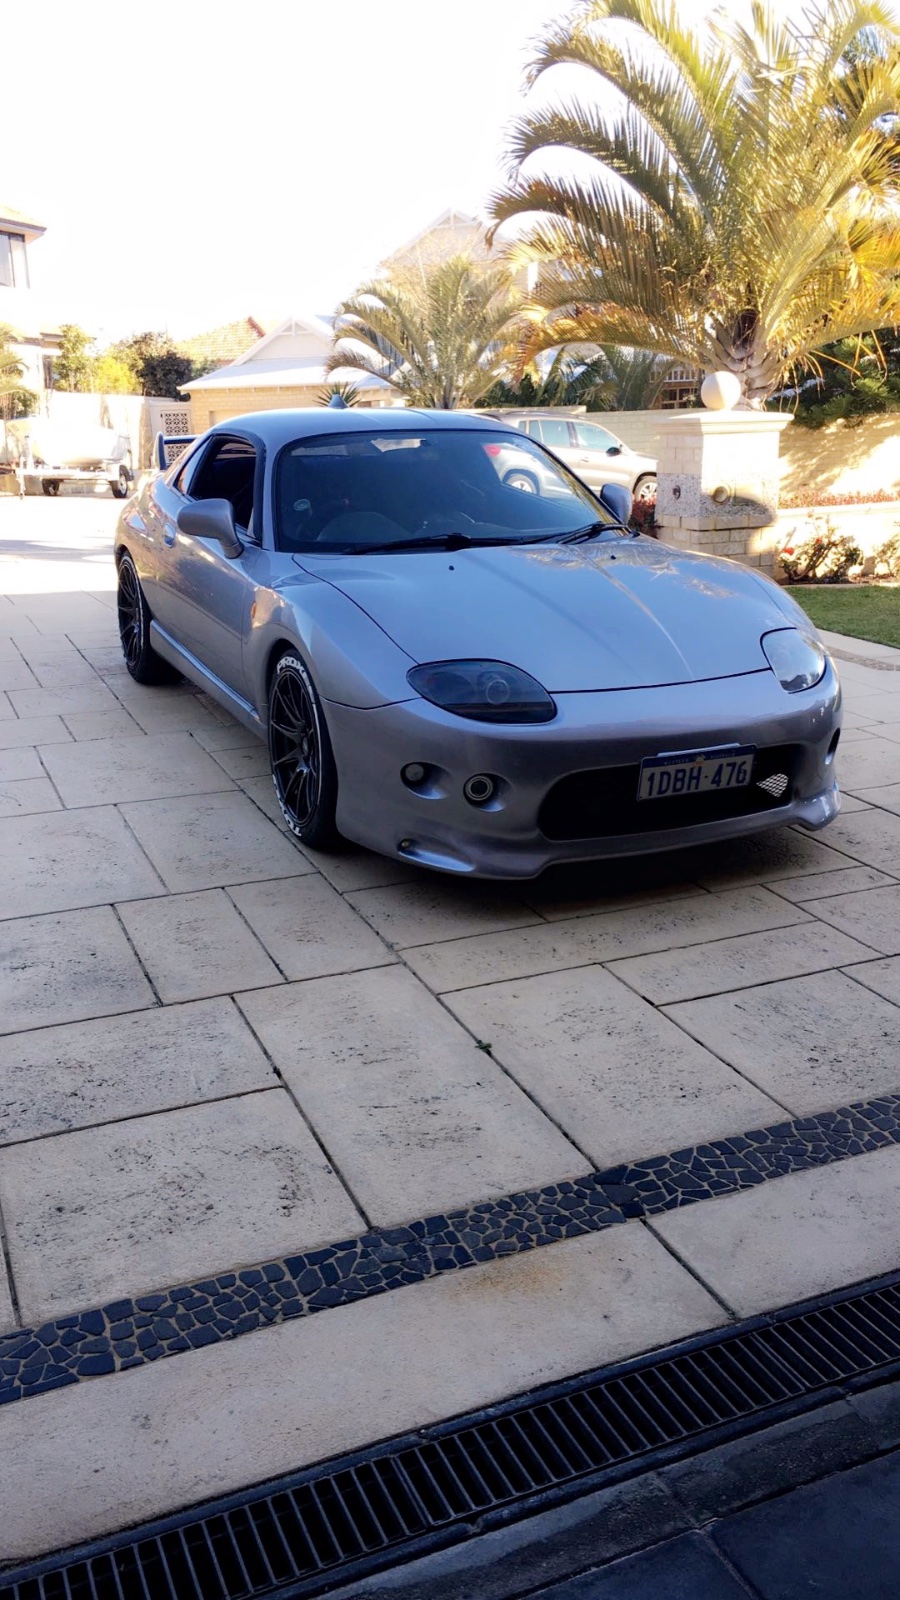
And henlo here I am, happy with everything before it turns to sh*t.
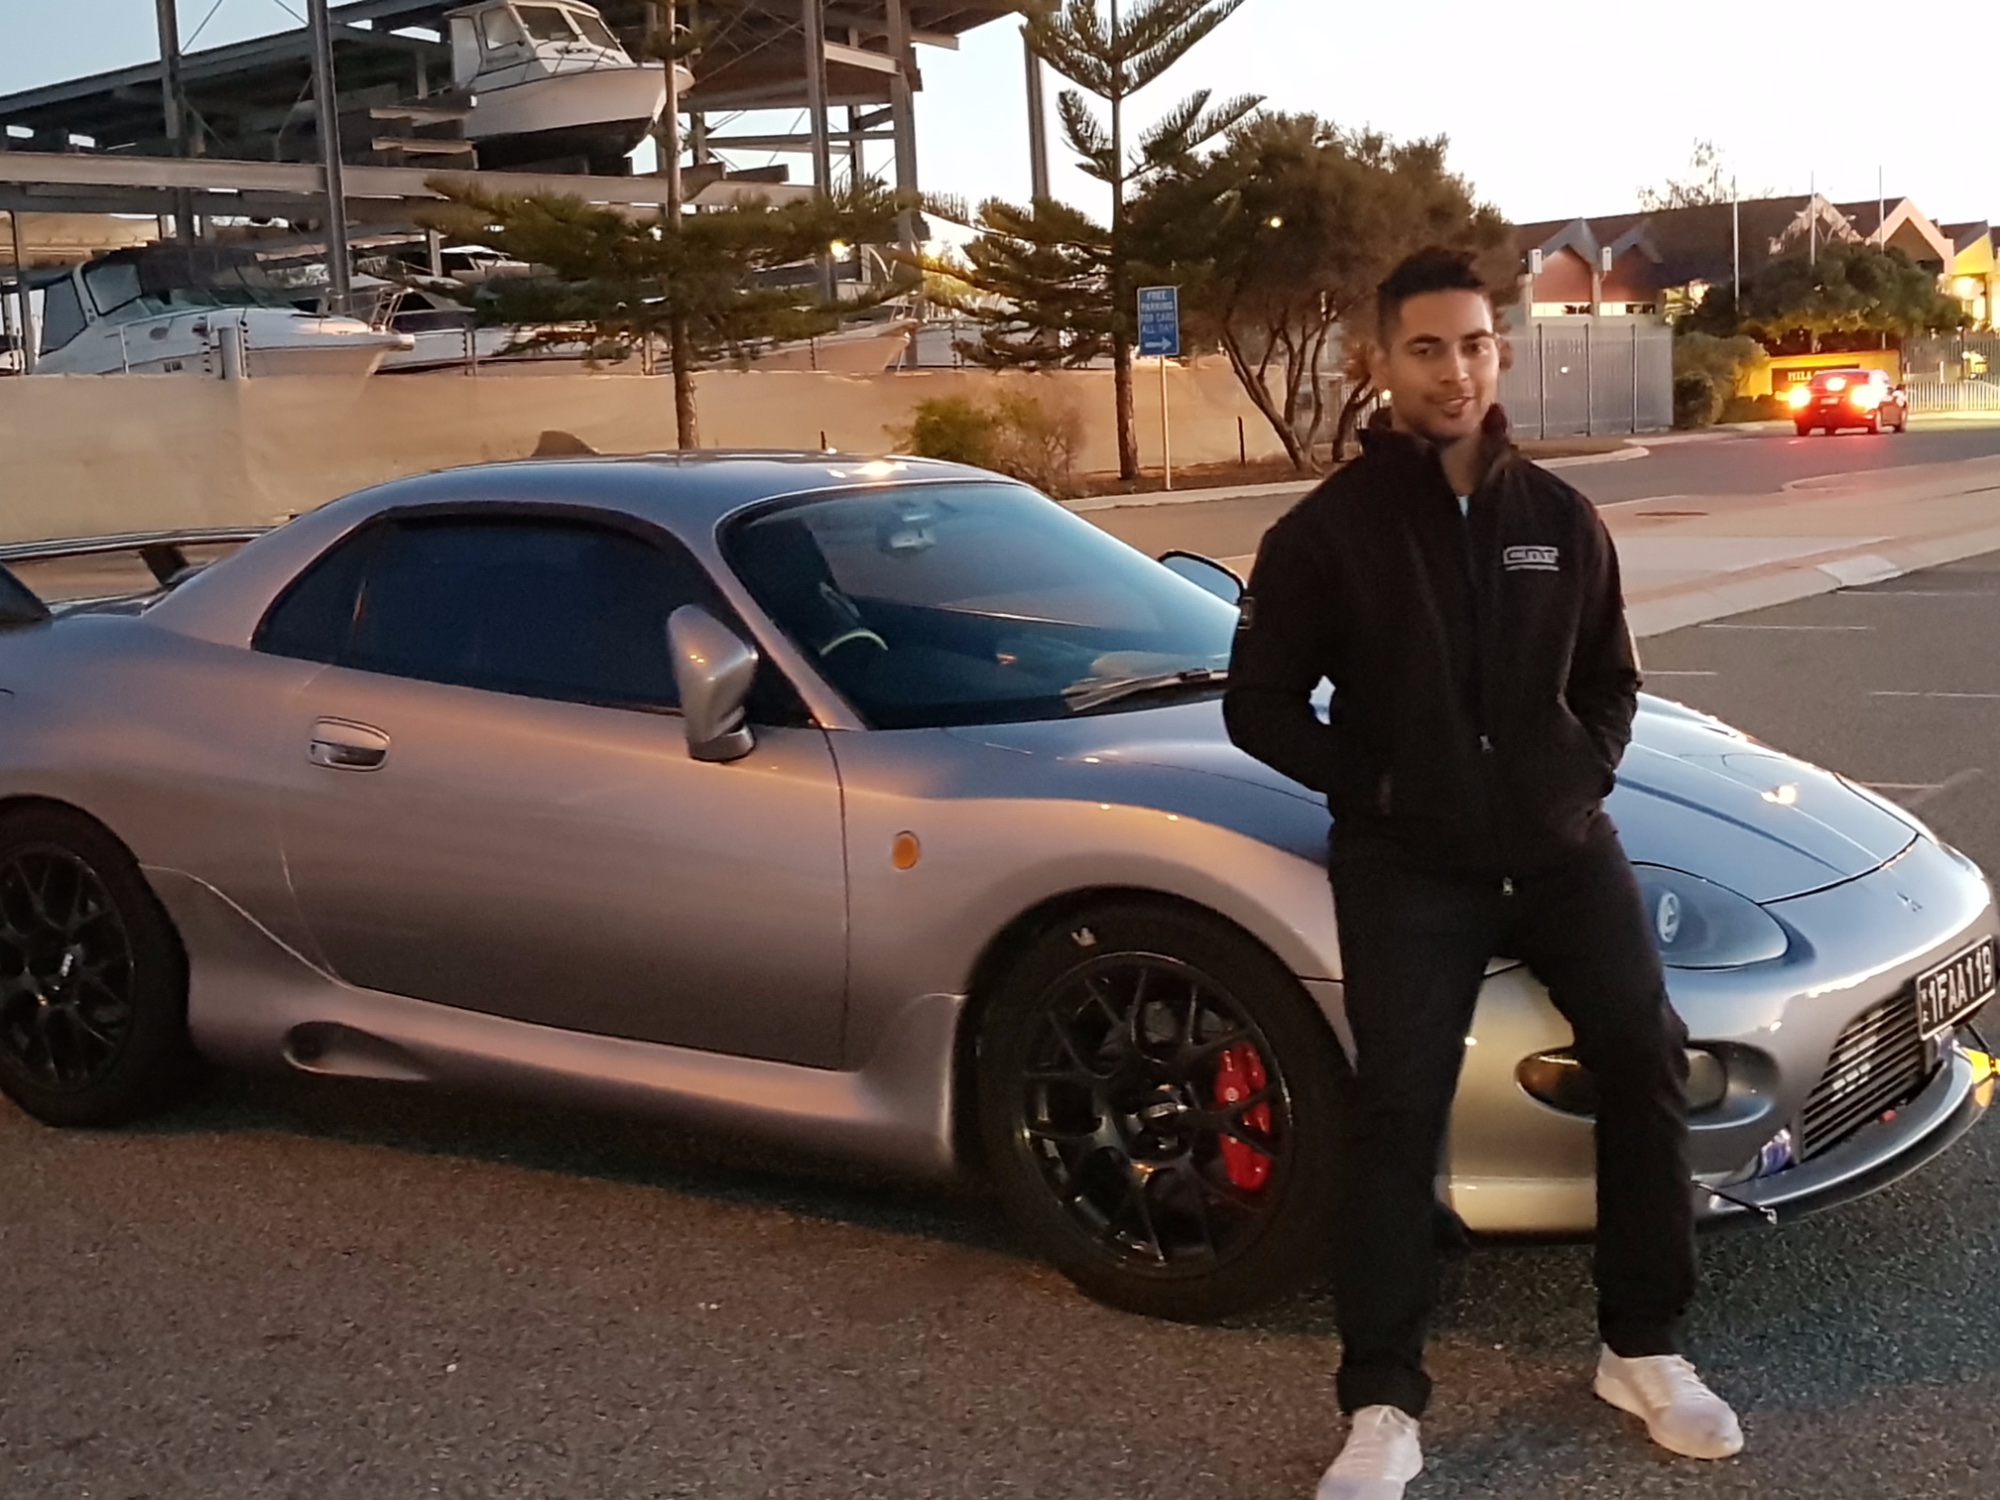
- 21.jpg (710.69 KiB) Viewed 20094 times
And yep, this happens, doing some 4th gear pulls at 100kmph on the freeway, I hear a massive bang from the gearbox, and find myself 5 neutrals. Had to coast to the emergency lane and get towed home.
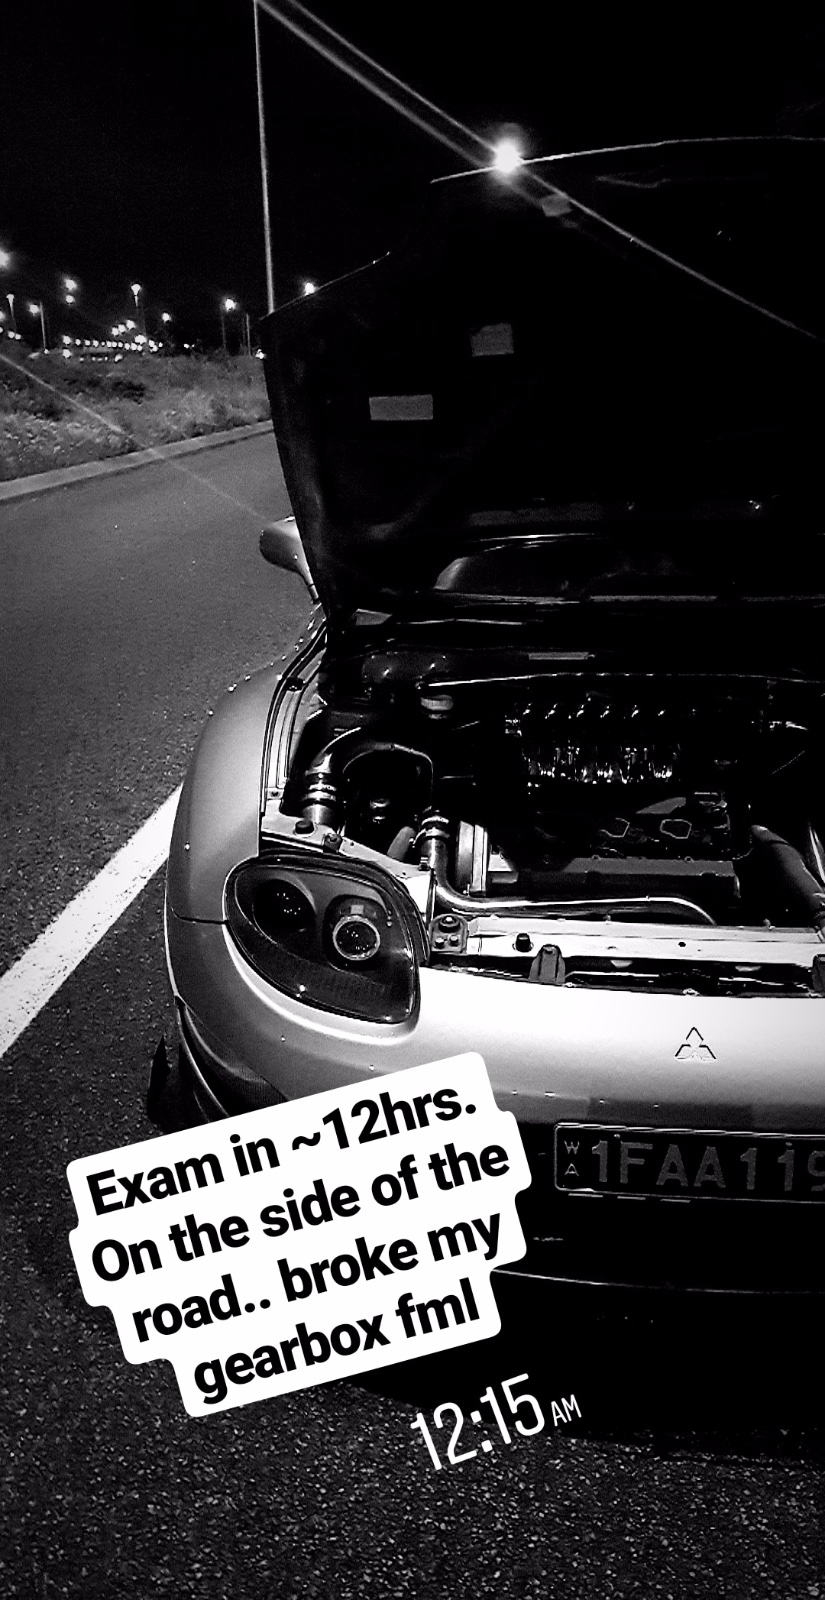
- 22.jpg (398.1 KiB) Viewed 20094 times
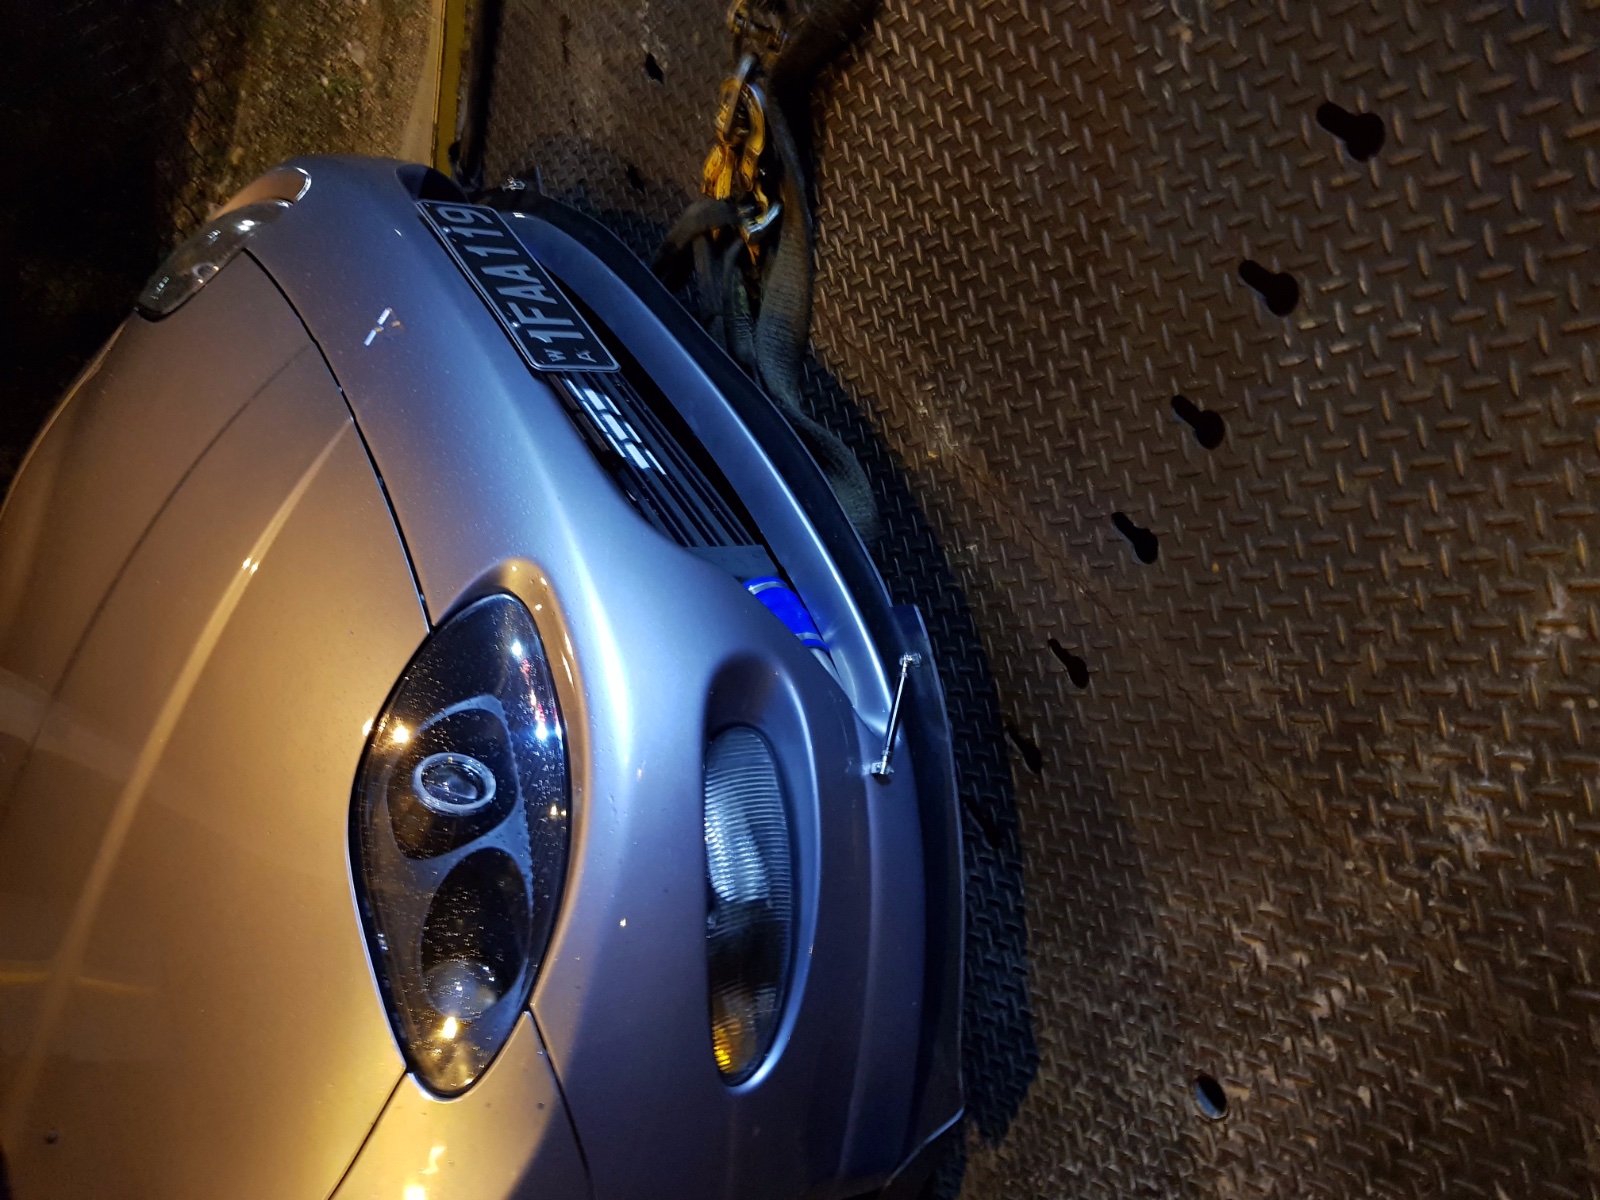
- 23.jpg (584.64 KiB) Viewed 20094 times
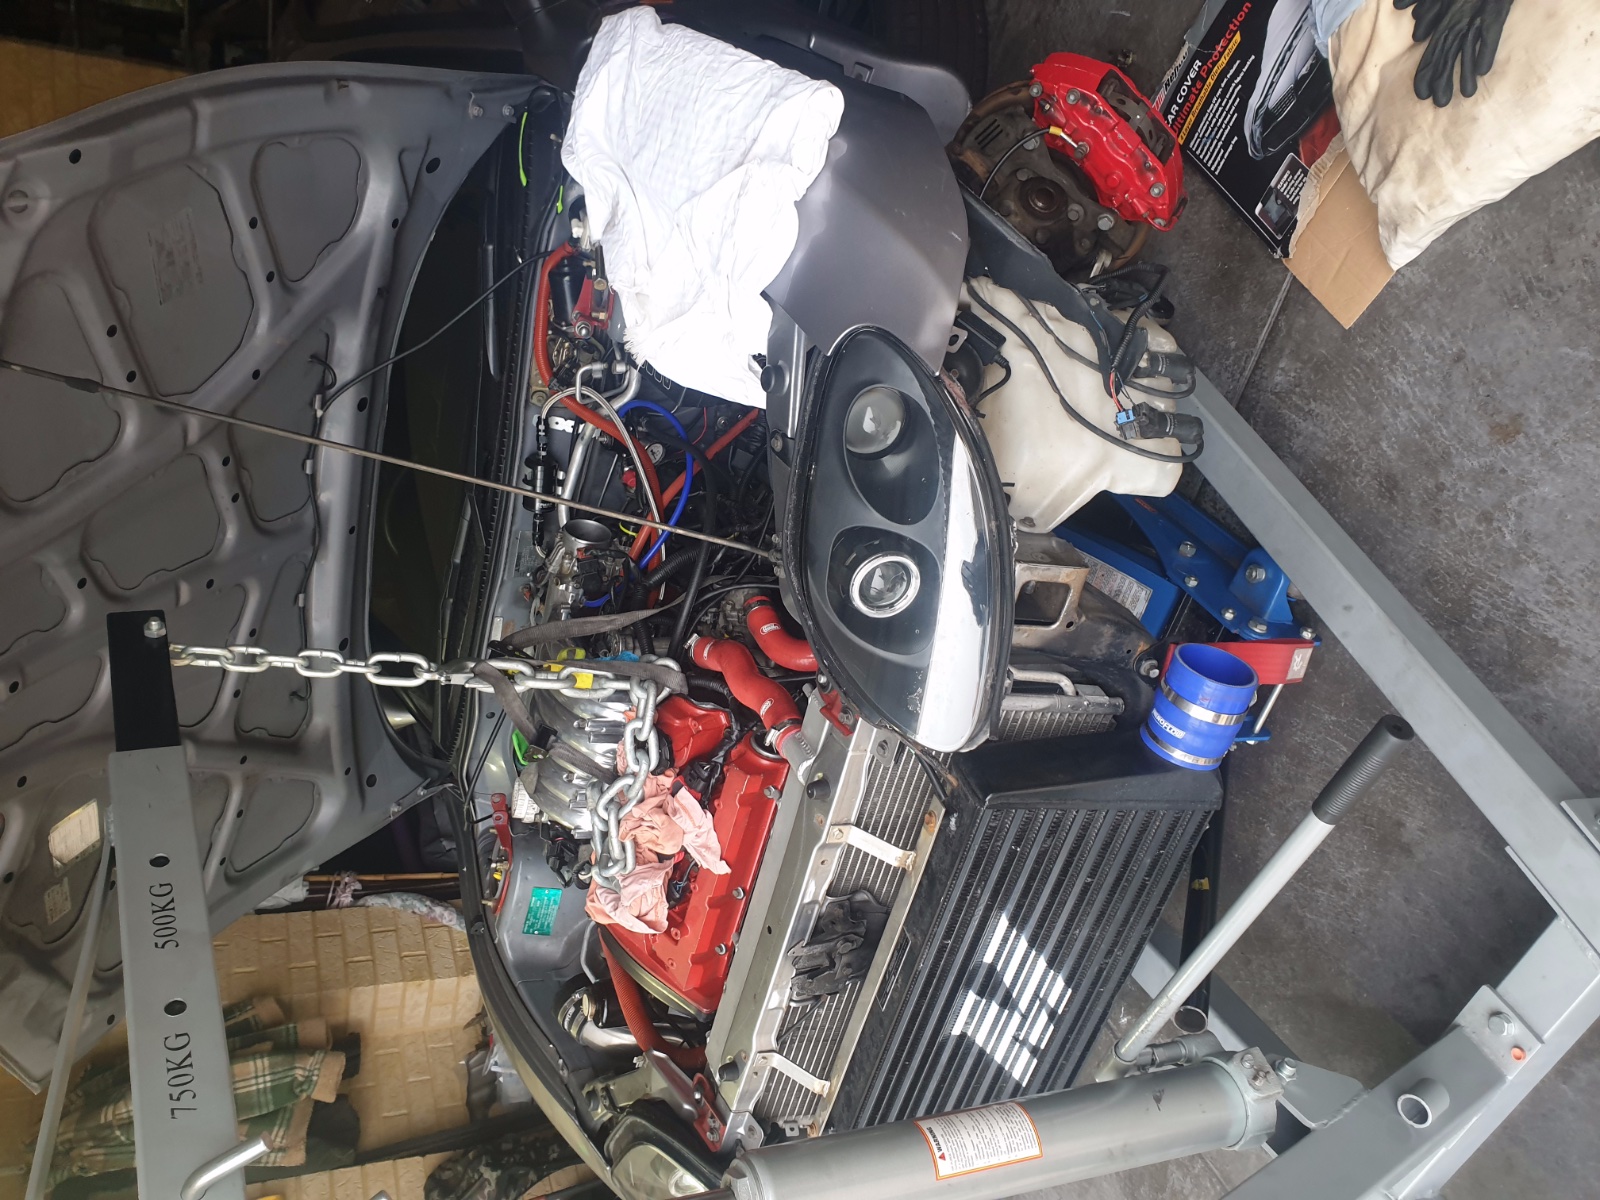
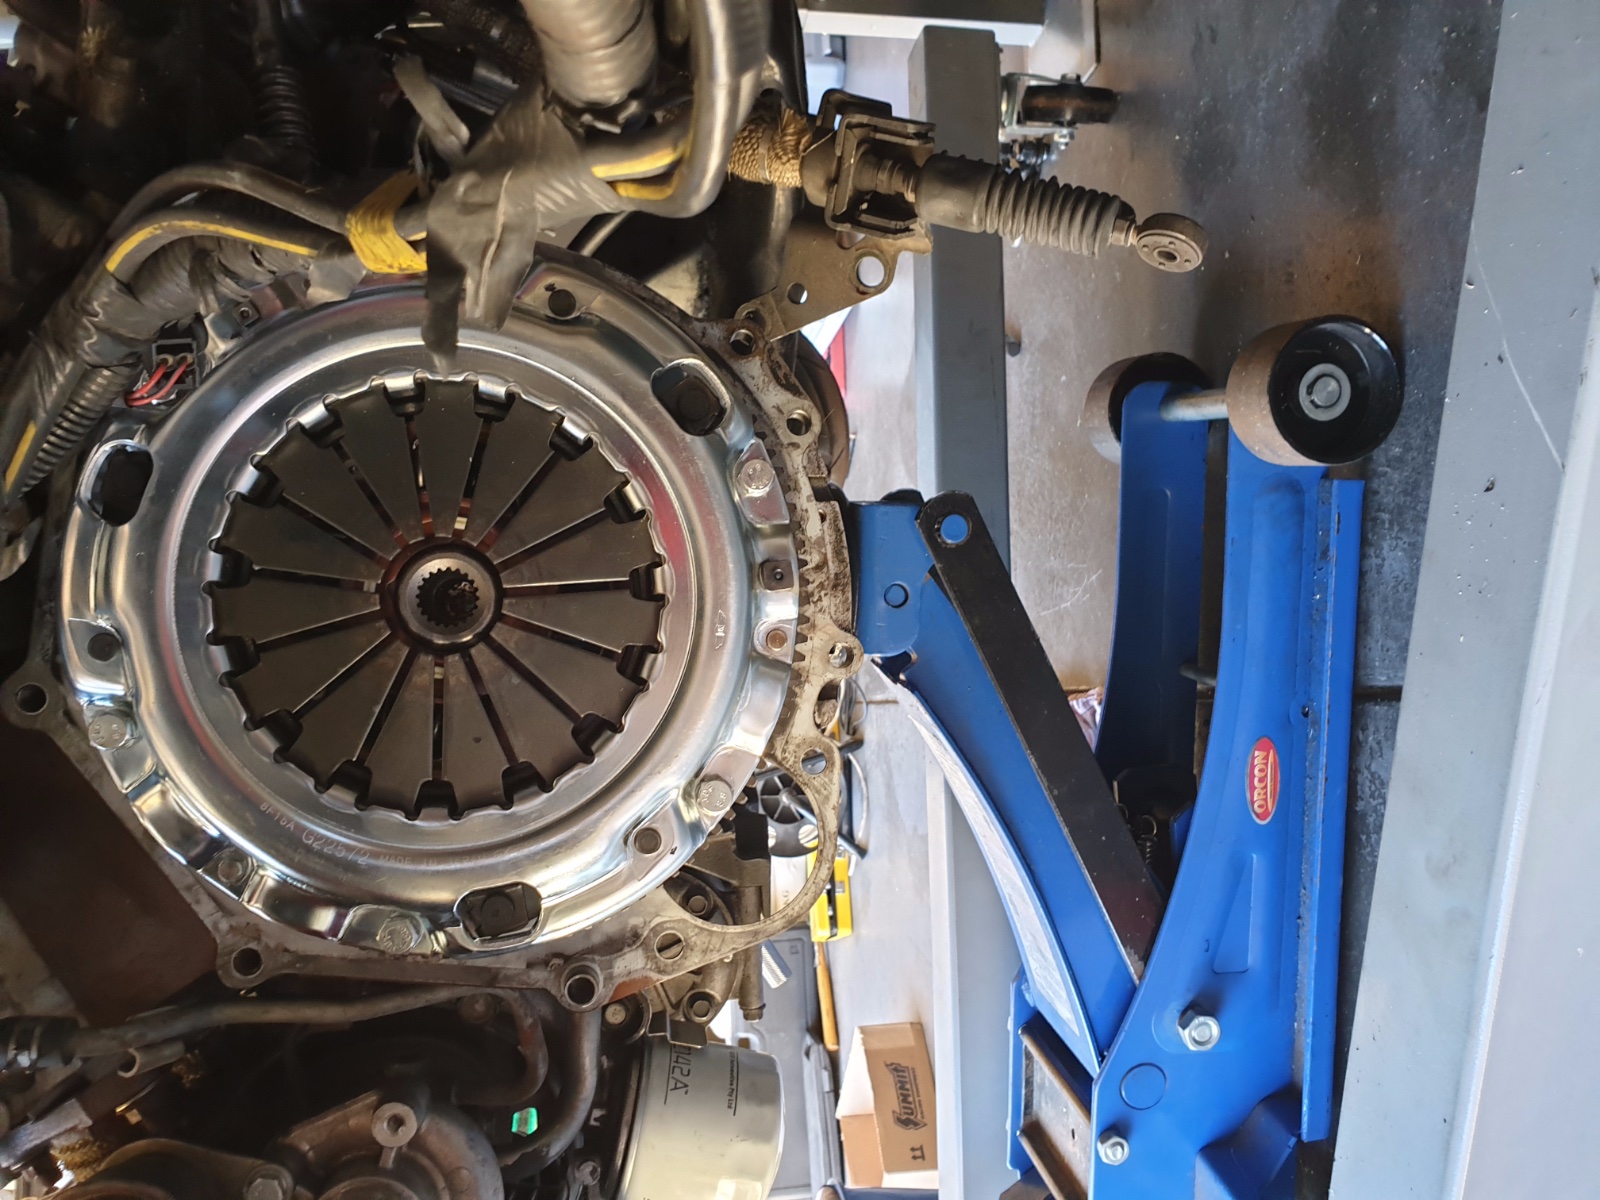
Initially thought it was the clutch that had failed, since all the gears were going in fine but not engaging/not being able to move the car.
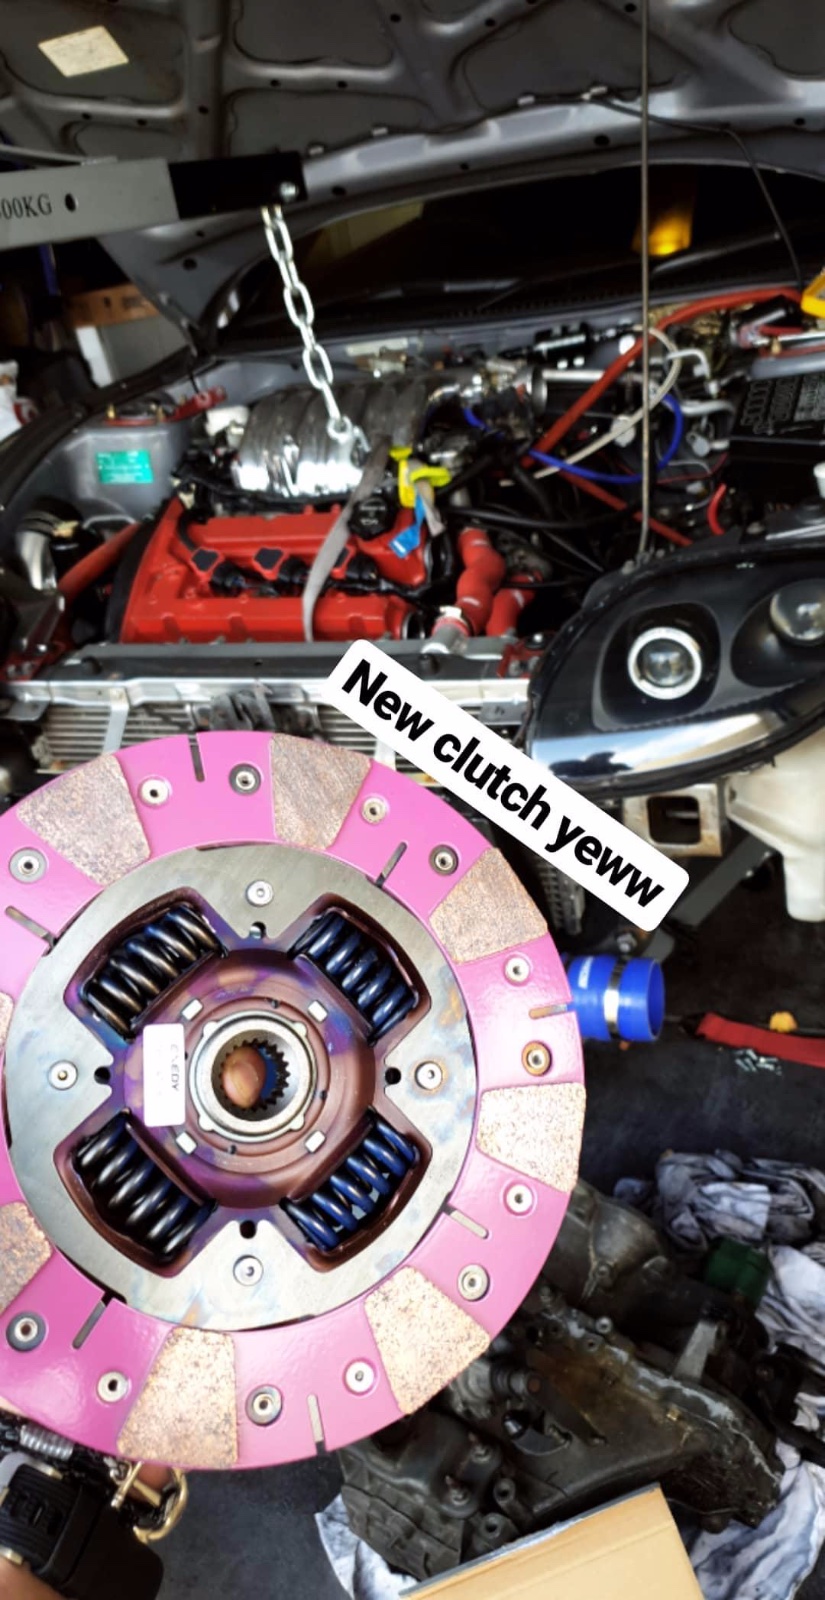
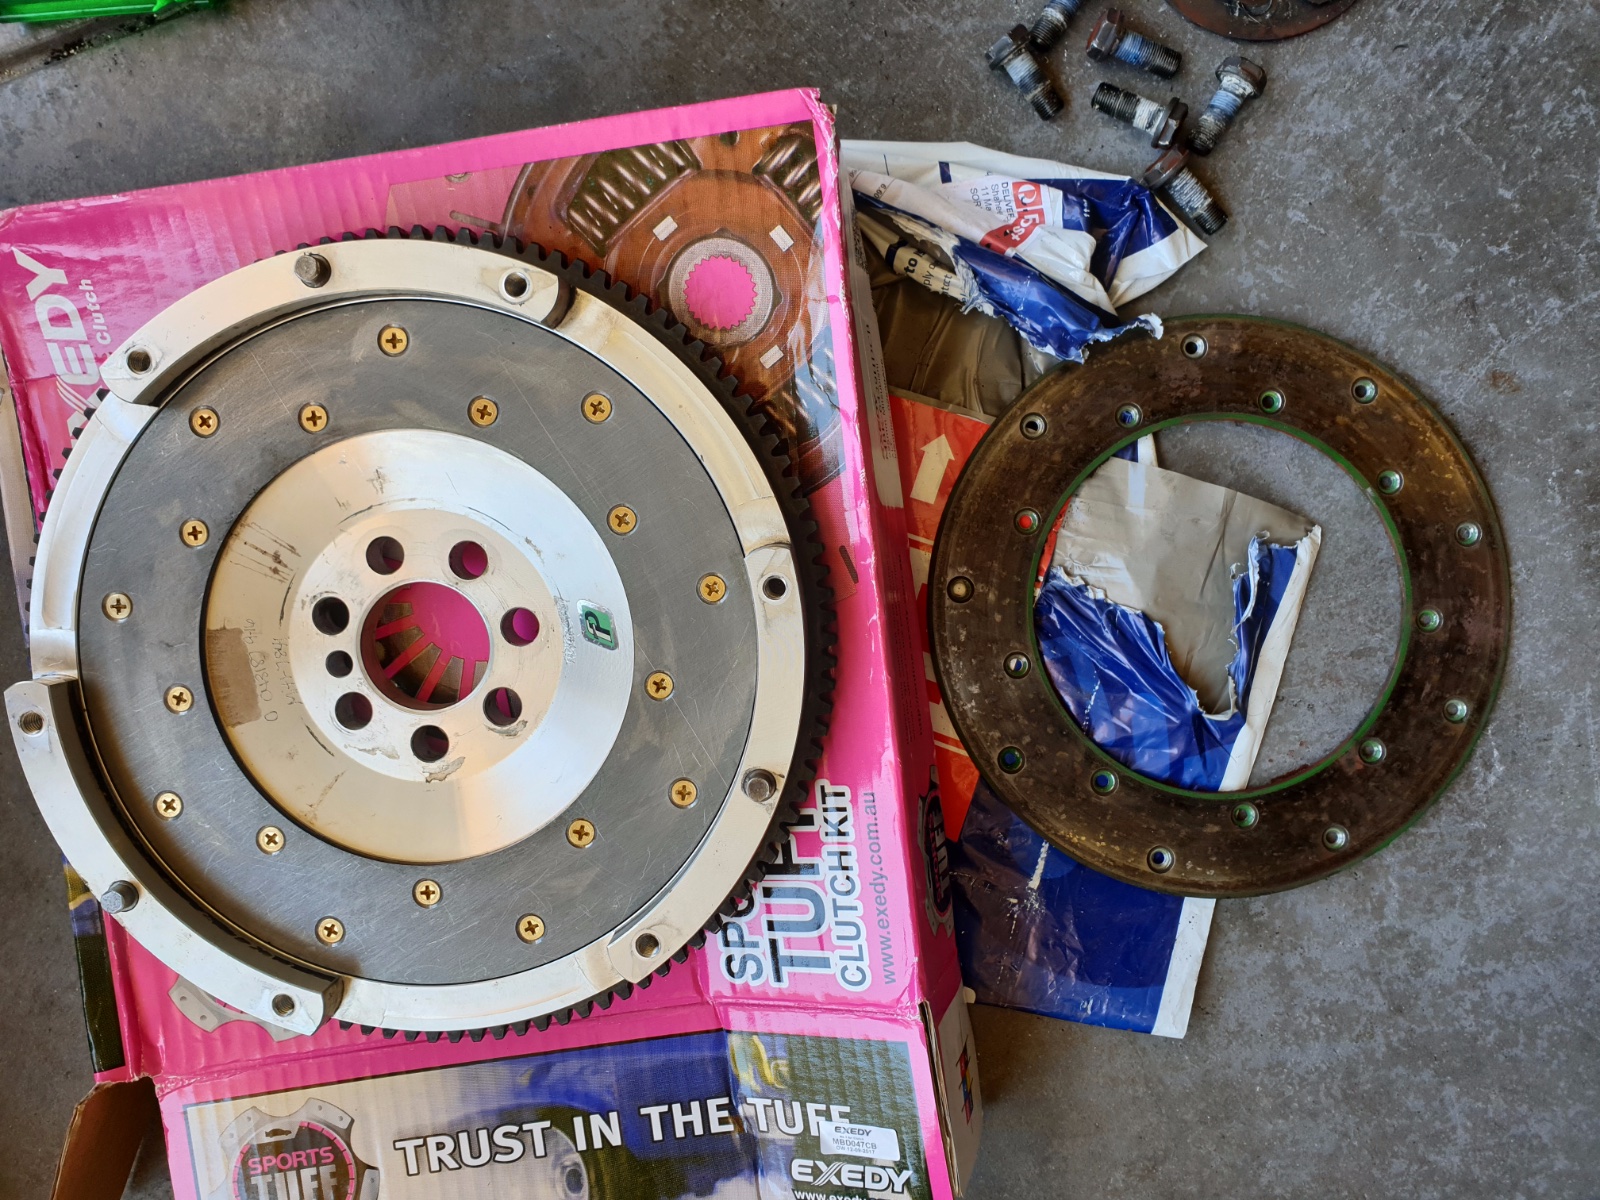
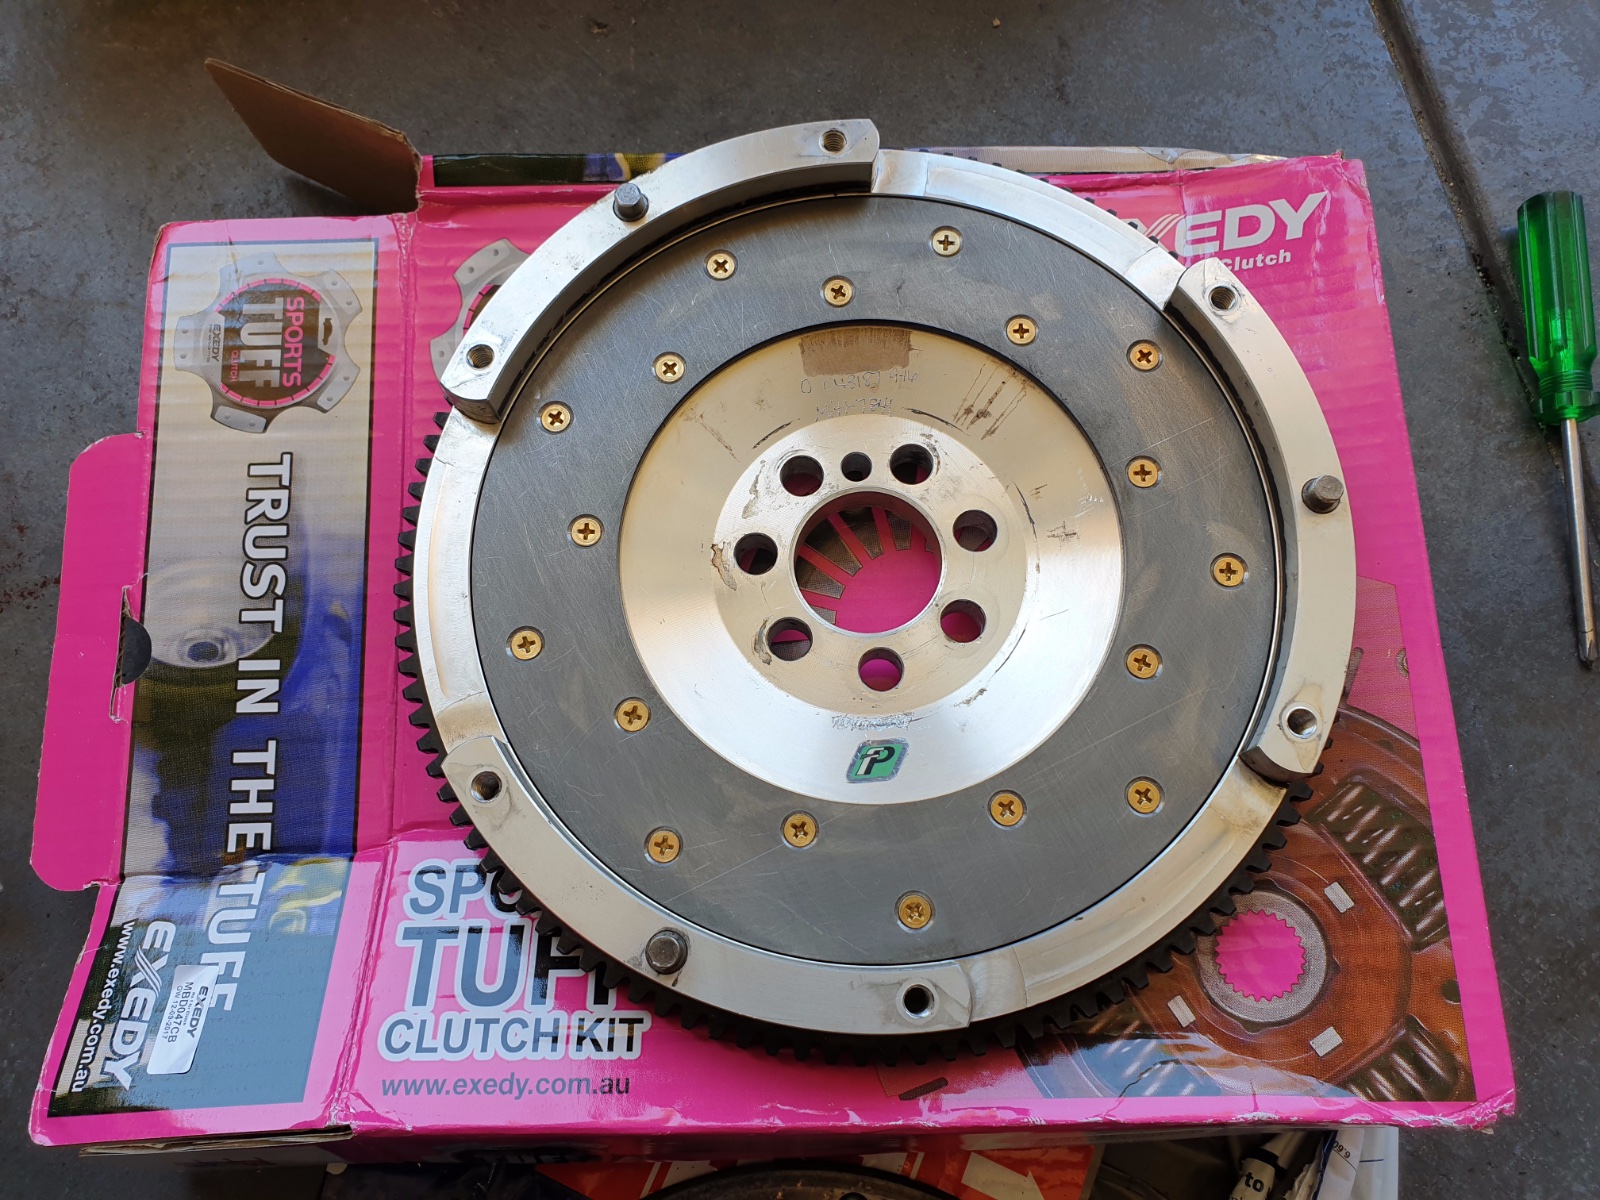
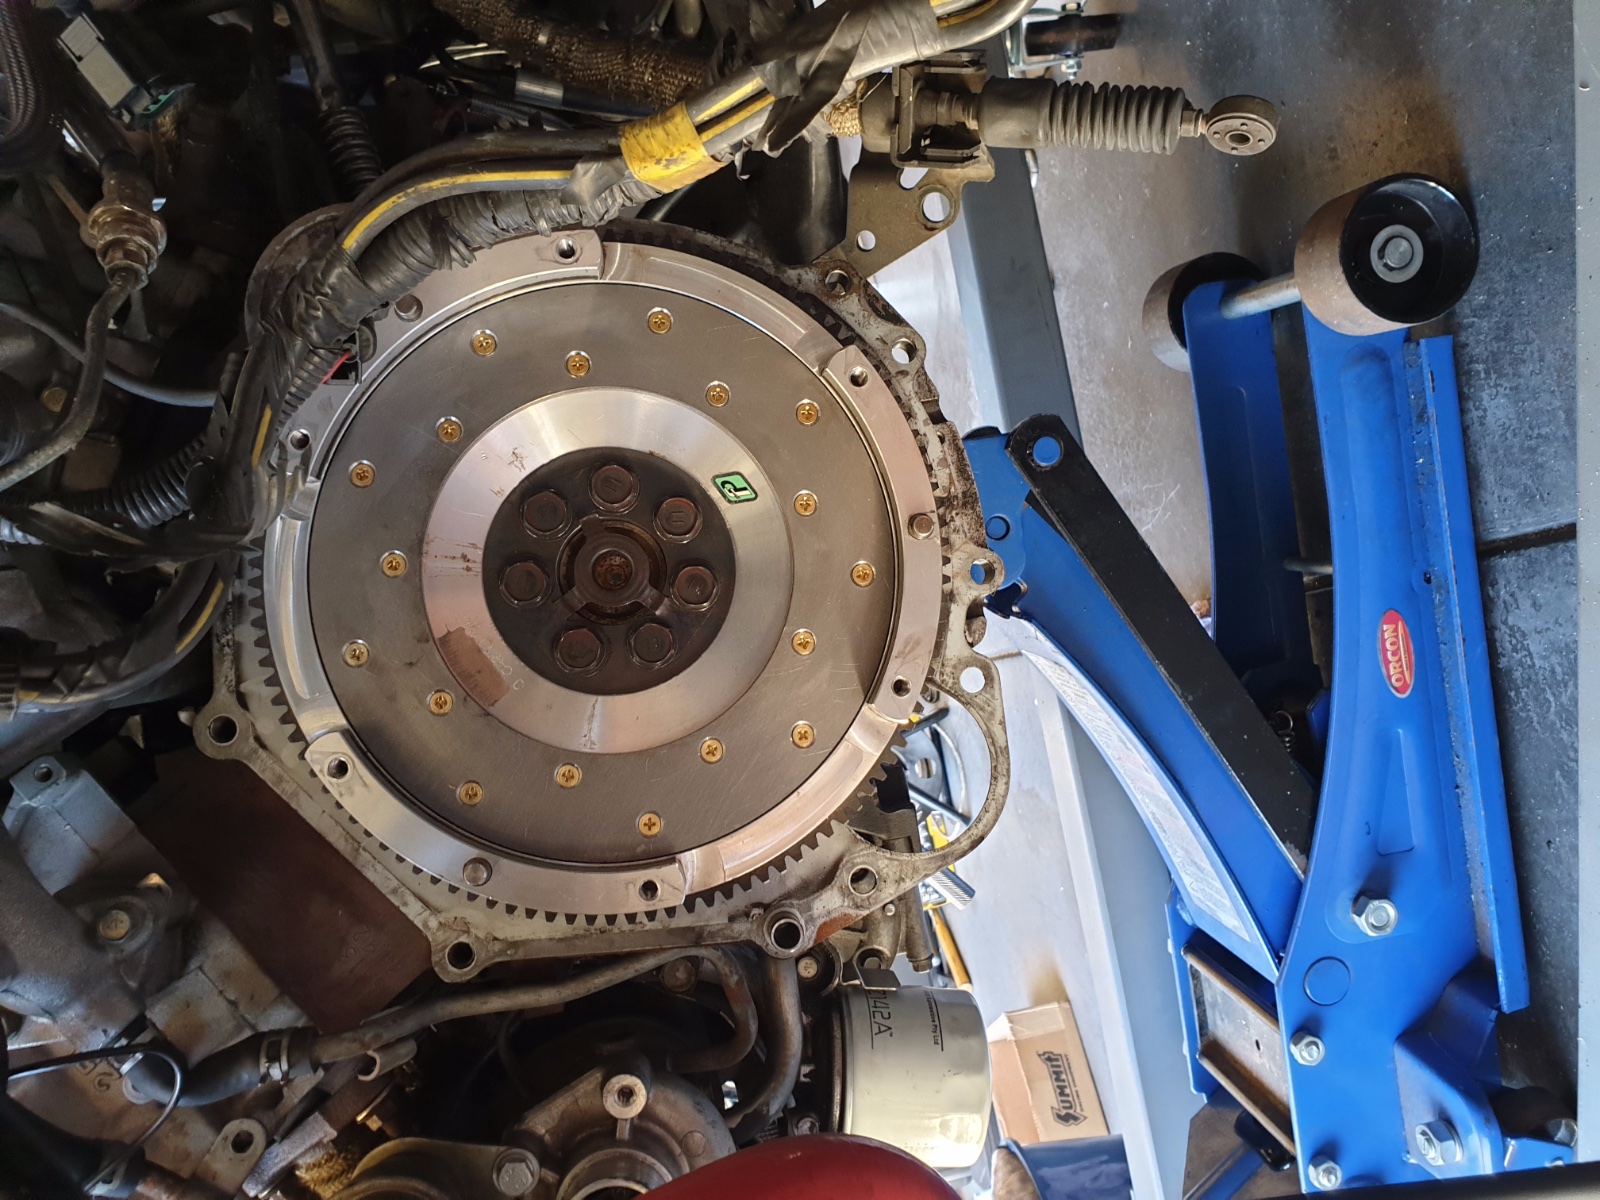
Replaced the clutch with an Exedy Heavy Duty Cushion Button Clutch MBK-6429HDCB which has a clamping load of 876kg and torque rating of 503Nm. Along with that, I replaced the Flywheel friction plate with the Fidanza 2290001:
- 24.jpg (685.56 KiB) Viewed 20094 times
- a.jpg (376.64 KiB) Viewed 20094 times
- b.jpg (811.68 KiB) Viewed 20094 times
- c.jpg (733.94 KiB) Viewed 20094 times
- d.jpg (663.65 KiB) Viewed 20094 times
- e.jpg (593.59 KiB) Viewed 20094 times
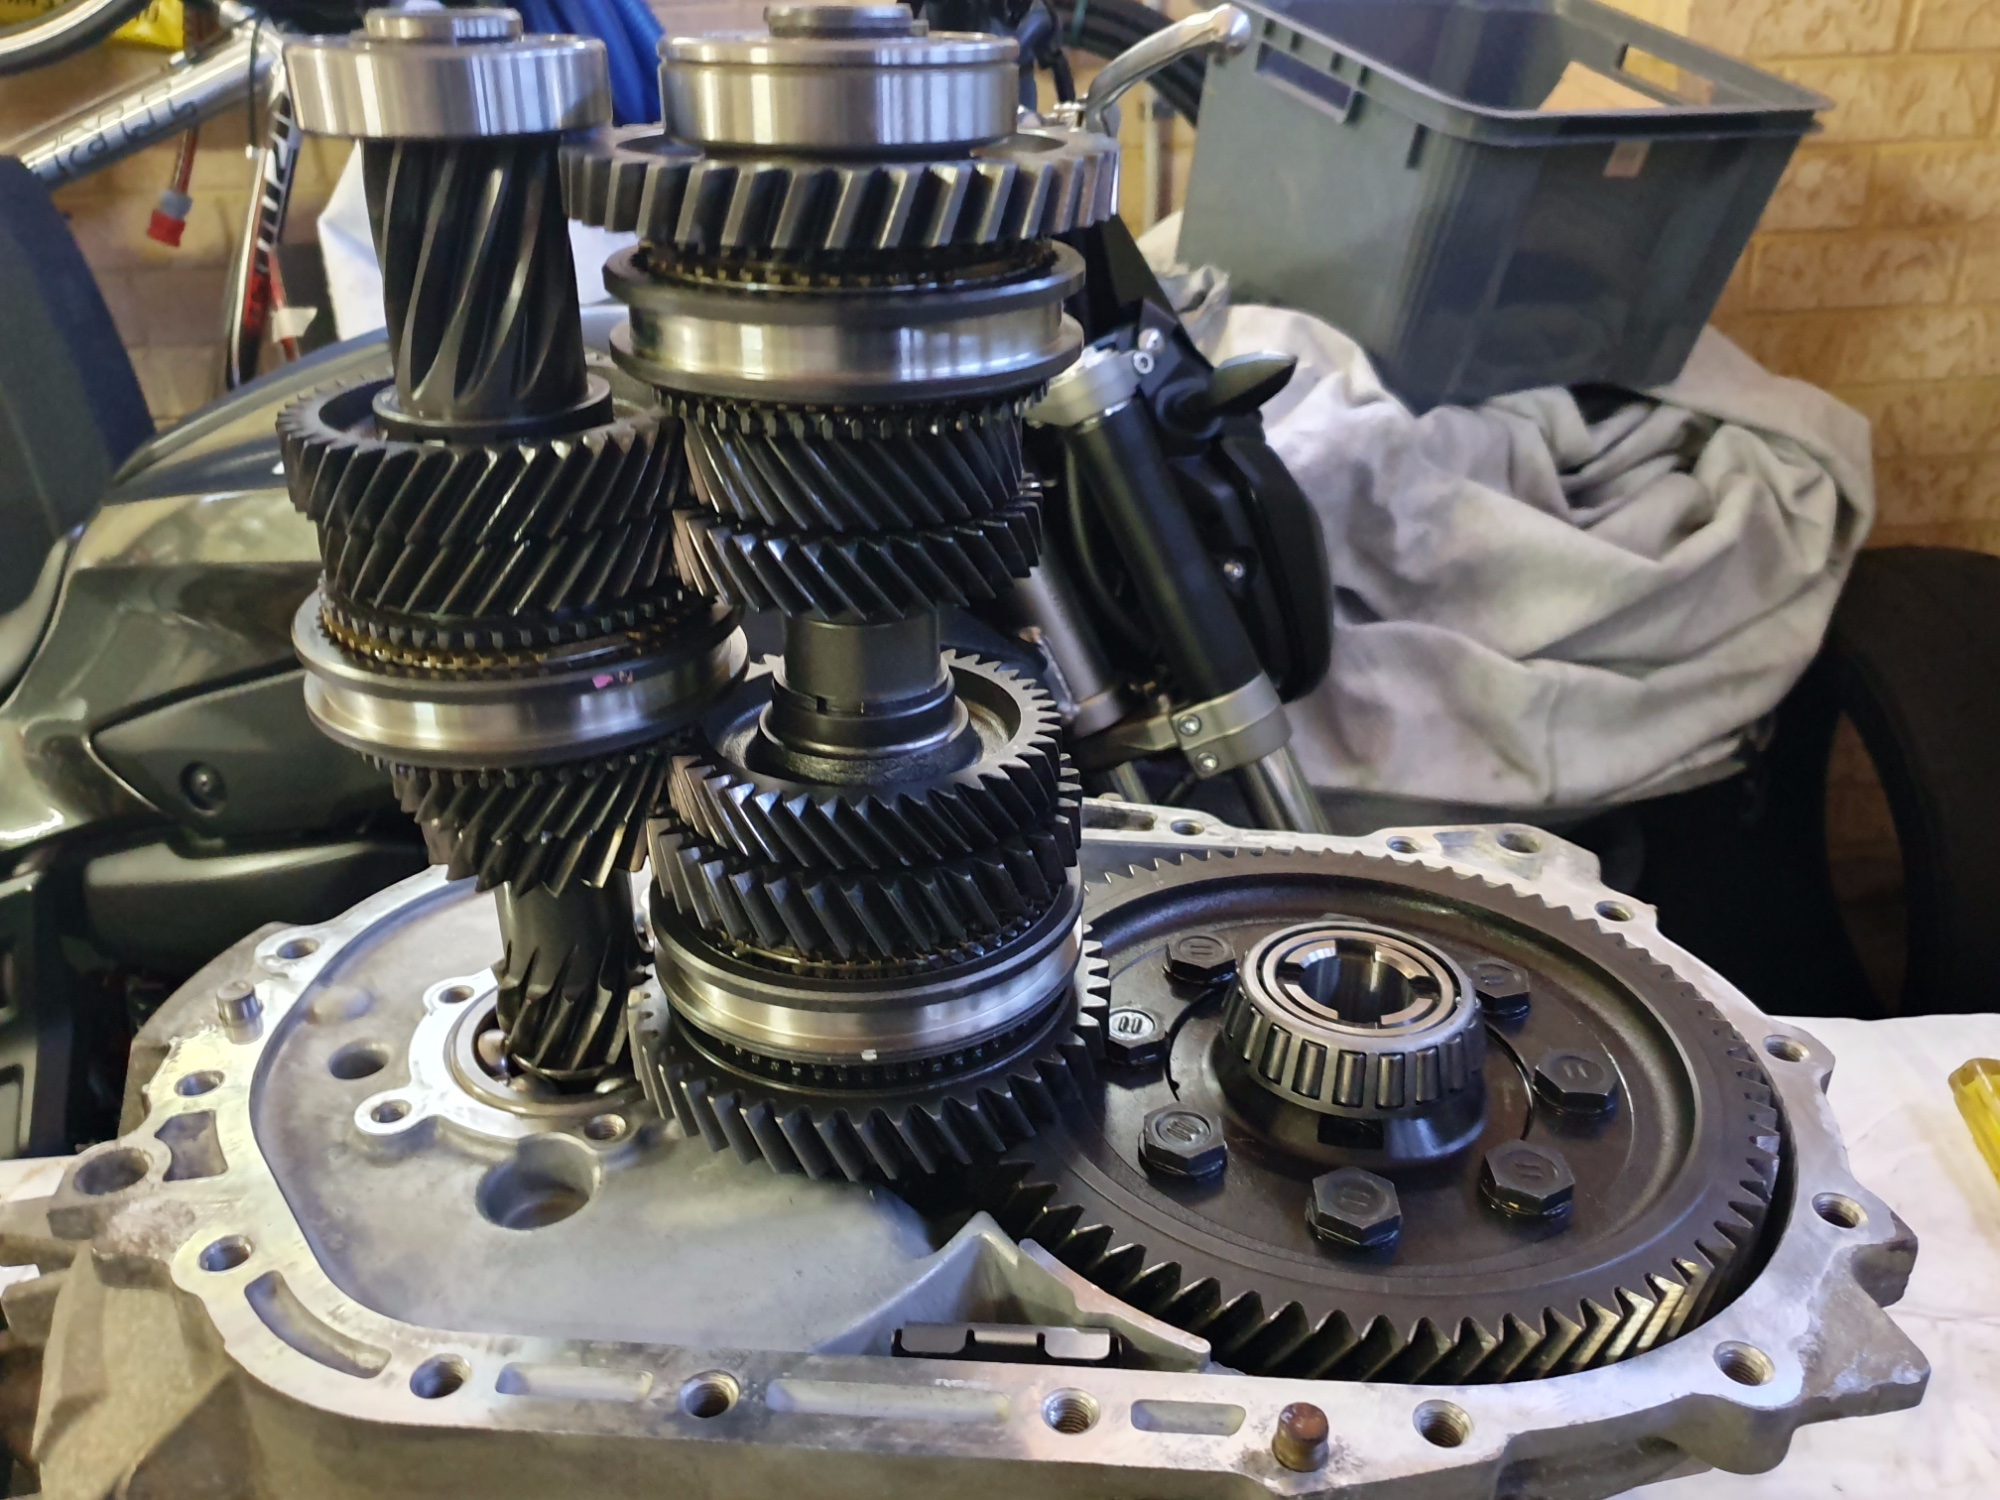
Put the gearbox back in, and turns out I still couldn't properly move the car in any gear. So... took the gearbox out againnn, pulled it apart, and found this: A broken output shaft...
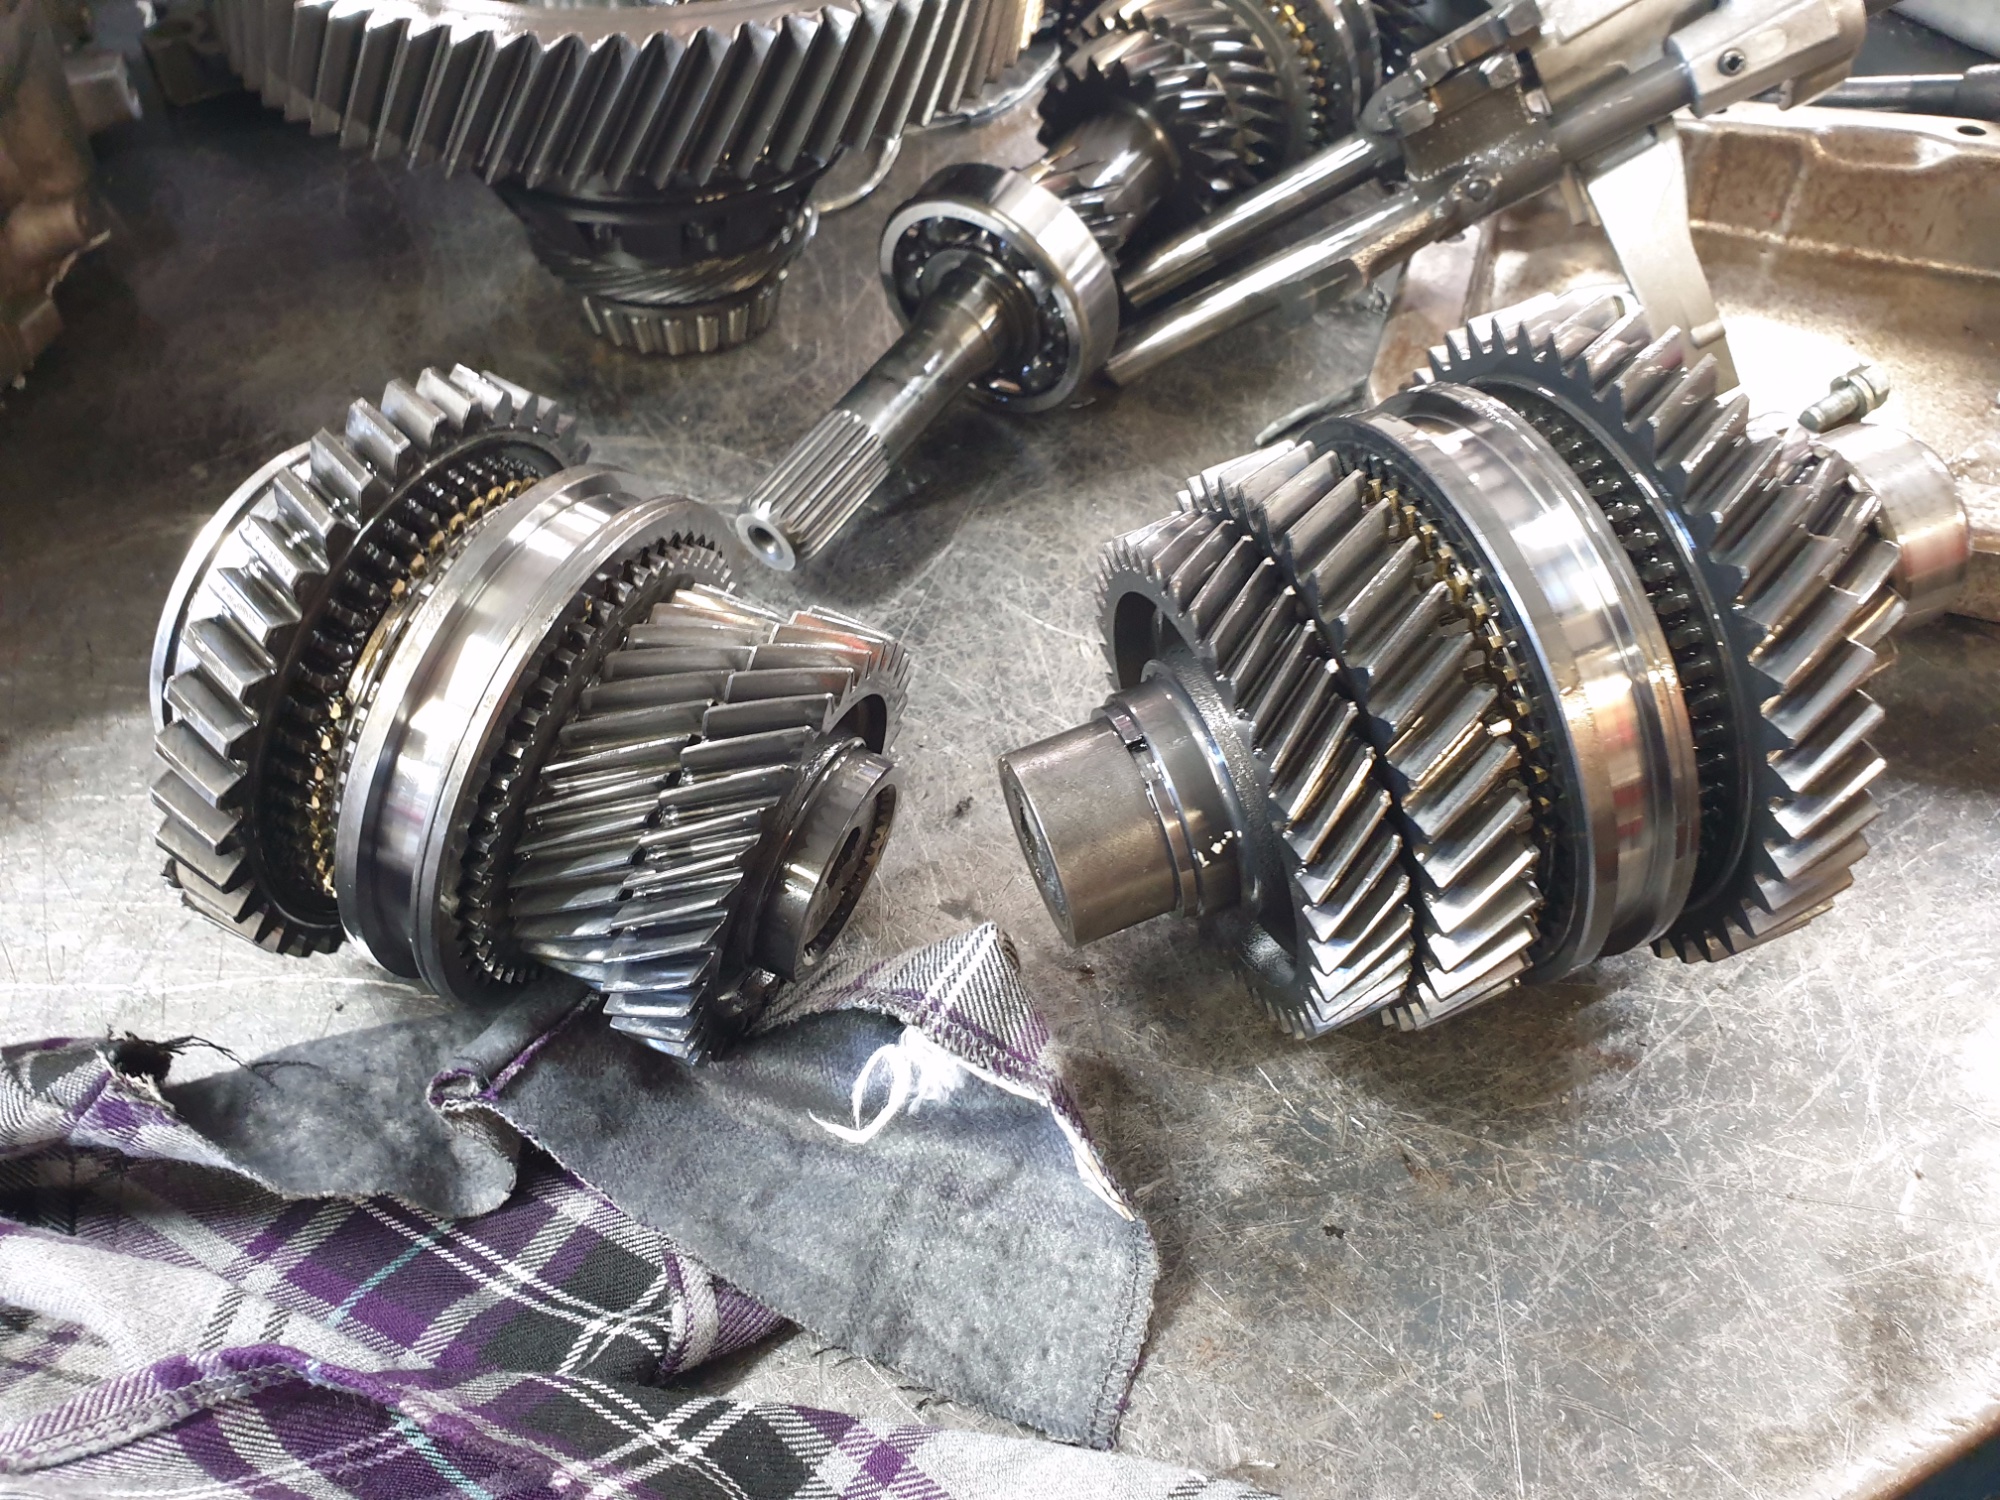
- 25.jpg (1.16 MiB) Viewed 20094 times

- 26.jpg (706.24 KiB) Viewed 20094 times
Bought all new seals, synchros, rings, hub sliders and an output shaft (MD747931, with MD770265 apparently being the newer revision)
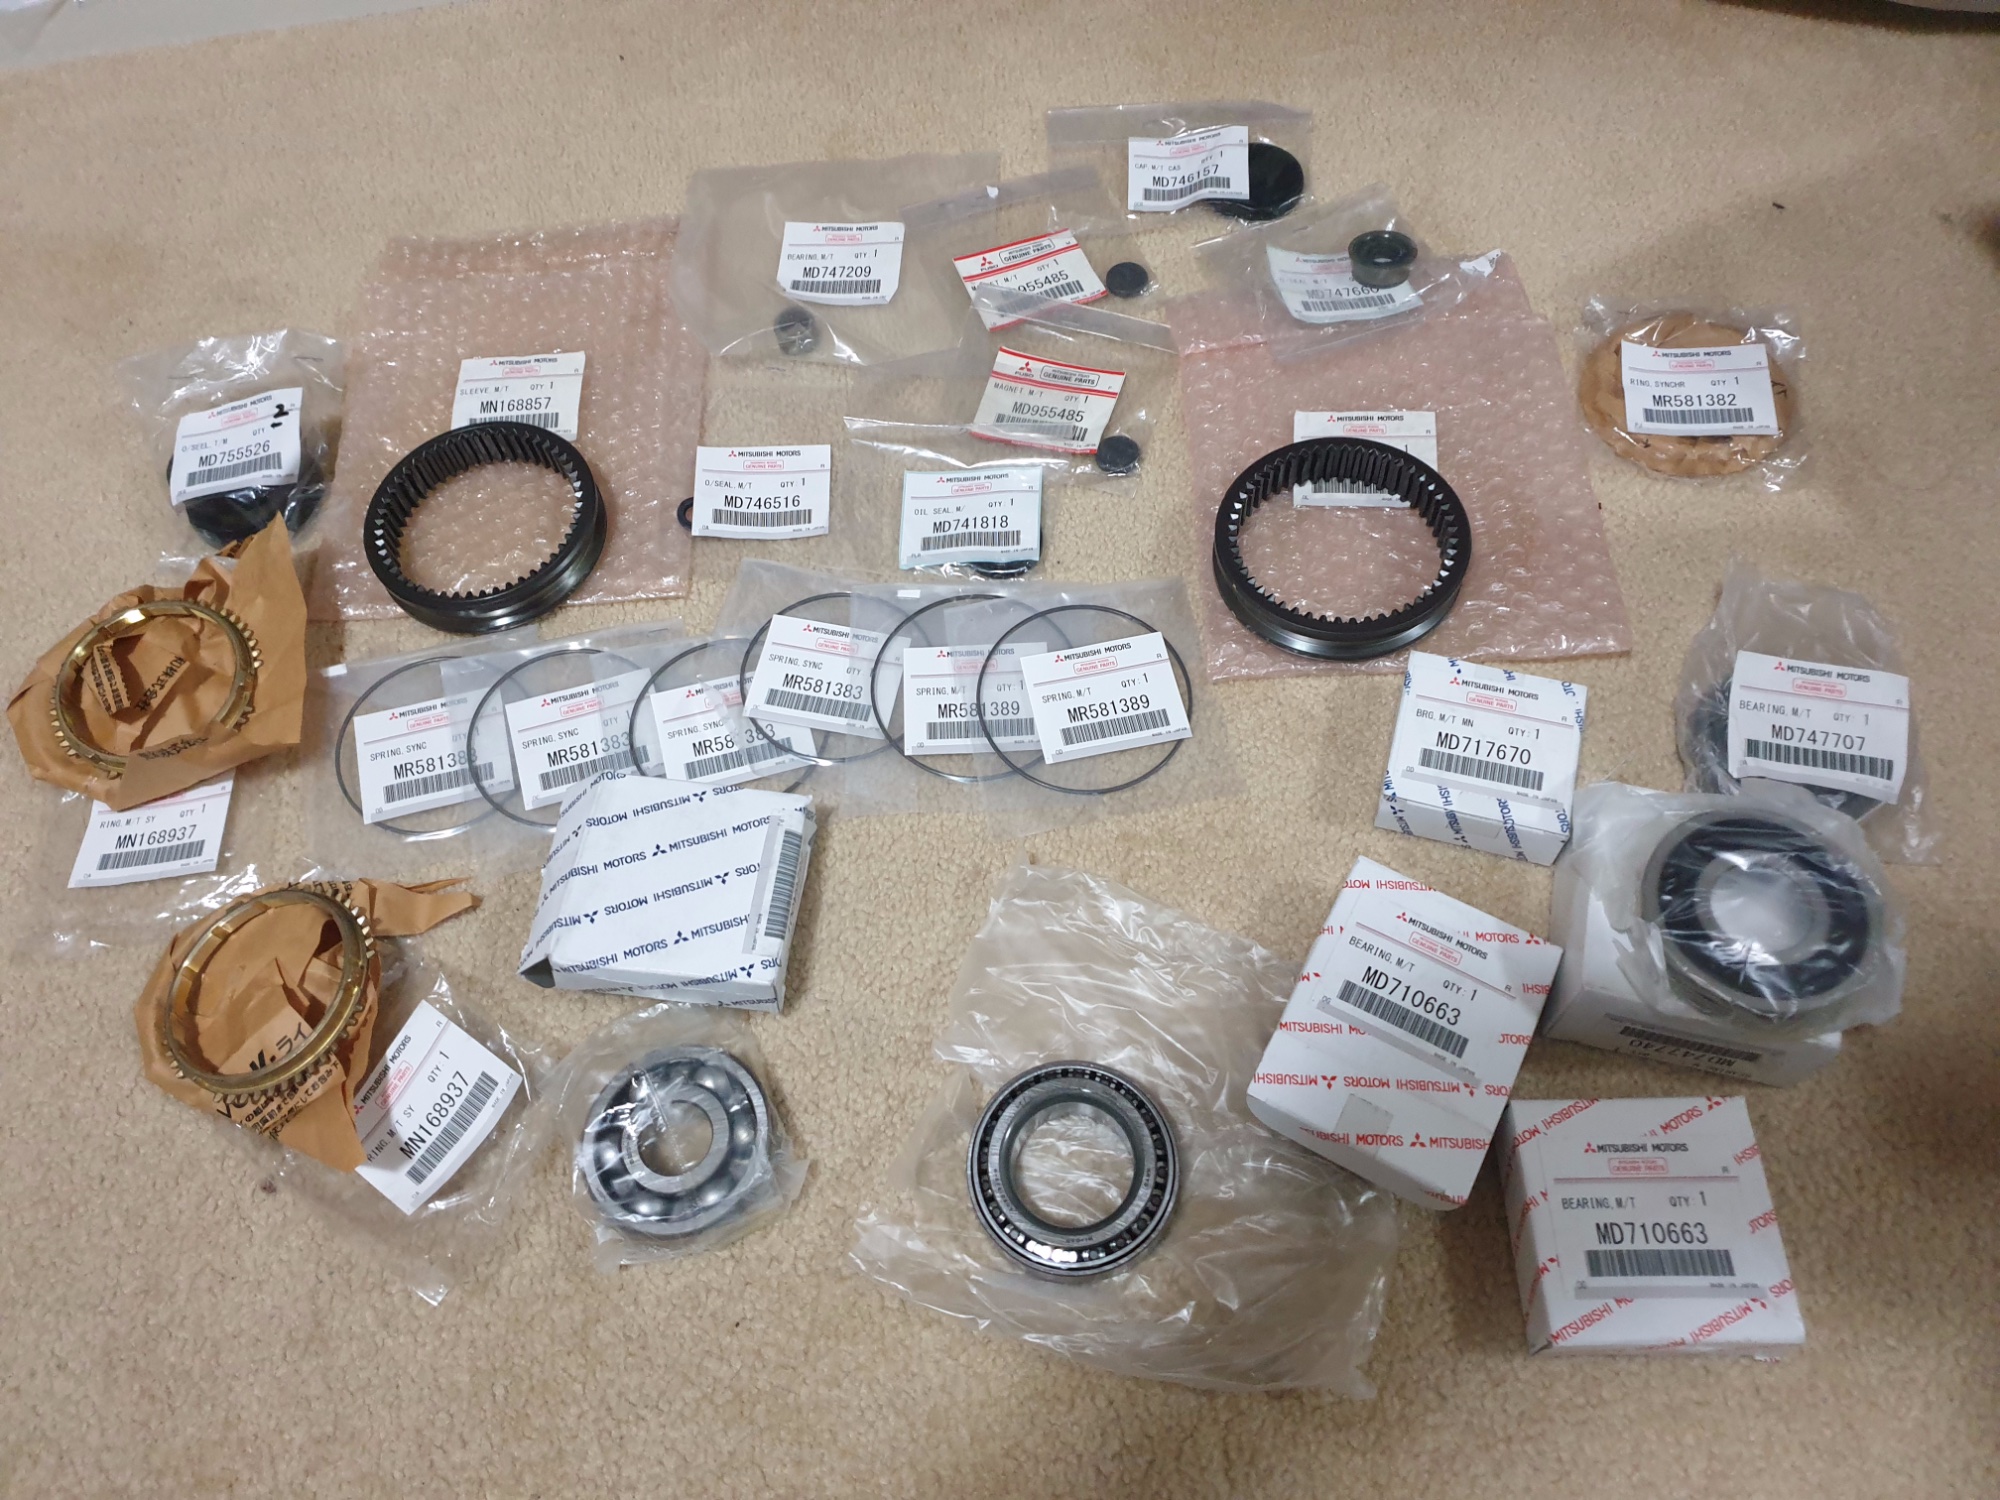
- 27.jpg (924.85 KiB) Viewed 20094 times
- 28.jpg (532.48 KiB) Viewed 20094 times
It is very subtle but it appears that the new shaft has a slight fillet at the step where my previous shaft had failed.
The following two pictures show the difference at this point; 90 degree step vs. fillet.
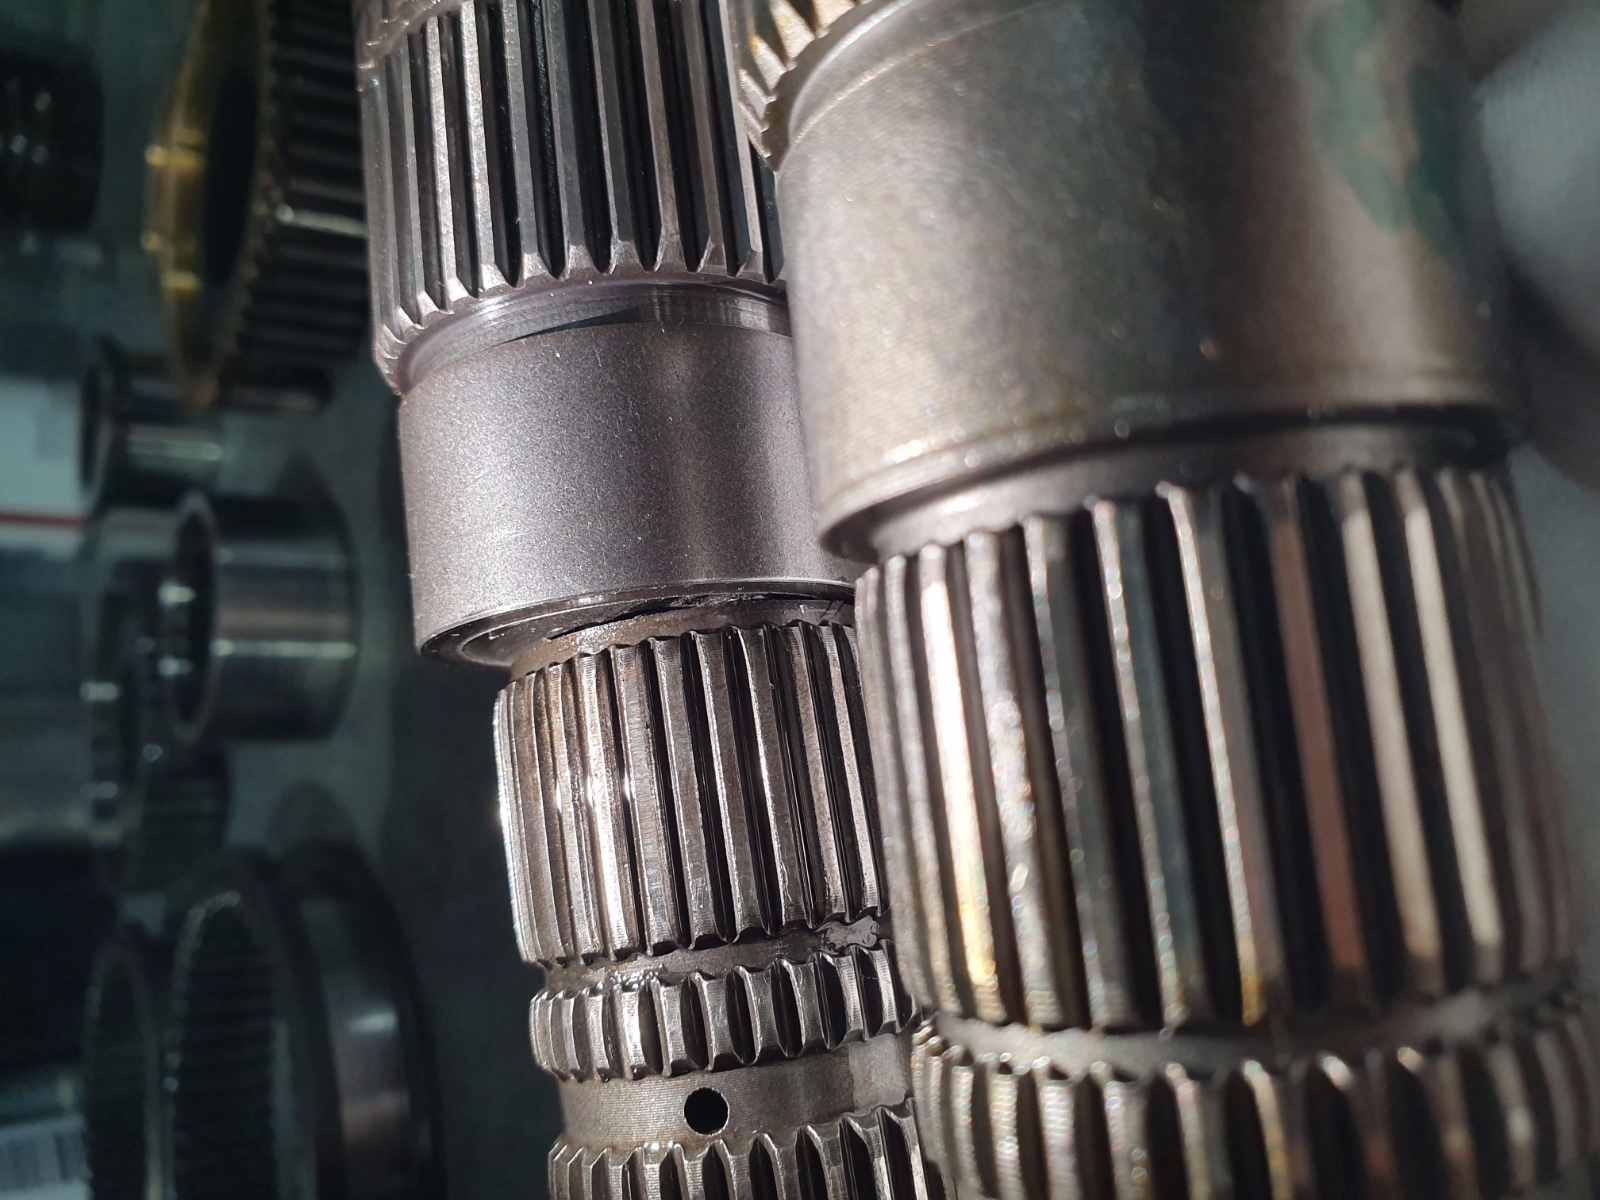
- 28a.jpg (510.76 KiB) Viewed 20094 times
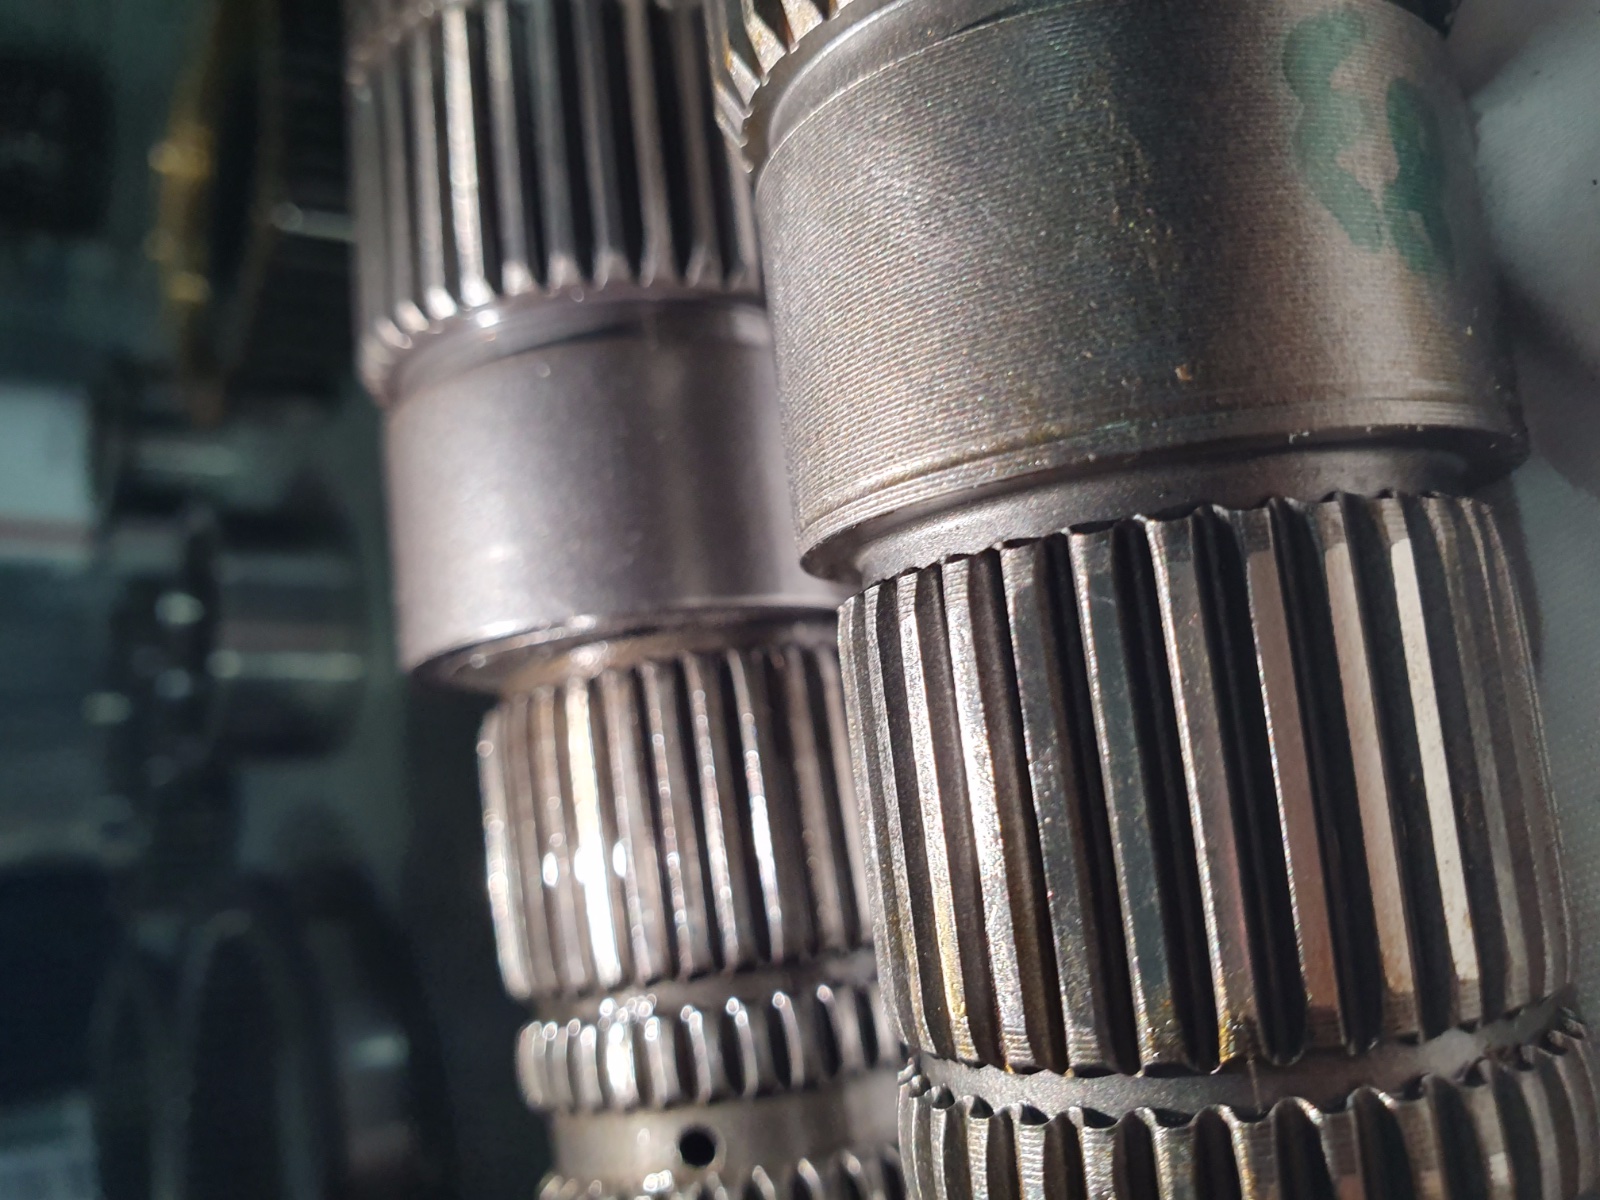
- 28b.jpg (497.42 KiB) Viewed 20094 times
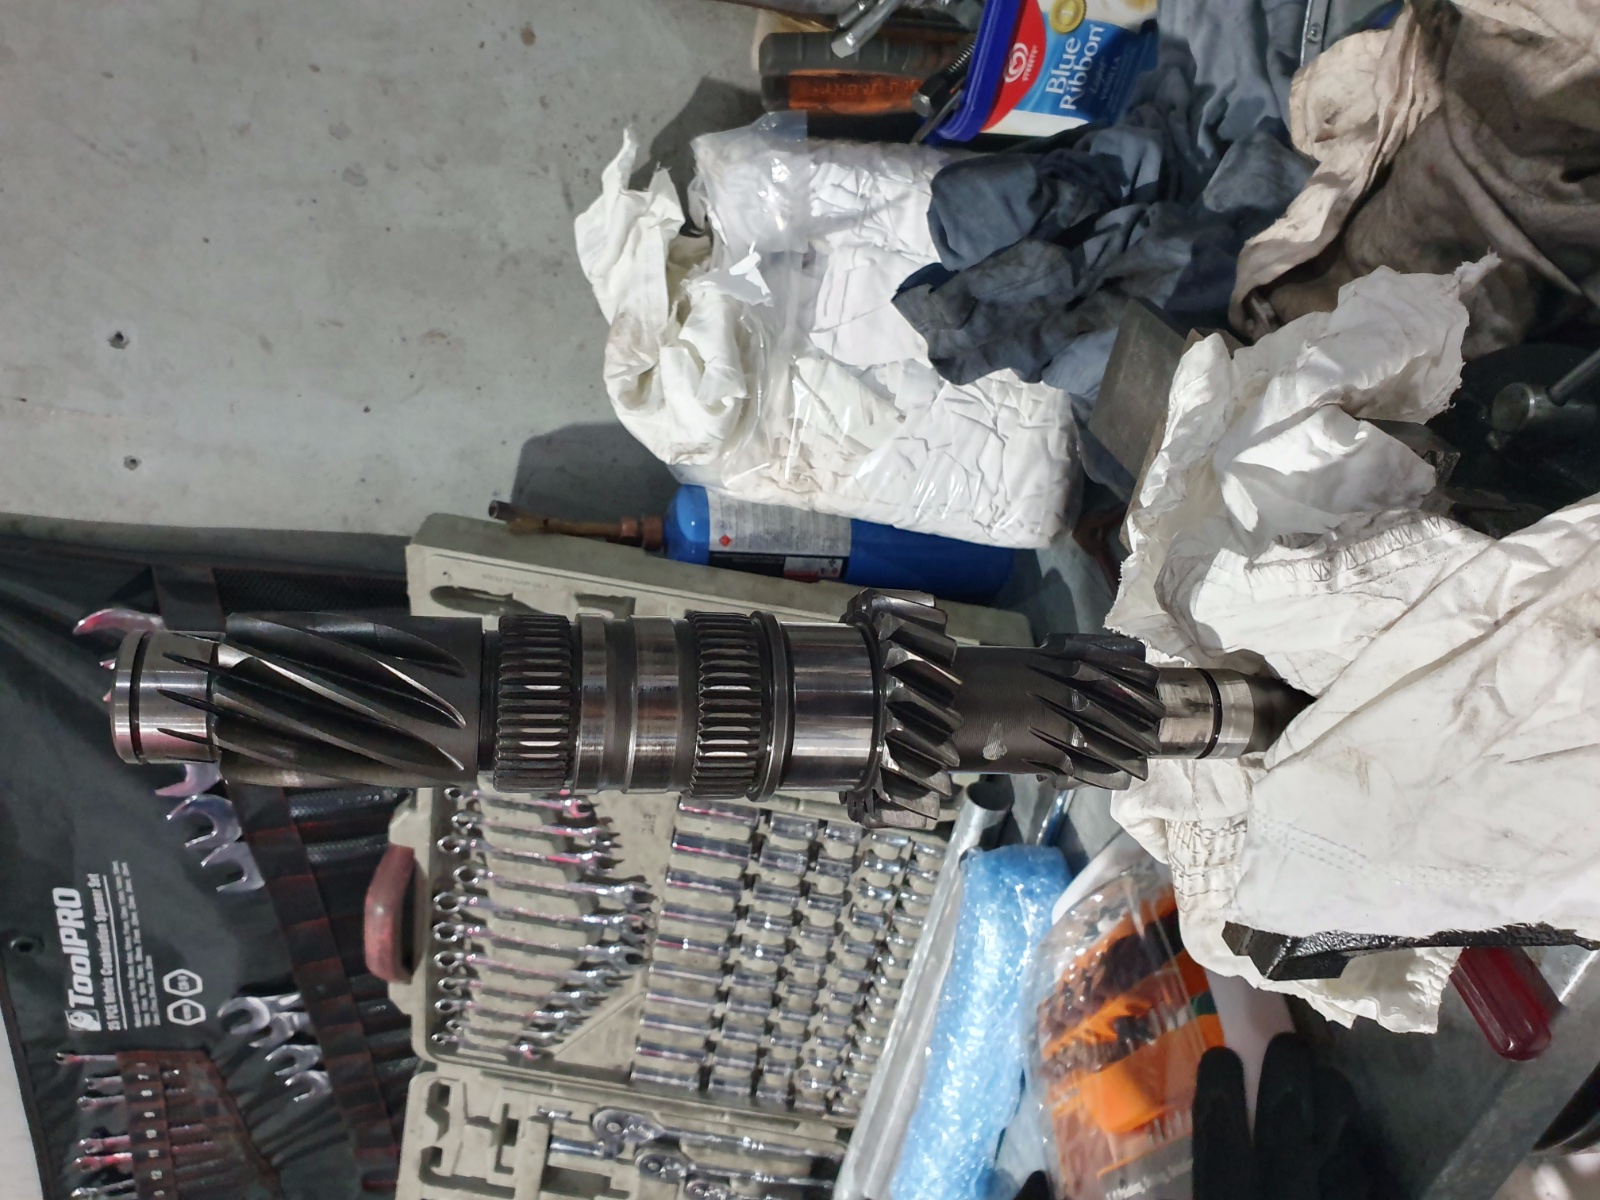
Anyway, rebuilt both input and output shafts with new components:
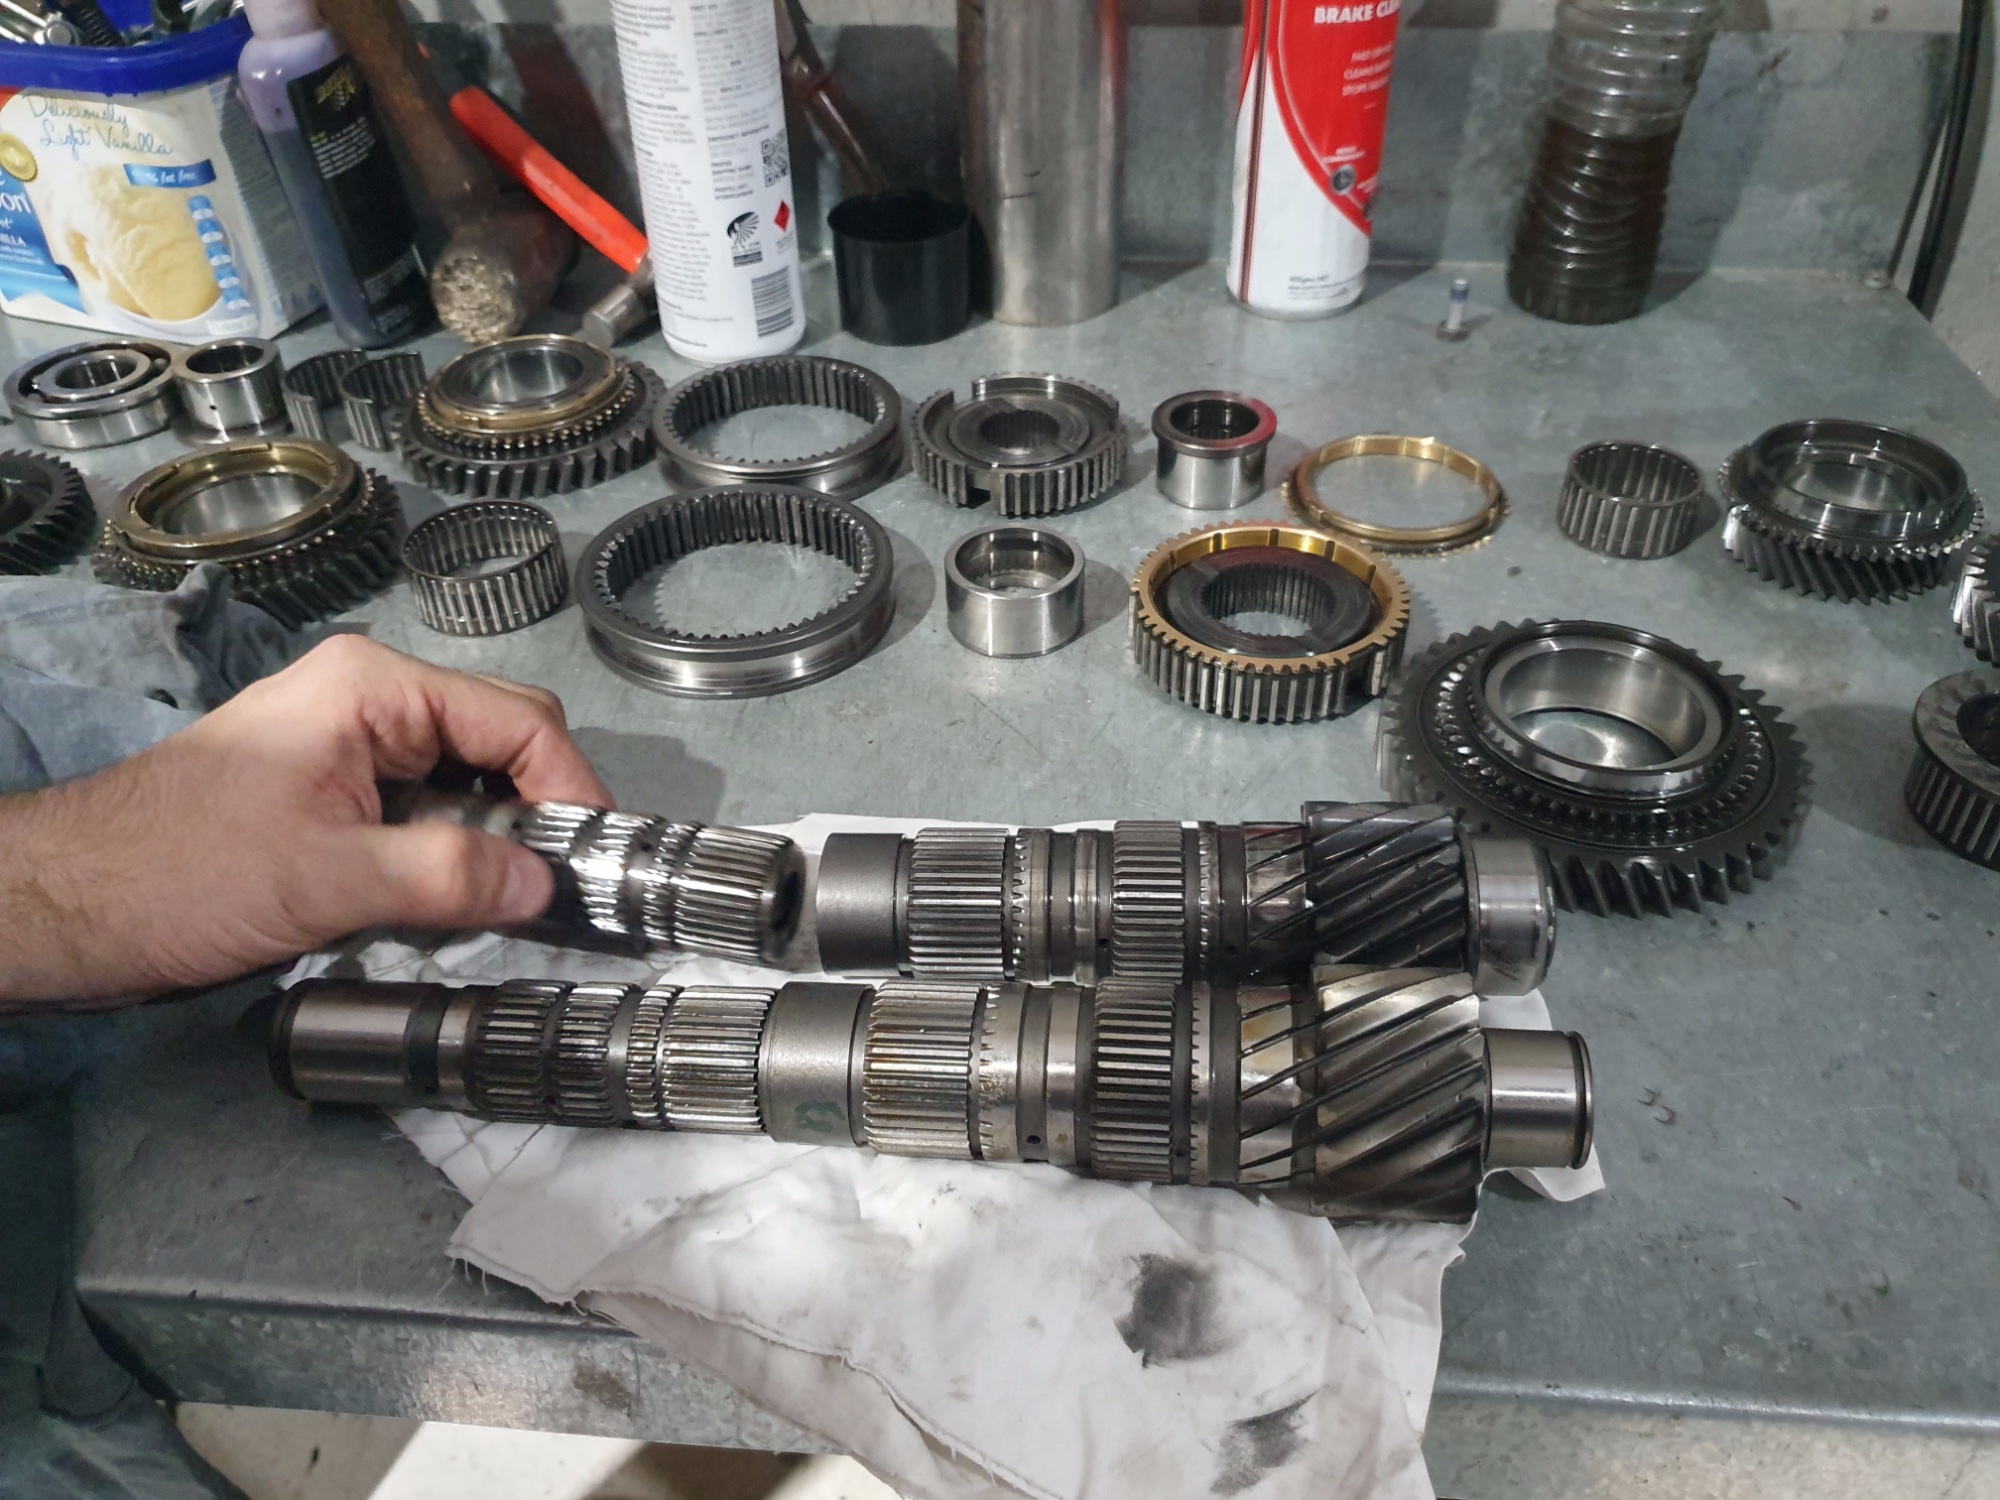
- 29.jpg (784.17 KiB) Viewed 20094 times

- 30.jpg (605.43 KiB) Viewed 20094 times
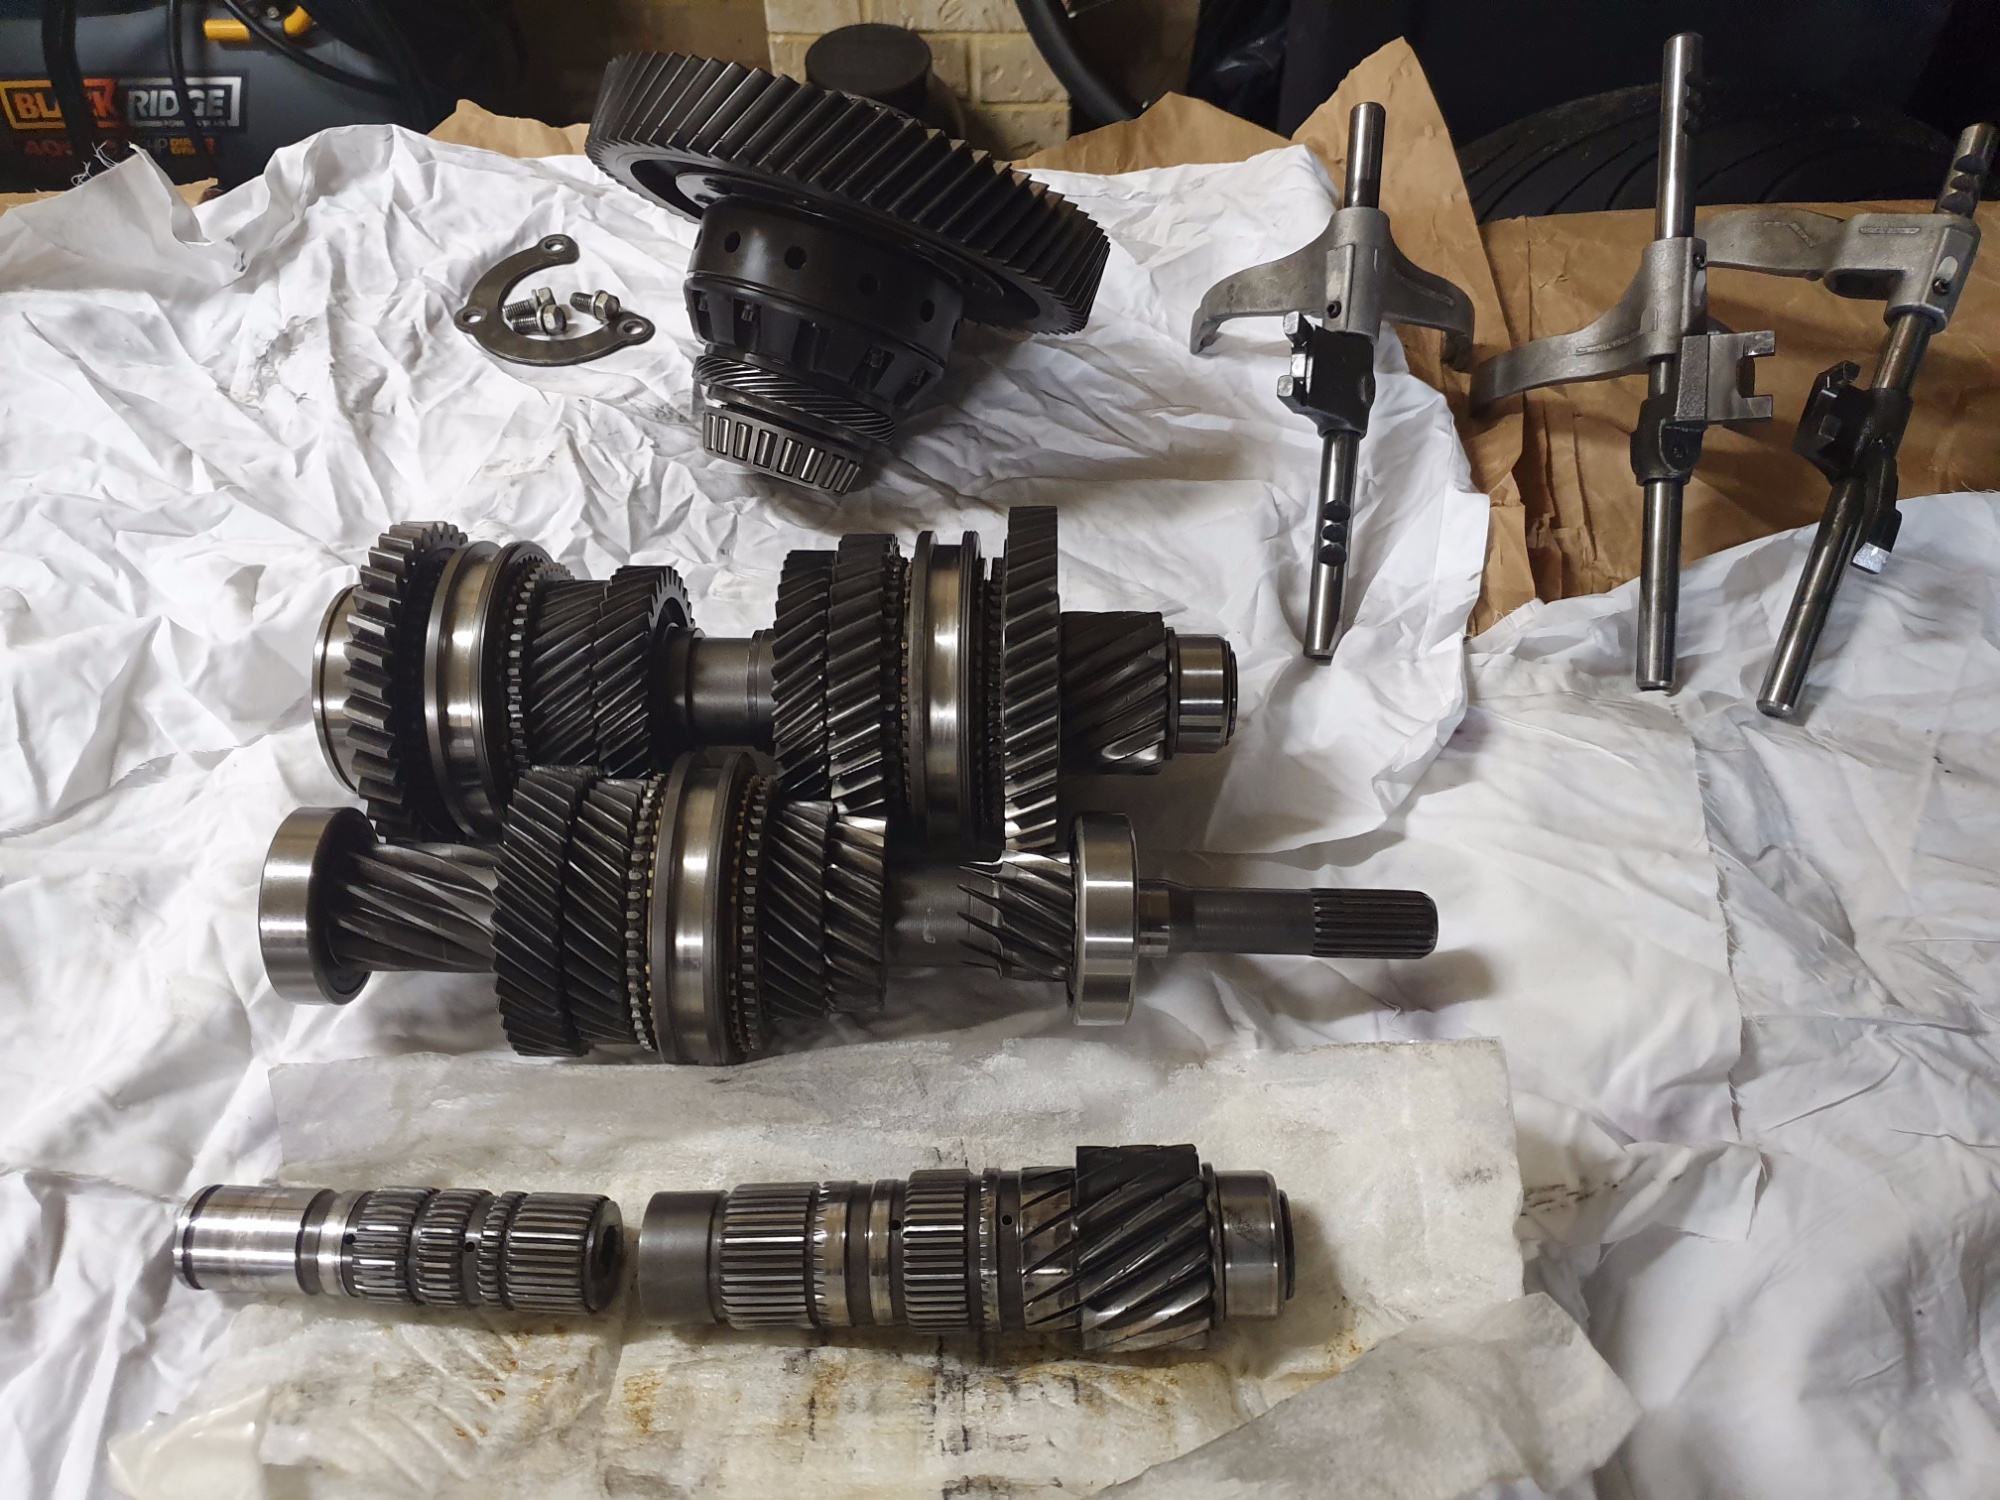
- 31.jpg (803.17 KiB) Viewed 20094 times
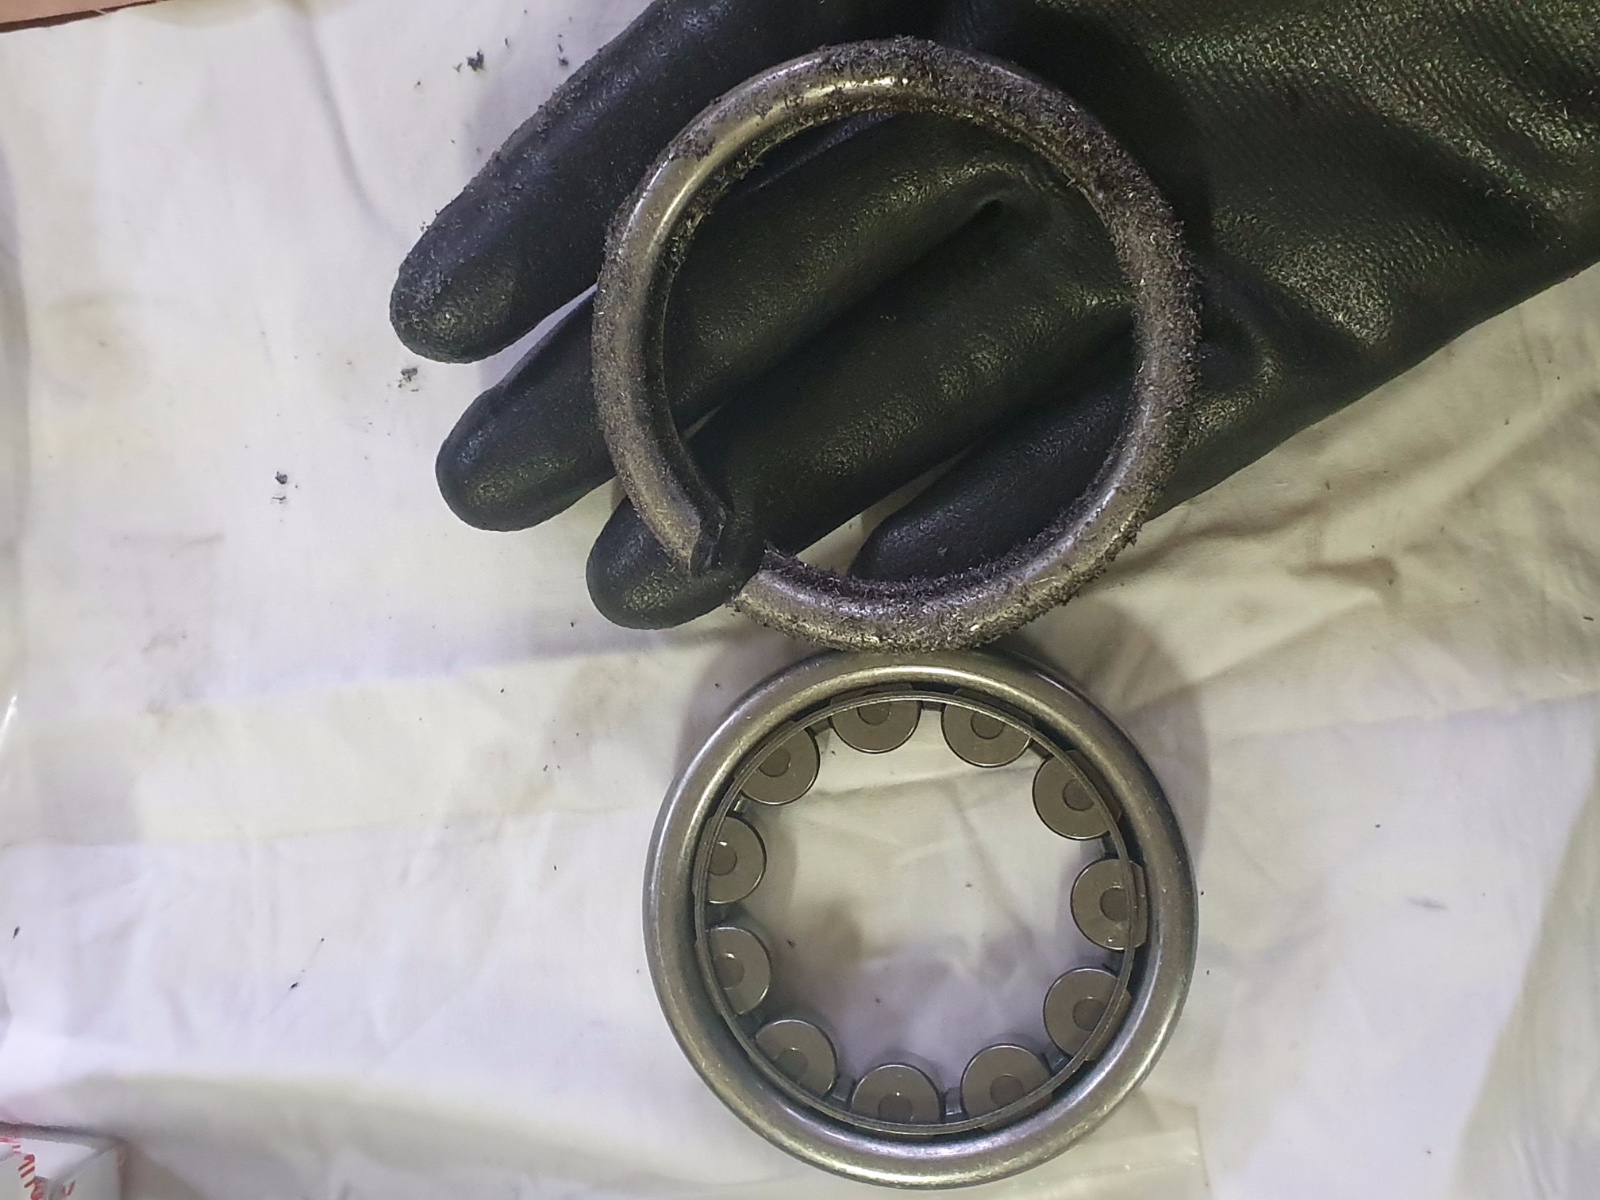
The outer race of the outer bearing on the output shaft was totally stuck in the box. No point sending it to a shop because they struggle with it too. Instead, just grind it out. I struggled to press it out and made a small crack in the aluminium casing.
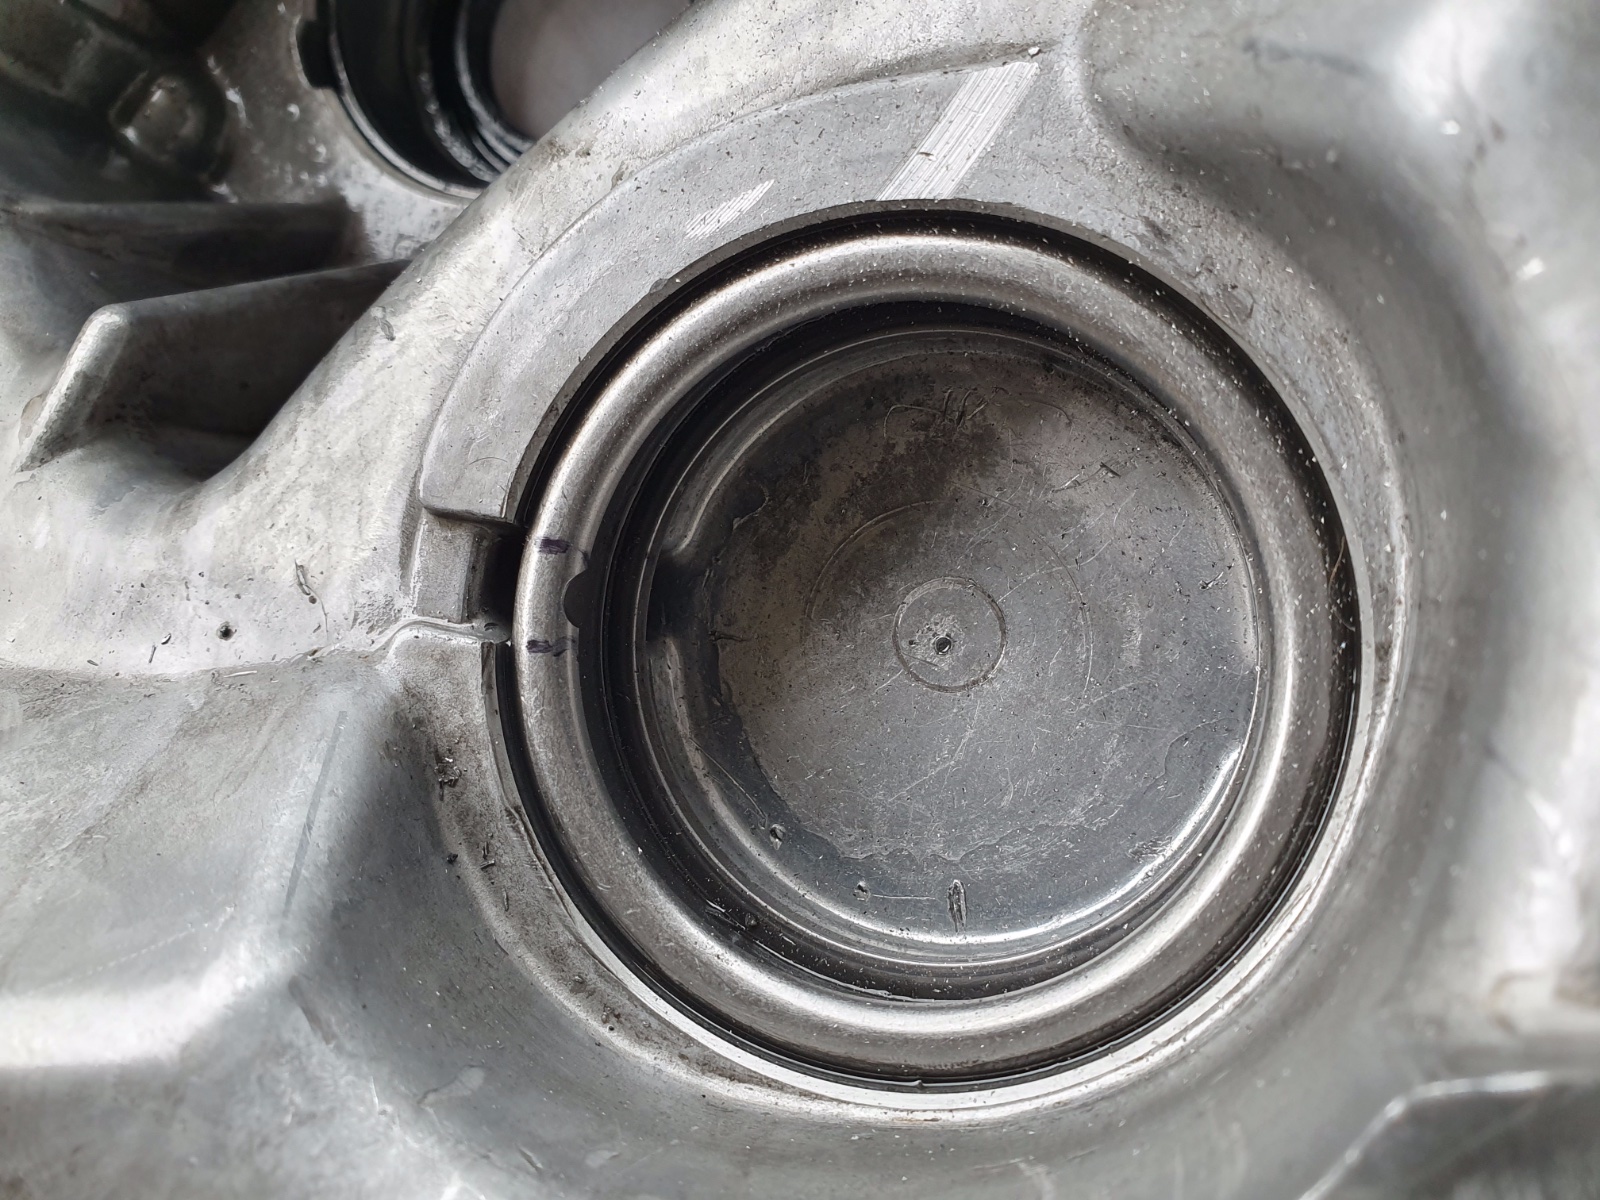
- 32.jpg (642.38 KiB) Viewed 20094 times
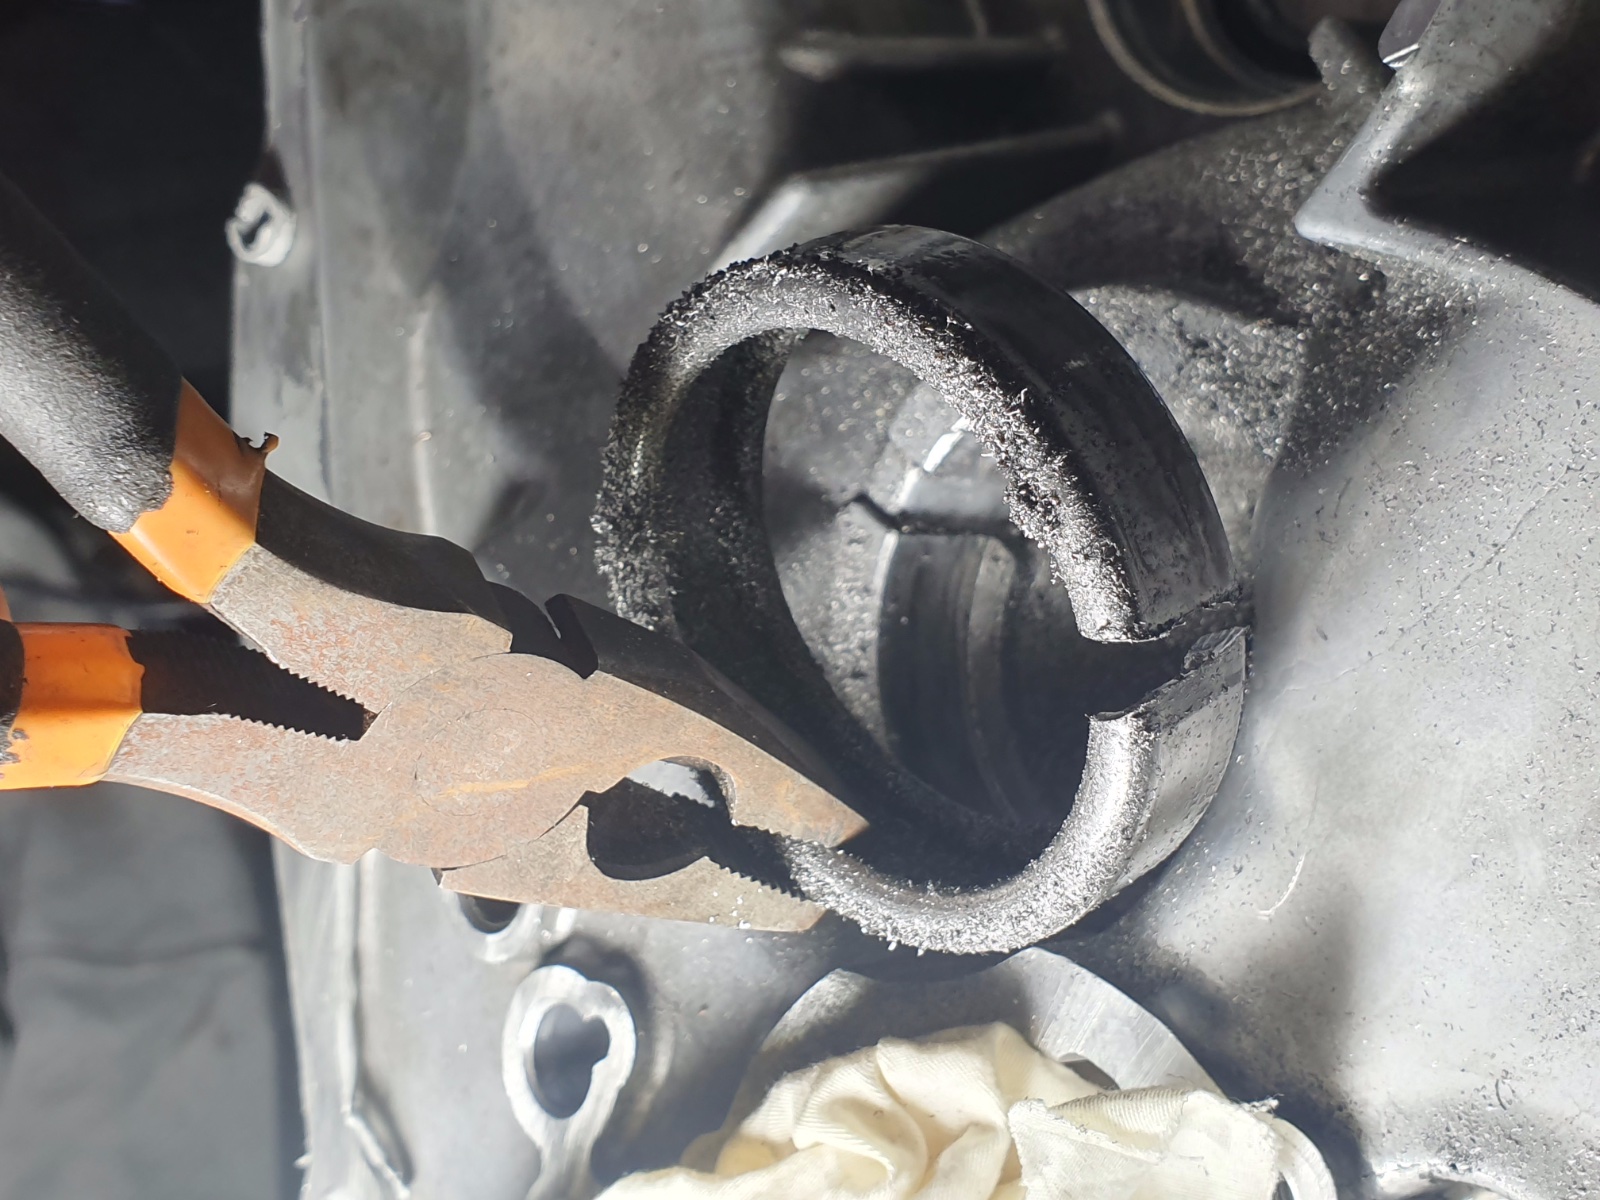
- 33.jpg (555.62 KiB) Viewed 20094 times
- 34.jpg (496.43 KiB) Viewed 20094 times
Looked like that outer race had gone through some heat or even fused to the box slightly - maybe due to the vibrations when the output shaft snapped:
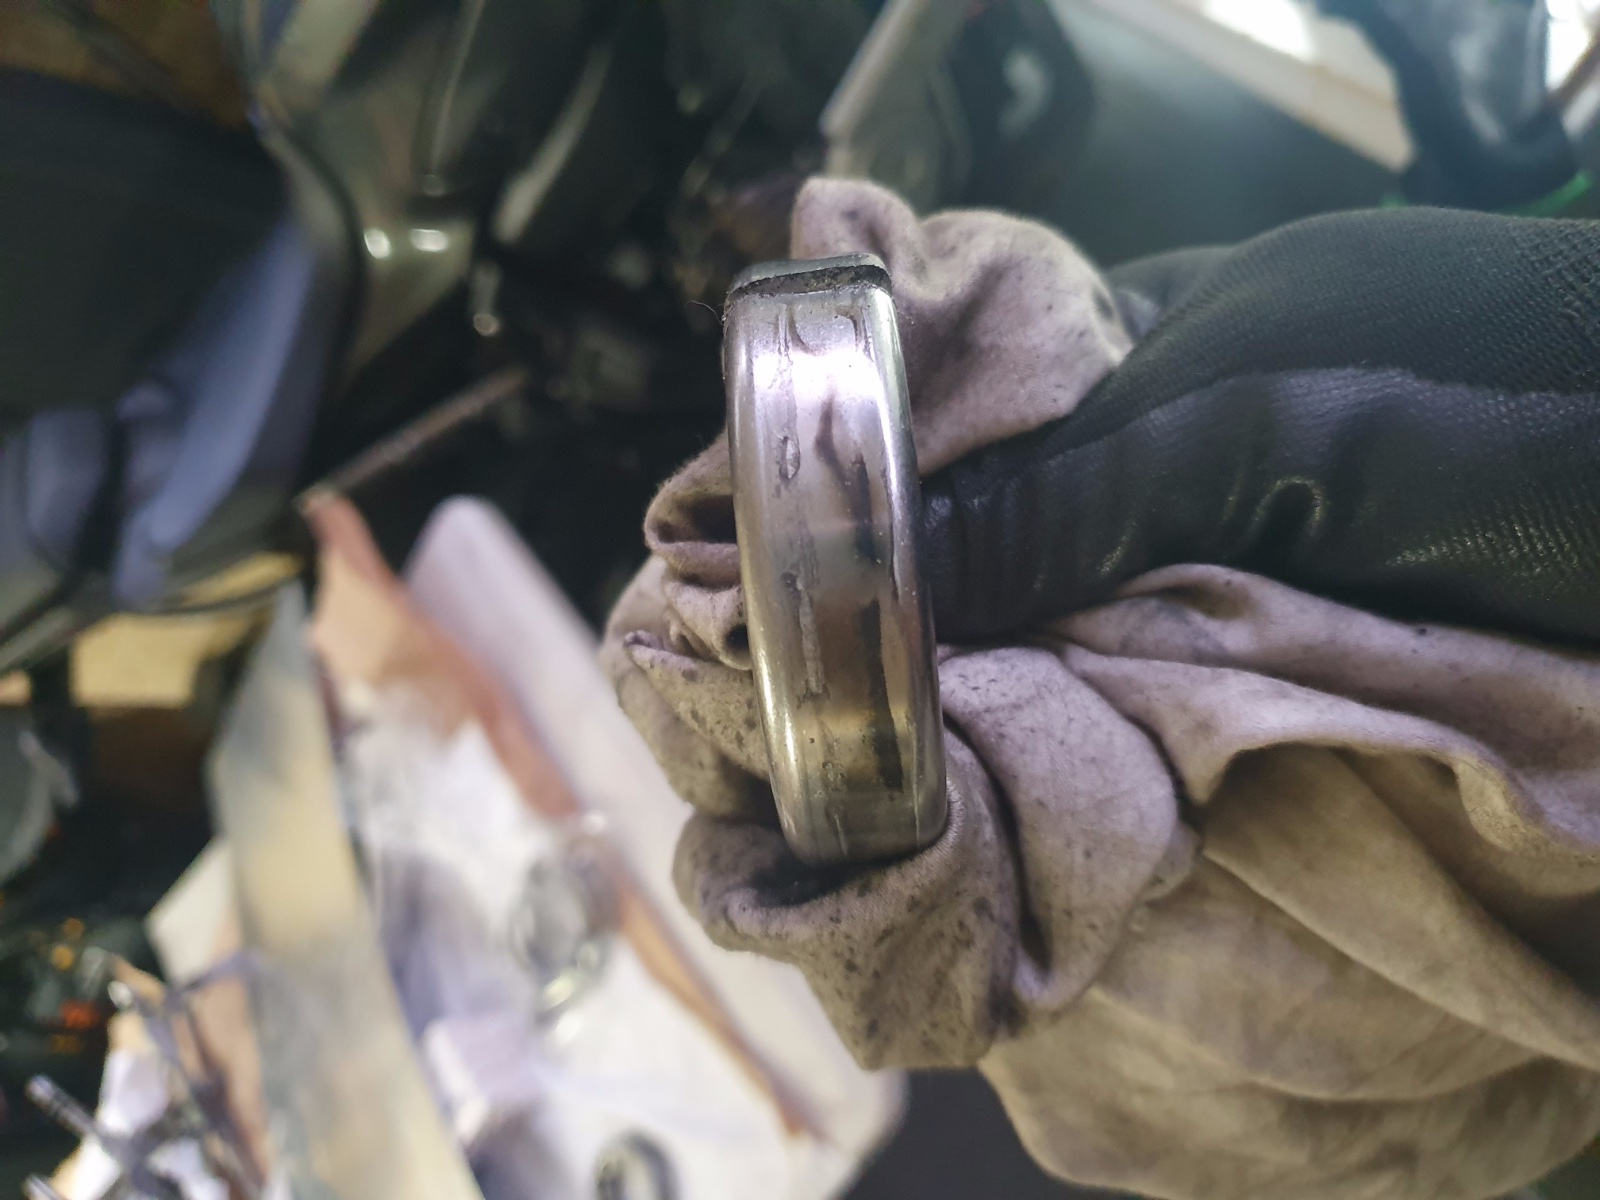
- 35.jpg (380.63 KiB) Viewed 20094 times
Ended up replacing the box with a CE Lancer box for peace of mind - ripped the internals out and replace it all with the FTO rebuilt internals:
- 36.jpg (789.31 KiB) Viewed 20094 times
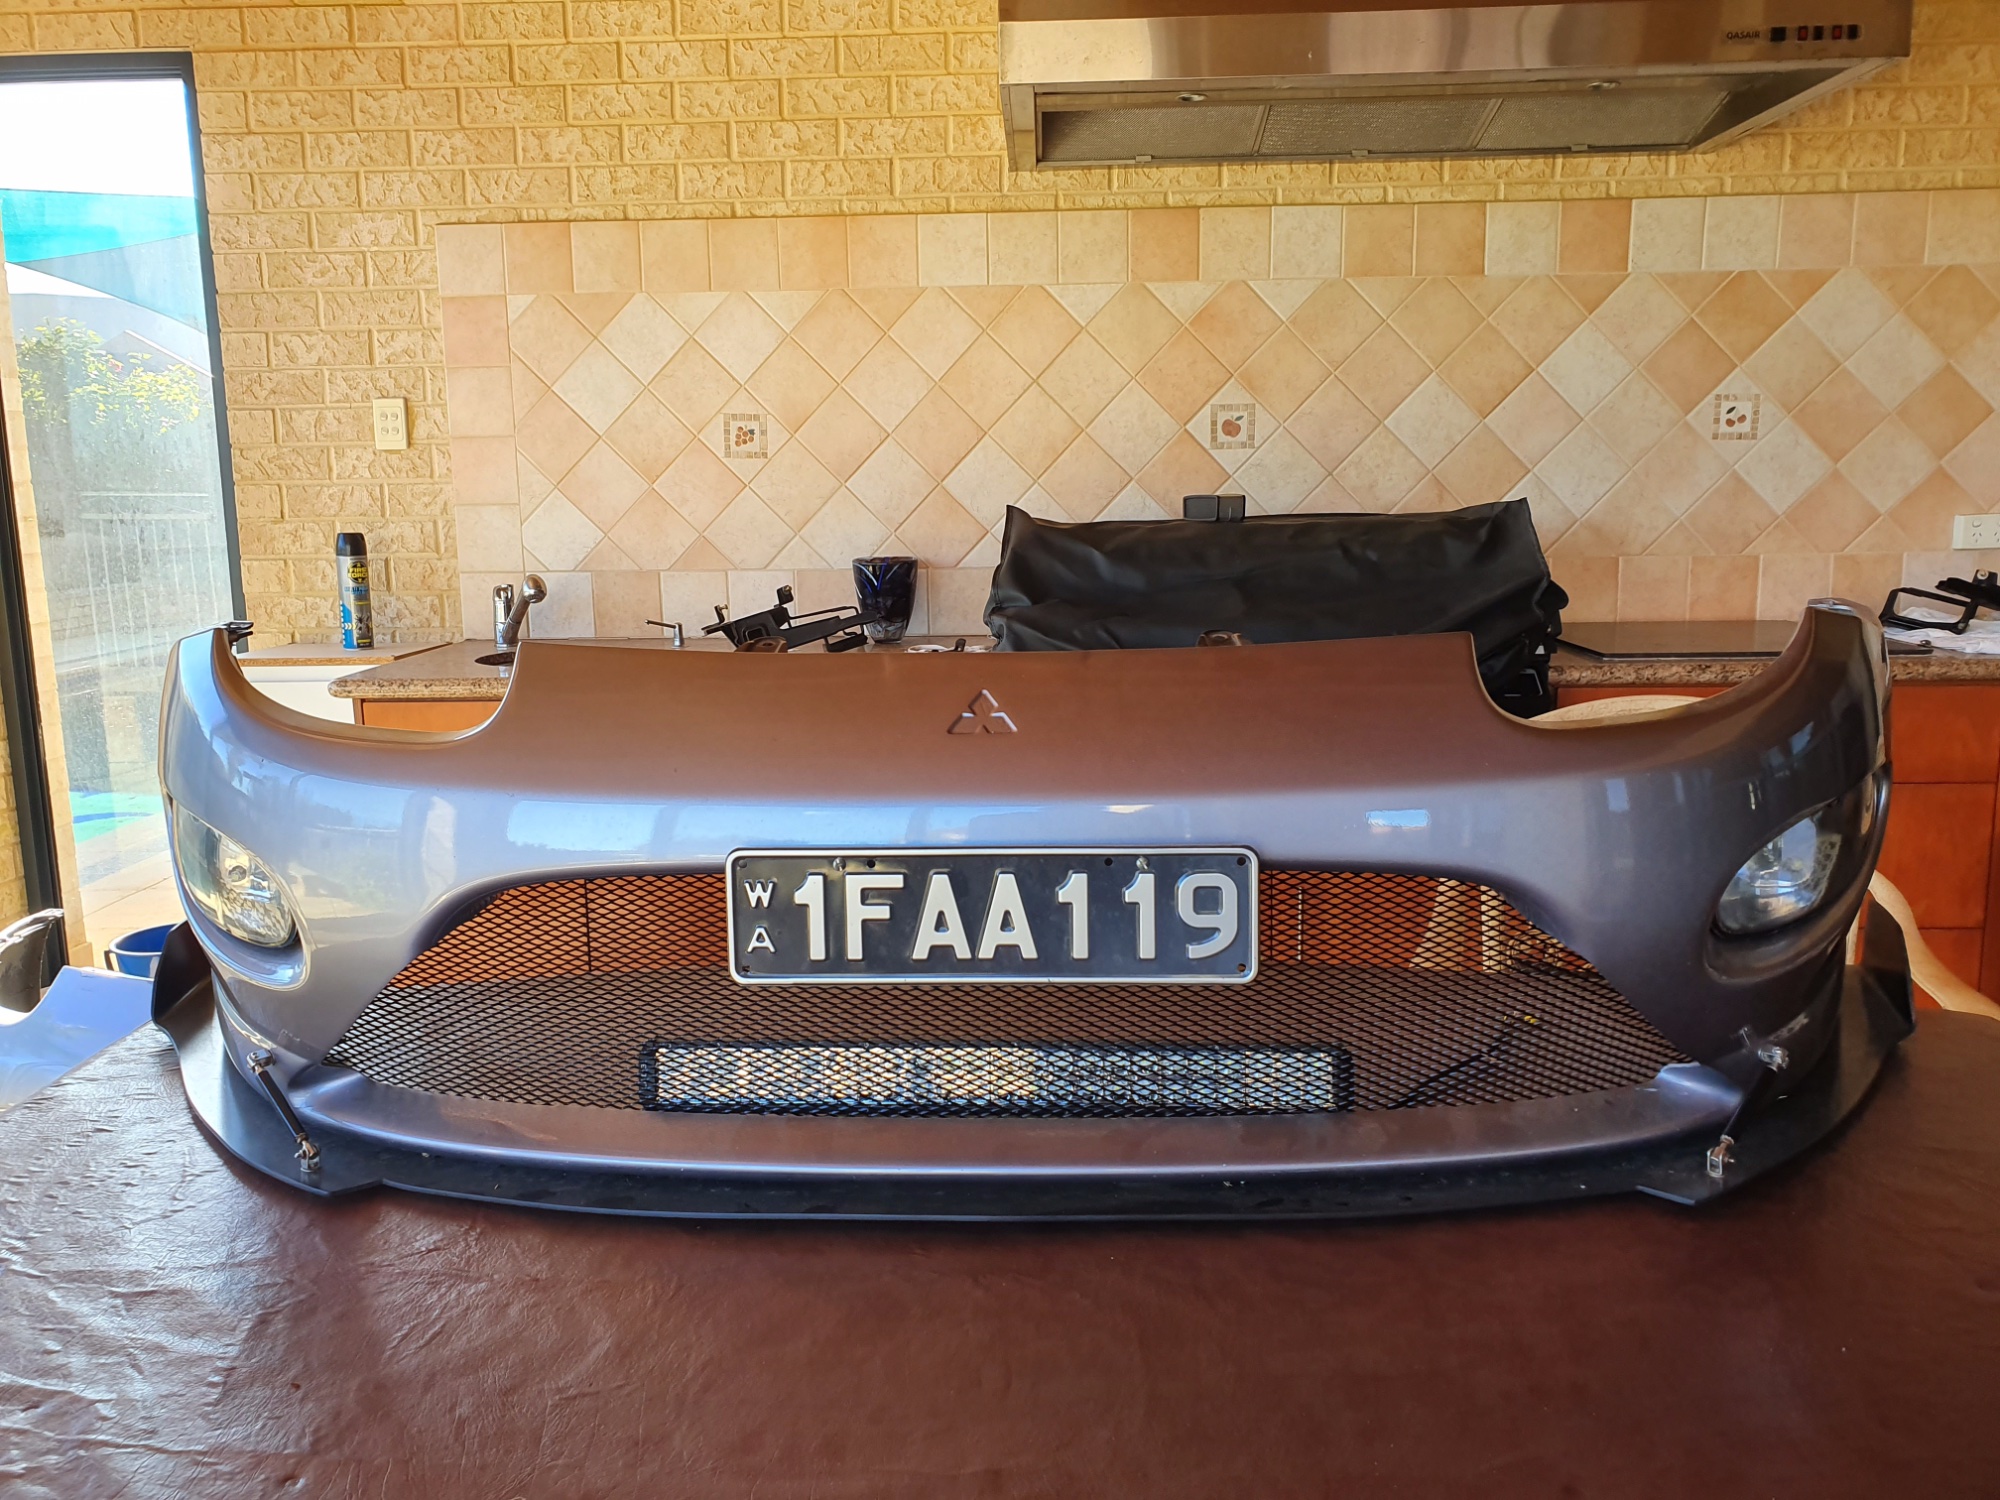
Got some new mesh for el whale shark bumper, put in the clear foglight and installed a lightbar:
- 37.jpg (886.81 KiB) Viewed 20094 times
Looks pretty deec. She's back on the road now, running well. Just need to bed in the clutch for a while, and replace the gearbox oil soon as the synchros start to wear in.
- 38.jpg (792.98 KiB) Viewed 20094 times
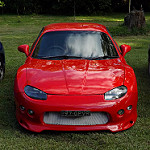
I think i'll start repairing my old dstocks bumper, fibreglass and respray it again. Just has a cleaner look.. throwback to the time when my FTO looked much cleaner:
- 39.jpg (484.97 KiB) Viewed 20094 times