CAI - Phase 1
Posted: Mon May 26, 2008 10:52 pm
Started work on my new Cold Air Induction Setup in the last few weeks. Finished the first phase and thought id chuck up a few piccies. Have used metal sheeting with polystyrene inbetween for insulation. Have also used a bit of expanding foam filler as can be seen in one or 2 of the photos below. Not sure if a guide is really appropriate for this one as it is not really easy to duplicate without schematics. Anyway, here are the pictures of the first part:
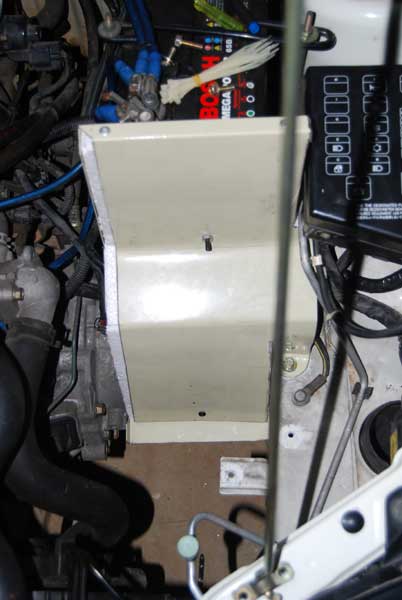
Backing plate for battery and gearbox
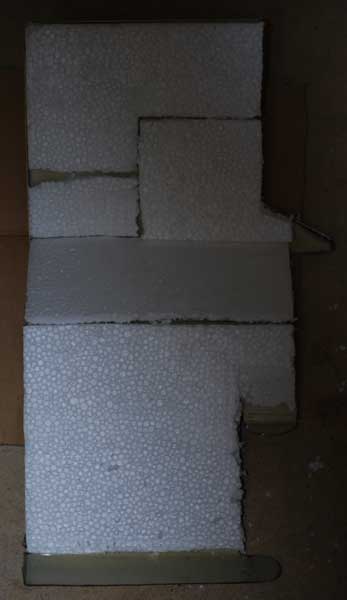
Polystyrene Layer
Finished backing plate
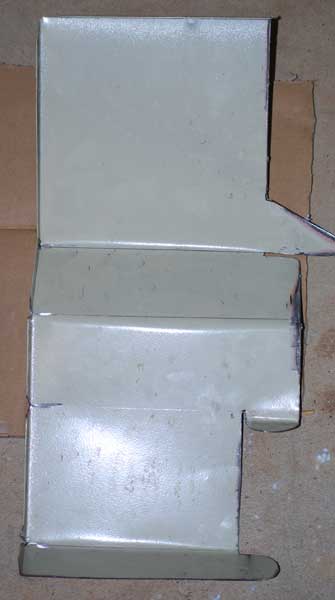
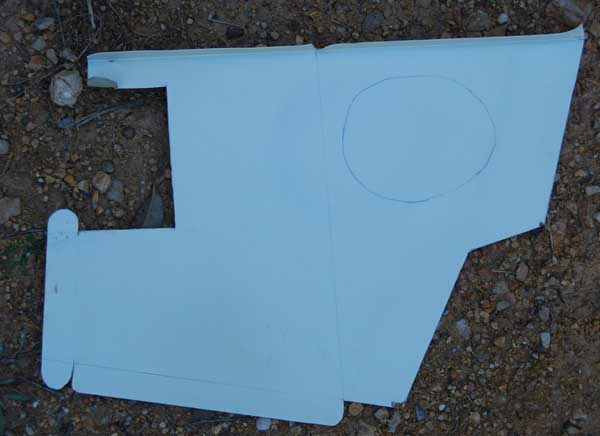
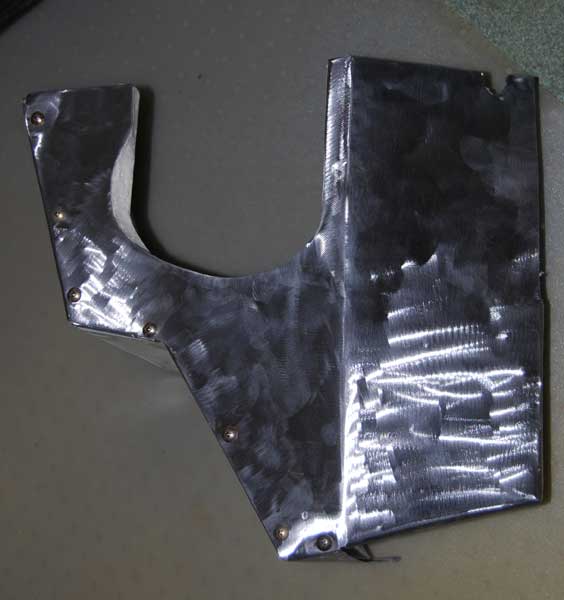
Cutout Side plate
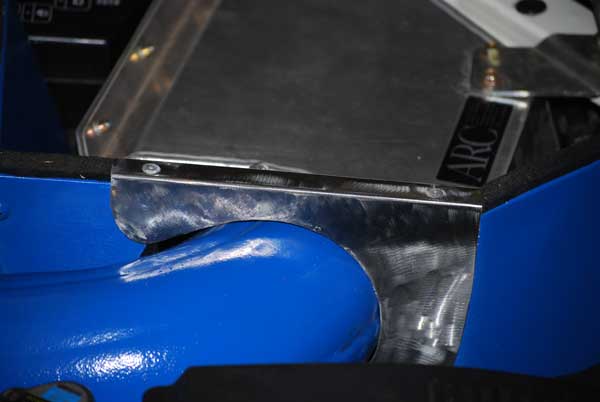
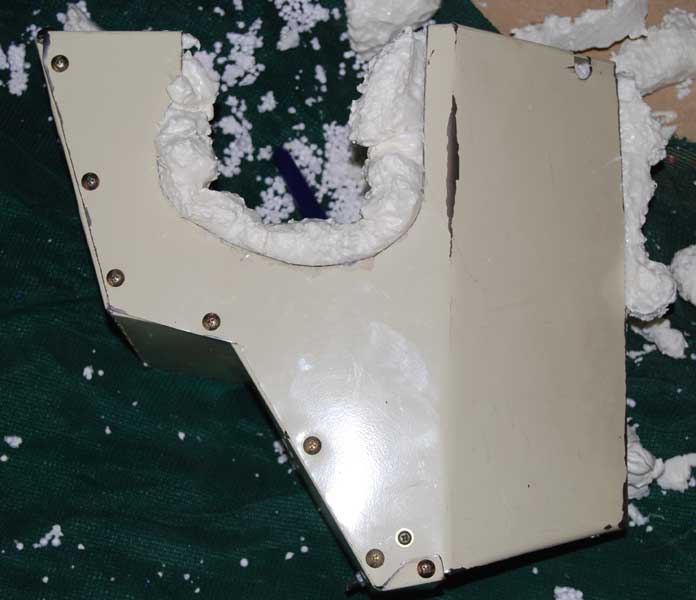
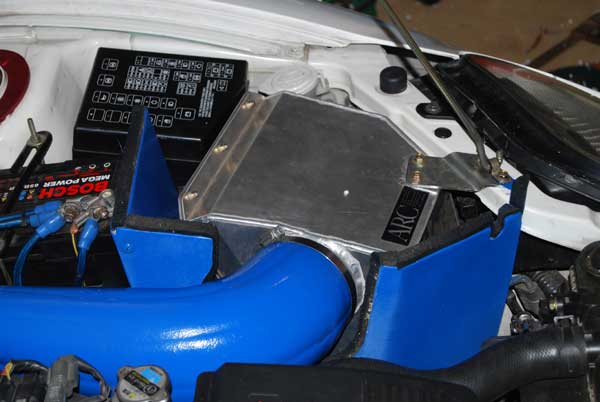
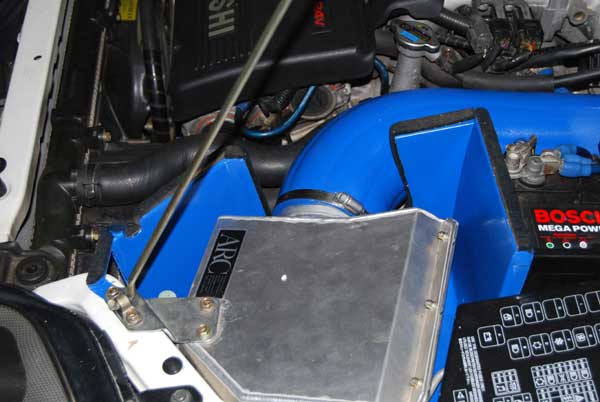
Side plate attached to backing plate and gaps filled tith expanding foam. Had to cutout a couple of internal shapes so airbox would fit. Also found out I had to leave the top open so i could install the intake pipe (will cover this over in step 2.
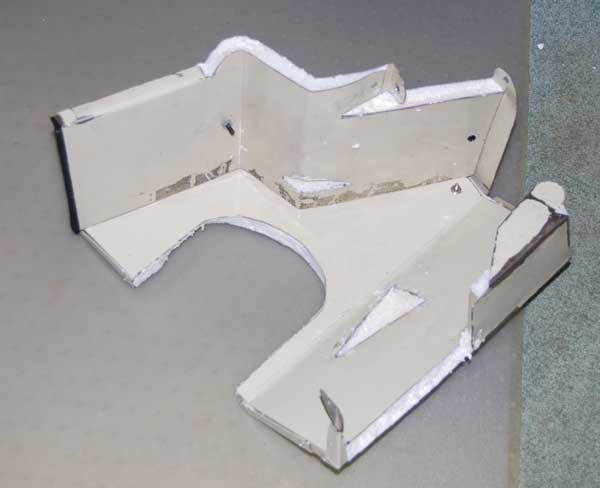
Trimming the expanding foam
Removing the beige powdercoat
Applying a little colour

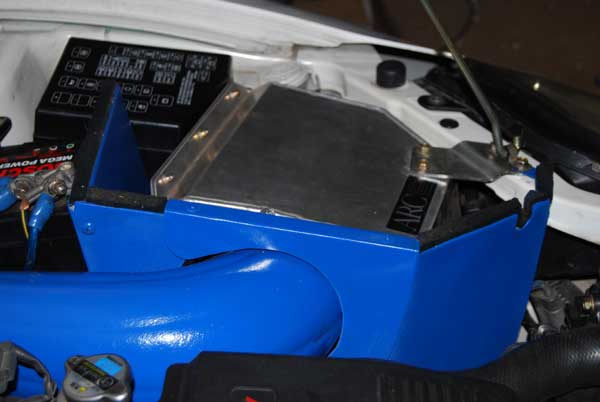
Finished part 1
The next step will be to stop warm air coming over the top of the air intake pipe. The final step will be to install a pipe out the bottom of the setup. Will update this thread as things proceed.
Backing plate for battery and gearbox
Polystyrene Layer
Finished backing plate
Cutout Side plate
Side plate attached to backing plate and gaps filled tith expanding foam. Had to cutout a couple of internal shapes so airbox would fit. Also found out I had to leave the top open so i could install the intake pipe (will cover this over in step 2.
Trimming the expanding foam
Removing the beige powdercoat
Applying a little colour
Finished part 1
The next step will be to stop warm air coming over the top of the air intake pipe. The final step will be to install a pipe out the bottom of the setup. Will update this thread as things proceed.